How To Fix Smart Nightlight Light Sensor Window Clouding?
Does your smart nightlight stay dark even when the room turns pitch black? Or maybe it stays on all day, wasting energy for no reason.
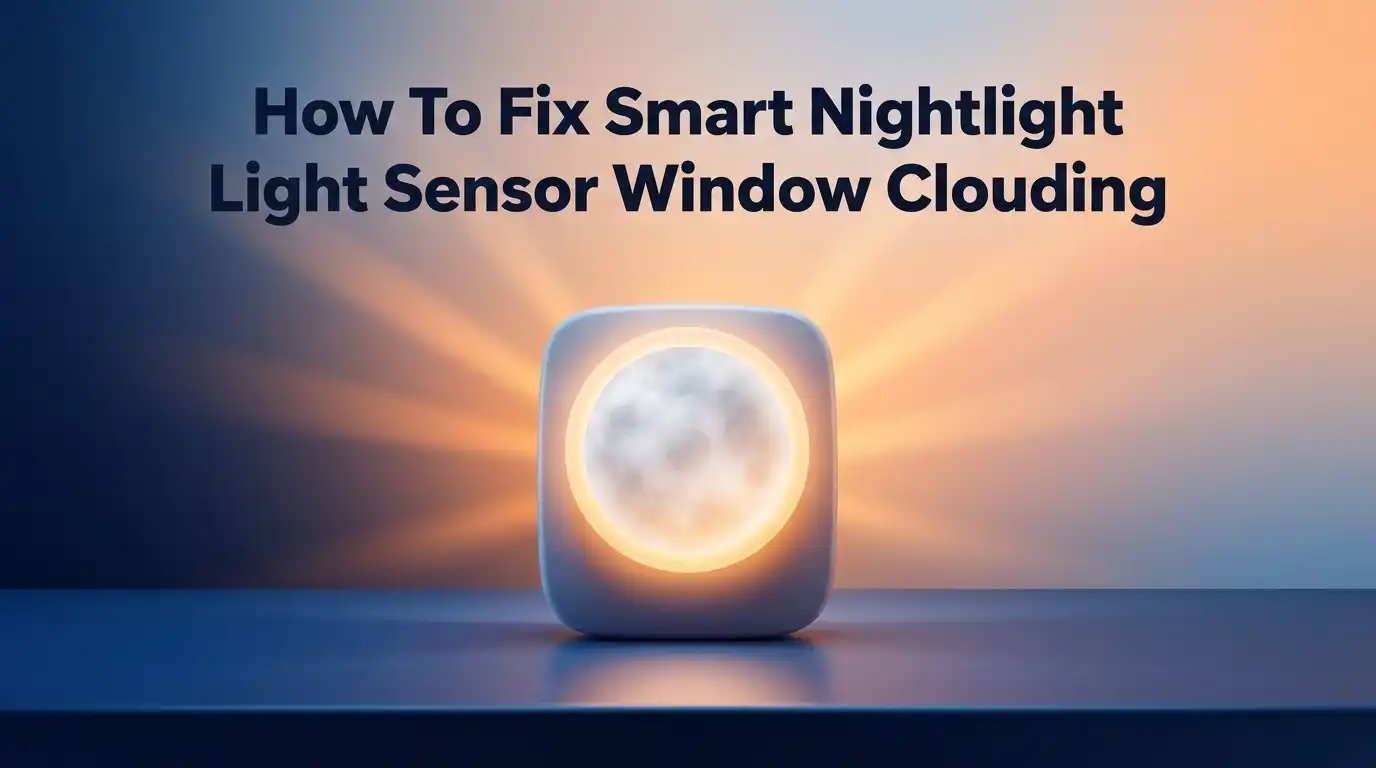
This is a common problem, and the culprit is often a clouded sensor window. Over time, dust, grime, and moisture build up on this tiny window. This film blocks the sensor from reading light levels correctly.
Your nightlight relies on this sensor to know when to turn on and off. When it gets cloudy, the light gets confused. It might flicker, stay on constantly, or refuse to activate at all.
In a Nutshell
- Clean the sensor window with a soft, dry cloth. Dust and grime often block the sensor from reading light levels correctly.
- Check for physical obstructions near the sensor. Leaves, spider webs, or nearby objects can trick the sensor into thinking it’s darker or brighter than it really is.
- Avoid placing the light in shade. A shaded sensor may think it’s nighttime all day, causing your light to stay on constantly.
- Test the sensor after cleaning. Most nightlights have a test mode button. Use it to confirm the sensor responds properly to light changes.
- Reset the light if problems continue. A simple power cycle often clears glitches that cleaning alone cannot fix.
- Adjust sensitivity settings if the light triggers too often or not enough. This small tweak can solve most false trigger issues.
What Causes Sensor Window Clouding
Sensor window clouding happens for several reasons. Understanding the causes helps you prevent and fix the problem faster.
Dust and dirt build up on the sensor window over time. Your nightlight sits in your bedroom, bathroom, or hallway where dust particles float through the air. These particles settle on the lens and block light from reaching the sensor inside. Even a thin layer of dust reduces how well the sensor detects changes in brightness.
Moisture and condensation also cloud the window. If your nightlight is near a bathroom or kitchen, steam and humidity can collect on the lens. Temperature changes cause water droplets to form. This moisture creates a foggy coating that prevents the sensor from reading light levels correctly.
Physical damage and scratches compromise the sensor window. Accidental bumps or cleaning with rough materials scratch the plastic or glass surface. These scratches scatter light and confuse the sensor’s readings. The sensor cannot process accurate information through a damaged window.
Age and material degradation cause yellowing or discoloration. Over time, the window material breaks down from exposure to sunlight and heat. The plastic or coating becomes less transparent. This gradual change reduces sensor sensitivity without you noticing at first.
Poor placement traps dirt and debris. If your nightlight sits on a shelf with items around it, dust accumulates faster. Placing it in corners or against walls creates dead zones where dust settles more easily.
Manufacturing defects occasionally cause cloudiness from the start. Improper sealing during production allows moisture inside. The window never stays clear no matter how often you clean it.
Most clouding comes from dust and moisture. These causes are preventable with regular cleaning and smart placement choices.
Signs Your Sensor Window Needs Attention
Your smart nightlight communicates through its sensor window. When this window clouds over, the light cannot read light levels properly. Understanding the warning signs helps you catch problems early.
The most obvious sign is inconsistent behavior. Your nightlight might stay on during the day when it should be off. Alternatively, it refuses to turn on at night even in complete darkness. These contradictions point directly to sensor issues.
Pay attention to false triggers or no triggers at all. If your motion sensor activates randomly without anyone moving, the sensor may be dirty or overly sensitive. On the flip side, if the sensor ignores your movements completely, clouding is likely blocking the detection.
Look at the sensor window itself. Hold the nightlight up to light and examine the small lens or window. Does it appear hazy, dusty, or discolored? A clear window should look transparent. Any cloudiness, white film, or yellowish tint indicates buildup.
Test the sensor response manually. Most nightlights have a test mode. Press the button and wave your hand in front of the sensor. The light should respond immediately. Slow or no response suggests the sensor cannot see properly.
Check the surrounding area too. Is the sensor positioned in a dark corner or behind furniture? Blocked sensors cannot detect light changes. Is there visible dust or debris near the window? Environmental factors reveal placement problems.
Your sensor window acts as the eyes of your smart nightlight. When vision becomes cloudy, the entire system fails. Recognizing these signs early lets you fix the problem before your nightlight becomes completely unreliable.
Step-by-Step Guide to Cleaning the Sensor Window
Start by gathering a few basic supplies. You need a soft, lint-free cloth and distilled water. Avoid paper towels or rough fabrics because they can scratch the sensor window.
Power off your nightlight first. This keeps you safe and prevents accidental triggers during cleaning. Wait a few minutes for the device to fully discharge. Many smart nightlights have a power button or switch you can use.
Gently wipe the sensor window with your dry cloth. Use light pressure and circular motions. The goal is to remove dust and debris without applying force. If dirt remains stuck, slightly dampen your cloth with distilled water. Never spray liquid directly on the sensor.
Work carefully around the edges where dirt collects most. Pay special attention to any grooves or ridges on the sensor cover. These spots trap particles easily. Use a corner of your cloth to reach into tight areas.
Inspect the sensor window closely after cleaning. Hold it up to light and look for remaining cloudiness or streaks. If you see discoloration that won’t wipe away, the sensor window may have permanent damage.
Check the area around your nightlight too. Remove any objects blocking the sensor path. Dust on nearby surfaces can fall onto the sensor window again quickly.
Restore power to your nightlight. Most devices take 10 to 30 seconds to restart. Press the test mode button if available. Watch for the light response. A clean sensor should react immediately to light changes and motion.
If the sensor still doesn’t work properly after cleaning, moisture may be trapped inside. This requires different solutions beyond surface cleaning.
How to Test Sensor Functionality After Cleaning
Testing your sensor after cleaning tells you whether the problem is solved. Start by powering your nightlight back on and waiting a few minutes for it to fully initialize.
Most smart nightlights include a test mode. Check your manual or look for a small button on the device itself. Press and hold it for a few seconds. The light should respond visibly. Some nightlights flash or change brightness to confirm the sensor is active.
Walk in front of the sensor during daytime to test motion detection. The light should activate even in bright conditions if the sensor works properly. Move slowly and then quickly to see if the response is consistent. Wait for the light to turn off, then repeat the test several times.
For dusk to dawn sensors, observe the light’s behavior at different times of day. It should turn on as evening approaches and off when morning arrives. If this doesn’t happen, the light sensor may still have issues.
Check the surrounding environment too. Make sure nothing blocks the sensor now. Remove any objects that cast shadows on it. Position it away from direct sunlight, which can interfere with readings.
If the sensor still fails to respond properly, try a power cycle. Unplug the nightlight for 30 seconds, then plug it back in. This resets the internal electronics and sometimes fixes stubborn issues.
Document what happens during your tests. Does the light respond every time or only sometimes? Does it trigger without movement? These observations help identify whether the problem is truly solved or if something else needs attention.
Preventing Future Clouding and Buildup
Keeping your smart nightlight sensor clear requires simple, regular habits. The best prevention starts with smart placement. Position your nightlight away from direct sunlight, which accelerates window degradation over time. Avoid placing it near windows or doors where moisture and dust enter easily.
Check your sensor window monthly as part of basic maintenance. A quick visual inspection catches problems early before they worsen. Look for any visible dust, fingerprints, or hazy spots on the glass or plastic covering.
Keep the area around your nightlight clean and unobstructed. Dust naturally settles on surfaces, and your sensor window attracts particles just like any other surface. Wipe nearby shelves and walls occasionally to reduce dust circulation in the space.
Ensure nothing covers or leans against your sensor window. Objects resting on the fixture trap moisture and prevent air circulation. This creates the perfect environment for cloudiness and buildup to develop.
Control humidity levels in rooms where you install nightlights. Bathrooms and kitchens produce steam that condenses on sensor windows. Use exhaust fans during and after showers or cooking to reduce moisture in the air.
Avoid placing nightlights in damp basements or garages where condensation forms easily. If you must install one there, choose a location with better air circulation.
Store your nightlight properly if you remove it seasonally. Keep it in a dry place away from extreme temperature changes. Temperature fluctuations cause condensation inside the sensor window.
Test your sensor every few weeks to catch issues early. Regular testing helps you notice when sensitivity decreases before the light stops working completely. Quick action prevents minor problems from becoming major failures that require replacement.
Common Mistakes to Avoid When Cleaning Sensors
Using abrasive materials on your sensor window is the biggest mistake you can make. Rough cloths, paper towels, and scouring pads scratch the lens surface. Once scratched, the window won’t transmit light signals clearly, even after cleaning. Always use soft, lint free cloths instead.
Applying liquid cleaners directly to the sensor is another common error. Water or cleaning solutions can seep into the device and damage internal components. Never spray or pour liquids onto the sensor window. If moisture gets inside, it creates permanent cloudiness that cleaning won’t fix. For stubborn dirt, slightly dampen your cloth first, then wipe gently.
Ignoring the sensor’s position while cleaning causes repeated problems. Many people clean the window but leave the nightlight in a shaded spot or behind furniture. The sensor still won’t work properly because something blocks its view. Check the surrounding environment during your cleaning routine.
Using excessive pressure while wiping damages the delicate sensor lens. Gentle circular motions work much better than hard scrubbing. Your goal is to remove dust, not polish the window aggressively.
Forgetting to power off your nightlight before cleaning creates safety risks. You might accidentally trigger the device or damage components with static electricity. Always disconnect power first.
Not testing the sensor after cleaning means you won’t know if your work actually solved the problem. Walk in front of the light during daytime and observe its response. This simple step confirms whether cloudiness was truly the issue.
Finally, avoid touching the sensor window with bare fingers after cleaning. Oils from your skin create new buildup quickly. Handle the device by its edges only.
Troubleshooting Persistent Sensor Issues
Persistent sensor issues often stem from problems beyond simple clouding. Your smart nightlight sensor may fail to respond even after cleaning because of deeper mechanical or environmental problems.
Check your sensor’s physical position first. If your nightlight sits in a corner or against a wall, the sensor angle might not capture movement properly. Sensors work best when they have a clear line of sight to the area you want to monitor. Move your nightlight to a more central location if possible. Avoid placing it directly behind furniture or decorative items.
Verify that shade isn’t blocking your sensor. Even clean sensors won’t work if sunlight or ambient light can’t reach them properly. Dusk to dawn sensors need access to natural light changes throughout the day. Motion sensors need a clear view of the space they monitor. Reposition your nightlight away from shadows cast by trees, curtains, or other objects.
Test your sensor in different lighting conditions. Sometimes sensors become oversensitive or undersensitive due to their settings. Bright rooms may require different sensitivity levels than dim rooms. Check your nightlight’s manual for sensitivity adjustment options and try lowering or raising these settings slightly.
Power cycle your nightlight completely. Turn off the power at the wall switch for 30 seconds, then turn it back on. This simple reset often fixes sensor responsiveness issues that cleaning doesn’t solve.
Document what happens during testing. Note whether your sensor responds inconsistently, never responds, or responds too frequently. This information helps you identify whether the problem is mechanical, environmental, or electrical. Persistent issues may indicate a faulty sensor that requires replacement rather than cleaning.
Resetting Your Smart Nightlight Sensor
A reset can fix many sensor problems you face with smart nightlights. Your device may need a fresh start when the sensor stops responding correctly even after cleaning.
Start by locating your reset button. Most smart nightlights have a small reset button on the control panel or back of the unit. Check your manual to find the exact location. The button is often recessed to prevent accidental resets.
Power off your nightlight first. Turn off the wall switch and wait 30 seconds. This gives the internal circuits time to discharge completely. Then turn the power back on and wait for the light to stabilize.
Press and hold the reset button. Use a paperclip or small tool to reach recessed buttons. Hold it for 10 to 15 seconds until you see the light flash or hear a beep. Different models have different reset signals, so watch for any indication that the reset worked.
Release the button and wait. Let your nightlight sit for another 30 seconds without power. Then turn it back on at the wall switch. Your sensor should now restart with default settings.
Test your sensor immediately. Walk in front of the nightlight to see if motion detection works. Move slowly and quickly to test responsiveness. Check if the light responds in different areas of the room.
Adjust sensitivity settings if needed. After resetting, your sensor may need recalibration. Lower the sensitivity if your light triggers too often. Raise it if the sensor doesn’t respond to movement.
A successful reset restores your sensor’s ability to detect light changes and motion accurately. If problems continue after resetting, your sensor window may need deeper cleaning or professional service.
Final Thoughts
A cloudy sensor window seems like a small problem. But it can stop your smart nightlight from working right.
The good news is that most fixes are simple. Cleaning the sensor solves the majority of clouding issues you face.
Regular maintenance keeps your nightlight working well. Wipe the sensor window every few months. This prevents dust and grime from building up again.
Physical placement matters just as much as cleanliness. Your nightlight needs a clear path to detect light and motion. Keep furniture and decorations away from the sensor area.
Remember that sensitivity settings play a big role too. A clean sensor with wrong settings still causes problems. Take time to adjust these settings after any cleaning or reset.
Testing remains your best friend throughout this process. Always check your sensor after making changes. This confirms your fixes actually worked.
Some sensor issues need more than cleaning alone. A full reset often clears up stubborn glitches. Don’t hesitate to try this step when basic cleaning doesn’t help.
Patience helps when troubleshooting these devices. Sensors sometimes need time to recalibrate after resets. Give your nightlight a chance to adjust before assuming it’s broken.
Most clouding problems have straightforward solutions. You don’t need technical expertise to fix them. Basic cleaning and careful positioning solve the vast majority of cases.
Keep your sensor window clean and clear. Check its position regularly. Test its function often.
These simple habits extend your nightlight’s life. They also ensure reliable performance night after night. Your smart nightlight will serve you well when you give it proper care and attention.
Frequently Asked Questions
Why does my smart nightlight sensor stop responding after cleaning?
A clean sensor should work better, not worse. If your sensor still doesn’t respond after you clean it, the problem likely goes deeper than dirt. Check if something is blocking the sensor physically. Objects placed in front of the nightlight can prevent light from reaching the sensor. Also verify that your nightlight isn’t sitting in a shaded area where natural light can’t reach it properly.
Your sensor might also need a power cycle. Turn off the wall switch for 30 seconds, then turn it back on. This resets the sensor’s detection system and often fixes responsiveness issues.
Can a cloudy sensor window cause my light to stay on constantly?
Yes, but usually for a different reason. A cloudy sensor window typically causes the light to turn off when it should stay on. However, if your light stays on all the time, your sensitivity settings are probably too high rather than your window being cloudy.
Reduce your sensor’s sensitivity level using the control panel. Your nightlight should have adjustment settings that let you lower how easily the sensor triggers. Start with a lower sensitivity and gradually increase it until the light responds properly.
How often should I clean my sensor window?
Clean your sensor window every two to four weeks for best results. Dust and debris build up naturally in your home. Regular cleaning prevents clouding before it becomes a problem.
Use a soft, dry cloth to wipe the sensor gently. Avoid harsh chemicals or abrasive materials that could scratch the window. A quick wipe during your regular home cleaning routine works perfectly.
What’s the difference between a cloudy sensor and a broken sensor?
A cloudy sensor responds after you clean it. A broken sensor doesn’t respond even after cleaning and power cycling. Test your sensor in different lighting conditions to determine which issue you have.
If cleaning and resetting don’t work, your sensor likely needs replacement or professional repair.

Hi, I’m Sonny Dawson, the creator and voice behind ConvertResizeGen. 👋 I’m a passionate tech enthusiast who loves exploring the latest gadgets, devices, and electronics that shape the way we live and work. Through my website, I share honest, hands-on reviews of trending Amazon products to help you make smarter buying decisions.