How To Fix E-Ink Tablet Screen Scratches From Stylus Friction?
Do you love your e-ink tablet but hate those tiny scratches on the screen? You are not alone.
Many users notice fine lines appearing after months of writing and sketching. These marks often come from stylus friction, not a defective screen.
The good news? Most scratches happen for simple reasons. A worn stylus tip, trapped dust, or heavy hand pressure can all wear down the display over time.
This article breaks down why these scratches happen in the first place. You will learn how debris between your stylus and screen speeds up damage.
In a Nutshell
- Check your stylus tip first. A worn or rough tip is the main cause of screen scratches. Replace it as soon as you notice damage.
- Clean often. Dust and debris between the stylus and screen create friction. Wipe both surfaces before each use.
- Use light pressure. Pressing too hard while writing or drawing speeds up wear on both the screen and the tip.
- Try a drawing glove. This simple tool cuts down friction and stops oil from your hand touching the screen.
- Inspect the tip regularly. Look closely for tiny burrs or rough edges. These can dig into your screen over time.
- Think about screen protectors carefully. Experts do not fully agree on their benefit. Good stylus care often matters more than any added layer.
Why Stylus Friction Damages E-Ink Screens
E-ink screens are delicate surfaces designed for precision touch input. When you use a stylus, the tip makes direct contact with this sensitive layer. Friction builds up between the stylus tip and the screen with every stroke you make.
Worn stylus tips are the primary problem. Over time, the rounded point flattens or develops rough edges. These damaged edges scrape across the screen surface instead of gliding smoothly. The friction intensifies with each use, leaving visible marks behind.
Debris makes this problem worse. Dust, dirt, and small particles collect between your stylus and screen. When you press down during writing or drawing, these particles act like sandpaper. They grind against the protective layer of your e-ink display. The combination of a rough stylus tip plus trapped debris creates the perfect conditions for scratching.
Pressure matters too. Many users press harder than necessary when writing or drawing. This extra force increases friction and speeds up the damage process. The screen was never meant to handle heavy pressure like traditional paper and pen.
Your hand’s natural oils also contribute. When your skin touches the screen, oils transfer to the surface. These oils reduce the smooth gliding action of your stylus. The tip catches more easily on the screen, creating additional friction and potential scratches.
Understanding these causes helps you prevent damage before it starts. The stylus tip condition is your first line of defense. A smooth, rounded tip creates minimal friction. Regular cleaning removes debris that amplifies scratching. Light pressure during use protects both your screen and stylus from premature wear. These simple factors work together to keep your display scratch free for years.
Assessing the Damage: Types of Scratches and Severity
E-ink tablet screens show damage in different ways. Understanding what type of scratch you have helps you decide on the best fix.
Surface scratches appear as light, thin lines on your screen. These scratches sit only on the top protective layer. You can often see them only at certain angles or when light hits the screen just right. Surface scratches rarely affect how your tablet works.
Deep scratches go further into the display. These marks stay visible from almost any angle. They may look darker or more pronounced than surface scratches. Deep scratches sometimes affect the screen’s ability to refresh properly in that exact spot.
Hazing or clouding shows up as a dull, frosted area rather than a single line. This happens when the stylus tip wears unevenly and creates multiple tiny scratches close together. The affected zone looks less sharp than the surrounding screen.
To assess your damage, turn on a bright white page or image. Tilt your tablet at different angles to see the scratches clearly. Run your fingernail gently over the mark to feel if it’s raised or recessed.
Severity matters for your next steps. Light surface scratches often fade with regular use as the screen refreshes thousands of times. Moderate scratches stay visible but don’t impact function. Severe scratches or deep gouges may need professional repair or screen replacement.
Most scratches from stylus friction fall into the surface or moderate category. These rarely cause real problems with your tablet’s performance. However, they do affect how your screen looks, which bothers many users.
Step-by-Step: Fixing and Minimizing Existing Scratches
Once you identify scratches on your e-ink tablet, act quickly to stop them from getting worse. The first action is replacing your stylus tip if it shows any signs of wear or roughness. A damaged tip will continue scratching your screen with every stroke you make.
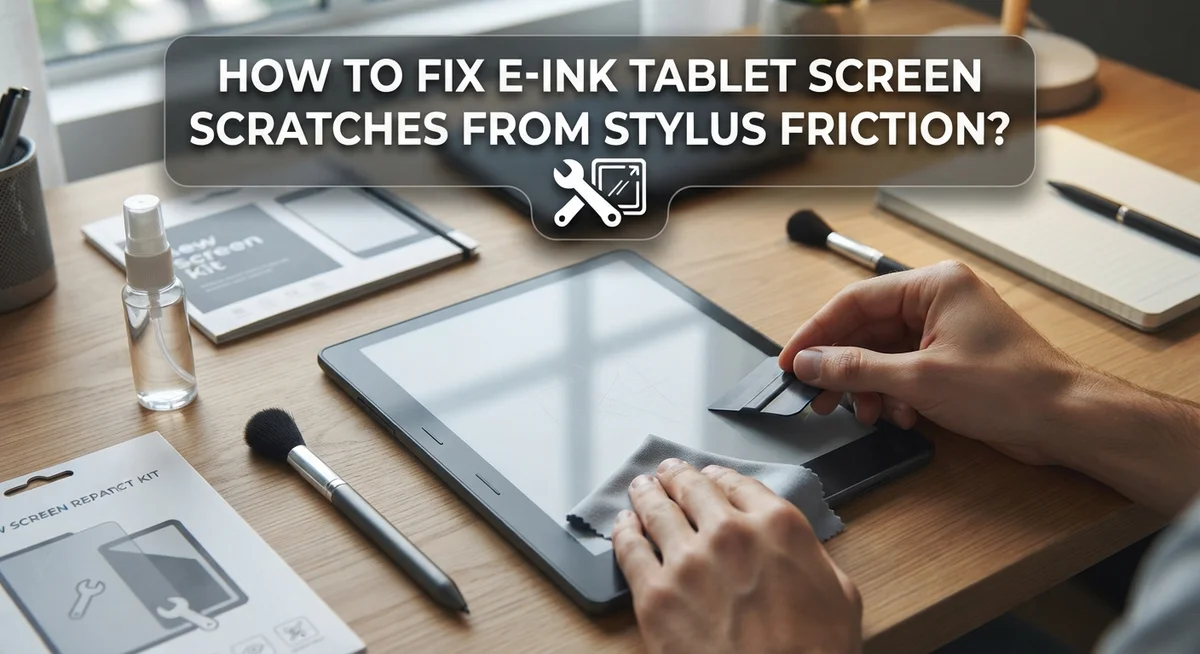
Clean your screen and stylus thoroughly right away. Use a soft, dry microfiber cloth to wipe both surfaces gently. Dust particles trapped between the stylus and screen create extra friction that deepens scratches over time. Pay special attention to the stylus tip and the screen corners where debris collects.
Adjust your writing pressure immediately. Many people press too hard without realizing it. Light, gentle strokes work just as well as heavy pressure and cause far less damage. Your e-ink tablet responds to minimal contact, so reduce your force by about 50 percent and notice how your screen improves.
Start wearing a drawing glove during every session. This simple cloth tool reduces friction between your hand and screen while preventing natural skin oils from transferring to the surface. Both factors contribute to scratch formation and screen degradation.
For existing scratches, monitor them closely over the next few weeks. Light surface scratches often appear less noticeable as your screen refreshes and cycles through normal use. If scratches remain visible or worsen, this signals that your stylus tip still needs replacement or your cleaning routine needs improvement.
Establish a weekly maintenance habit. Spend five minutes cleaning both your stylus and screen, inspecting the tip for new roughness, and checking your pressure during test strokes. This routine prevents small issues from becoming permanent problems that affect your entire display.
Inspecting and Replacing a Worn Stylus Tip
A worn stylus tip is the main reason e-ink screens get scratched. You need to inspect your stylus carefully to see if replacement is necessary.
Start by looking at the tip under bright light. A healthy tip appears smooth and rounded. A worn tip looks flat, rough, or has tiny burrs sticking out. Run your finger gently over the tip to feel for roughness. A damaged tip feels scratchy or uneven.
Microscopic debris can hide on worn tips too. This debris acts like sandpaper between your stylus and screen, causing more damage. Even a slightly worn tip can scratch your display if you don’t replace it soon.
Check your stylus tip weekly if you use your tablet daily. The more you write or draw, the faster the tip wears down. Some people replace their tips every few months. Others go longer depending on pressure and usage habits.
Don’t wait until your tip is severely damaged. Replacing a worn tip early stops future scratches before they happen. This is far easier than trying to fix scratches later.
When you notice roughness or flatness, order a replacement tip right away. Most styluses use removable tips that pop out easily. Installation takes just seconds. Keep spare tips on hand so you always have a fresh one ready.
Regular tip replacement is the single best way to prevent stylus friction damage. It costs very little and saves your screen from permanent marks. Combined with cleaning and light pressure, a new tip keeps your e-ink display looking perfect for years.
Cleaning Routine for Screen and Stylus Maintenance
Your e-ink tablet needs regular care to stay in top shape. A consistent cleaning routine protects both your screen and stylus from unnecessary damage.
Start by cleaning your screen at least twice a week. Use a soft, lint-free cloth and gently wipe the display surface. Microfiber cloths work best because they don’t leave residue behind. Avoid paper towels or rough fabrics that can scratch the already vulnerable surface.
For stubborn dust or debris, slightly dampen your cloth with distilled water. Never spray liquid directly on your tablet. A barely damp cloth removes dirt without leaving water marks or causing electrical issues.
Clean your stylus tip weekly as well. Dust and debris accumulate on the tip during normal use. This buildup acts like sandpaper against your screen. Wipe the tip with the same soft cloth you use for your display.
Inspect your stylus tip closely under bright light each week. Look for roughness, flatness, or visible wear. Run your finger gently across the tip to feel for irregularities. Worn tips need replacement immediately to prevent further scratches.
Store your tablet and stylus in a clean, dust-free environment. Keep them in a protective case when not in use. This simple step reduces debris accumulation between cleaning sessions.
Establish a weekly maintenance schedule and stick to it. Mark your calendar or set a phone reminder. Consistency prevents problems from building up over time.
Regular maintenance is far easier than dealing with scratches later. By cleaning both your screen and stylus weekly, you dramatically reduce friction damage. This routine takes only five minutes but saves your tablet from preventable harm.
Proper Writing Technique and Pressure Control
Your writing technique directly impacts whether your stylus scratches the e-ink screen. Pressure control is the foundation of scratch prevention. Most people press far too hard without realizing it, and this excessive force is a major cause of friction damage.
Start by holding your stylus at a comfortable angle, around 45 degrees from the screen surface. This angle naturally reduces pressure and lets the stylus glide smoothly. Your grip should be relaxed, not tense. A tight grip forces you to press harder than necessary.
Apply only light to medium pressure when writing or drawing. Think of it like writing on paper with a regular pen. You don’t need to press hard to make marks appear on an e-ink screen. The stylus should do the work, not your hand strength.
Practice writing slowly and deliberately. Speed combined with pressure creates more friction and increases scratch risk. Slow, controlled strokes let you maintain consistent, gentle contact with the screen.
Pay attention to your pinky and ring finger position. If these fingers rest heavily on the screen, you’re adding unwanted pressure from your hand weight. Use a drawing glove to reduce this contact and prevent oil transfer to the screen.
Test your pressure by writing on a blank page. If your marks appear clearly with light pressure, you’ve found the right technique. If you need to press hard to see results, your stylus tip may be worn and needs replacement.
Developing good habits now prevents most scratches from ever forming. Consistent, gentle pressure combined with proper grip becomes automatic with practice. Your e-ink tablet will stay scratch-free when you use the right technique every single time.
Mistakes That Make Scratches Worse
Using excessive pressure is one of the fastest ways to damage your e-ink screen. When you press hard with your stylus, you increase friction between the tip and the display surface. This friction creates tiny scratches that accumulate over time.
Debris trapped between your stylus and screen makes scratches worse. Dust, lint, and dried ink particles act like sandpaper. Even a speck of dirt can cause visible damage when you’re applying pressure. Always clean both your stylus tip and screen before each use.
Continuing to use a worn or damaged stylus tip is a major mistake. A tip with rough edges or flat spots scratches the screen much faster than a smooth, round tip. The damage compounds because the worn tip creates more friction with every stroke you make.
Neglecting regular maintenance allows problems to build up. If you skip cleaning sessions, debris accumulates on your screen and stylus. This makes every writing session more damaging. What could have been prevented with simple care becomes a serious problem.
Storing your tablet in dusty environments adds unnecessary risk. Dust settles on your screen and stylus, waiting to cause damage. Keep your device in a clean, protected space when not in use.
Ignoring early warning signs is another costly error. If you notice your stylus tip feels rough or your screen shows light scratches, address it immediately. Small problems become big ones when left alone.
The key mistake people make is treating scratches as inevitable. They are not. Most scratches result from preventable errors like excessive pressure, poor maintenance, and continued use of damaged styluses. Focus on prevention rather than accepting damage as normal.
Troubleshooting Persistent Marks and Stylus Drag Issues
Persistent marks on your e-ink tablet often come from stylus drag issues. These marks look like thin lines or streaks across your screen. They happen because your stylus tip has worn down or debris sits between the tip and screen surface.
Start by examining your stylus tip closely under bright light. Look for roughness, flattened edges, or visible damage. A worn tip feels bumpy rather than smooth. If you see damage, the tip needs replacement. This is your first and most important step.
Next, check what’s trapped on your screen. Dust particles and lint act like sandpaper when your stylus moves across the display. Wipe your screen gently with a soft, lint-free cloth. Use circular motions and light pressure only. For stubborn debris, dampen your cloth slightly with distilled water.
Clean your stylus tip thoroughly as well. Wipe it with a clean cloth to remove any particles clinging to the surface. Pay special attention to the edges where debris hides.
If marks persist after cleaning and tip replacement, your writing pressure may be too heavy. Press down lightly when using your stylus. Let the tablet do the sensing work. Heavy pressure forces the tip into the screen surface, creating deeper marks.
Use a drawing glove on your writing hand. This reduces friction between your skin and the screen while preventing oils from transferring to the surface. These oils can trap dust particles.
Monitor your stylus tip regularly each week. Catch wear early before it causes more damage. Persistent marks usually stop appearing once you replace the worn tip and maintain a consistent cleaning routine.
Final Thoughts
Scratches on your e-ink screen do not have to be a permanent worry. Most damage comes from worn stylus tips and trapped debris, not from normal use.
Once you understand this, prevention becomes simple. Small habits make a big difference over time.
Check your stylus tip often. A quick glance under good light tells you if it needs replacing. This one habit prevents most future scratches.
Keep your screen and stylus clean every week. Dust and grit act like sandpaper when they sit between the tip and the surface. A soft cloth and a few minutes of care go a long way.
Watch your pressure too. Light strokes protect the screen far better than heavy ones. Your tablet responds well to a gentle touch, so there is no need to press hard.
A drawing glove can also help. It reduces friction and keeps oils from your hand off the screen. This small accessory supports smoother, safer writing.
If you already have light scratches, do not panic. Many marks fade with proper cleaning and a fresh stylus tip. Deeper marks may need more patience, but consistent care often improves the look of the screen over time.
Think of scratch prevention as an ongoing routine, not a one time fix. Regular checks, clean tools, and mindful pressure keep your screen smooth for longer.
Your e-ink tablet can last for years without major screen damage. The secret lies in simple, steady habits rather than complicated fixes.
Stay consistent, stay gentle, and your screen will thank you. With a little attention, you can enjoy a clear, scratch free writing experience for a long time to come.
Frequently Asked Questions
Can I fix scratches that are already on my e-ink screen?
Unfortunately, deep scratches on e-ink screens cannot be repaired. The damage is permanent once it occurs. However, light surface scratches often become less visible over time as dust settles into them. The best approach is prevention moving forward. Focus on maintaining your stylus and screen to avoid new scratches.
Why does my stylus keep scratching the screen even after cleaning?
Your stylus tip is likely worn or damaged. Even after cleaning, a rough or flattened tip will continue causing scratches. Replace the stylus tip immediately if you notice any roughness, flat spots, or visible wear. A brand new tip makes a huge difference in reducing friction and preventing marks.
Is a screen protector necessary for my e-ink tablet?
Screen protectors offer mixed results. Some users find them helpful, while others report they reduce screen clarity and responsiveness. The better strategy is proper stylus maintenance instead. Keep your stylus tip smooth and new, clean your screen weekly, and use light pressure. These steps prevent most scratches without adding a protective layer.
What pressure level should I use when writing or drawing?
Use minimal pressure on your e-ink screen. Let the stylus do the work rather than pressing hard. Heavy pressure accelerates stylus wear and increases scratch risk significantly. Your writing should feel light and natural, almost like the stylus is gliding across the surface rather than pressing into it.
How often should I inspect my stylus tip?
Check your stylus tip weekly under bright light. Look for roughness, flattened edges, or any visible damage. Early detection helps you replace the tip before major scratches develop. A quick inspection takes seconds and saves your screen from unnecessary damage.

Hi, I’m Sonny Dawson, the creator and voice behind ConvertResizeGen. 👋 I’m a passionate tech enthusiast who loves exploring the latest gadgets, devices, and electronics that shape the way we live and work. Through my website, I share honest, hands-on reviews of trending Amazon products to help you make smarter buying decisions.