How To Fix Smart Name Badge E-Ink Display Refresh Artifacting?
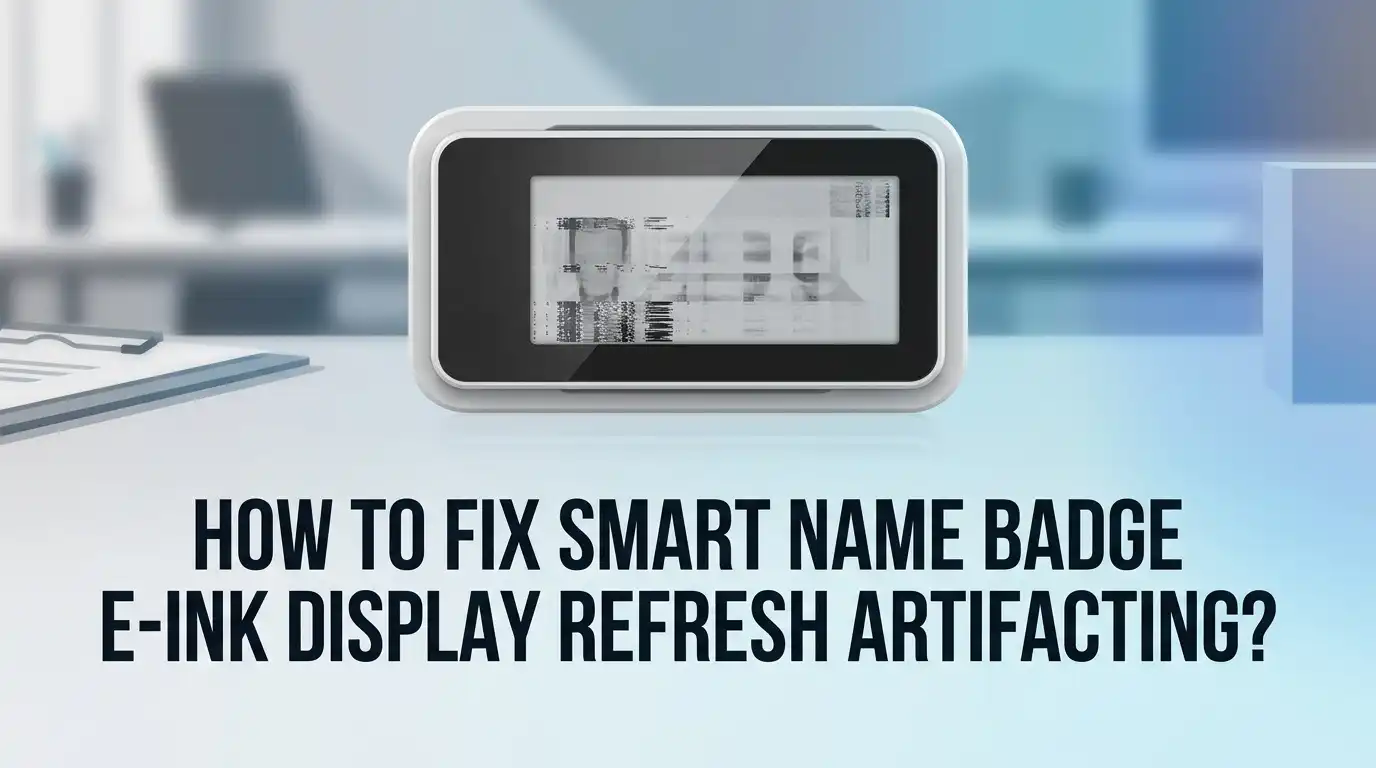
Smart name badges look sleek until strange marks show up on the screen. You glance down and see faint outlines of old text or ghost images. This is called artifacting, and it happens more often than people think.
E-Ink displays work differently than regular screens. They only use power when the image changes. This makes them efficient, but it also means pixels can get stuck mid transition.
When that happens, you get blurry shapes or leftover shadows from the last update. It looks messy and can make your badge hard to read.
In a Nutshell
- Update through the app. Use your compatible Android device and hold your phone near the badge. The NFC connection sends new data straight to the screen in just two simple steps.
- Dithering matters. Always let the app apply its dithering algorithm before you transfer an image. This step smooths out pixels and stops rough edges from turning into ghosting later.
- Flash the screen fully. A full screen flash clears every pixel back to a blank state. This resets the display and wipes away old shadows from previous images.
- Check your device type. Most badges work best with Android phones, though some Linux options exist too. Using the wrong device often causes failed or incomplete updates.
- Avoid rushing the process. Skipping steps like dithering or flashing is a common mistake. Take your time so the badge has power to complete each transition properly.
- Protect the surface. A screen protector guards against scratches that can make artifacting look worse over time.
Understanding E-Ink Displays and Why Artifacting Happens
E-Ink displays work on a completely different principle than the screens on your phone or laptop. Traditional screens use constant power to keep pixels lit. E-Ink badges only need power when you change the image. Once a picture appears, it stays there without draining the battery.
This low-power magic comes with a trade-off. When pixels shift from one state to another, they don’t always complete the transition cleanly. Artifacting happens when old pixel data lingers on your badge screen. You see ghostly outlines or shadowy marks from previous images.
Think of it like this: each pixel on an E-Ink display can hold a charge. When you send a new image, some pixels respond immediately while others lag behind. If the refresh cycle ends too soon, incomplete pixels leave behind traces of the old picture. This creates the blurry or shadowy effect you notice.
The refresh process matters enormously. Your badge needs to cycle through different electrical states to fully reset each pixel. A complete flash refresh clears the entire screen back to blank. This resets all pixels to their base state before displaying your new image.
Incomplete updates are the main culprit. If you skip steps or rush the transfer process, pixels don’t get proper time to transition. The image quality suffers, and ghosting becomes more visible.
Understanding this process helps you prevent artifacting. You now know why certain refresh steps exist. They’re not optional features. They’re essential to keeping your badge display clean and readable. The good news? Once you follow the correct update procedure, your display will look sharp again.
What You Need Before Fixing Your Smart Badge Display
Before you start fixing your smart badge display, gather a few essential items. You won’t need much, but having everything ready makes the process smoother.
First, get a compatible Android device. Most smart badges sync through Android phones or tablets using NFC technology. Check your badge manual to confirm Android compatibility. Some badges also work with Linux alternatives, though Android remains the standard option.
Next, download the official mobile app. Your badge manufacturer provides a dedicated application for managing updates and transfers. Install this app on your Android device before attempting any fixes. The app handles the dithering algorithms that optimize image quality automatically.
Have a clean, flat surface ready. You’ll need a stable workspace where you can hold your phone near the badge during the update process. A desk or table works perfectly. Keep the area free from clutter so you can focus on the NFC connection.
Ensure your badge has adequate battery charge. E-Ink displays need power to refresh pixels and clear artifacts. Check your badge’s battery level before starting. A low battery might prevent the full screen flash cycles needed to eliminate ghosting.
Prepare any images you want to transfer. If you’re updating the badge display, have your images saved and ready. The app will apply dithering optimization automatically, so you don’t need to edit them beforehand.
Clear your schedule for the update. The process typically takes just a few minutes, but don’t rush. Skipping steps like the dithering phase or full flash cycle is a common mistake that leaves artifacts behind.
Having these basics in place sets you up for success.
Step-by-Step Guide: Updating Your Badge via NFC and App
Start by ensuring your Android device has the official mobile app installed. Open the app and look for the update or refresh section. Most apps display a clear menu option labeled “Update Badge” or “Sync Display.”
Hold your phone close to your badge’s NFC sensor. The sensor is usually located on the back or side of the badge. You’ll see a prompt on your screen asking you to position your device. Keep the phone steady and wait for the connection to establish.
Before transferring any image, let the app apply its dithering algorithm. Dithering optimizes how the image appears on E-Ink screens by adjusting pixel patterns. This step prevents poor image quality and reduces artifacting. Don’t skip this part, as it’s essential for clean results.
Select the image or design you want to display. The app will process it automatically. You’ll see a preview of how it will look on your badge’s screen. Review this carefully before proceeding to the next step.
Initiate the full screen flash cycle. This step resets every pixel back to a blank state, which eliminates residual artifacts from previous displays. The flash typically takes a few seconds to complete. Your badge screen will go white, then black, then display your new image.
Keep your phone near the badge until the transfer finishes. Moving it too early can interrupt the process. Once complete, the app will confirm the update with a notification.
Disconnect your phone and check your badge display. The image should appear clean without ghosting or residual marks. If artifacting persists, repeat the process and ensure you’re applying the dithering algorithm each time.
How to Apply Dithering for Better Image Quality
Dithering is a technique that converts images into patterns your E-Ink display can show clearly. It breaks down colors and shades into tiny dots that your eyes blend together visually. This process reduces the ghosting and artifacting you see on your badge screen.
Why dithering matters for your badge. E-Ink pixels work in limited states, usually black, white, and gray. When you try to display complex images with many color gradations, the display struggles. Dithering solves this by using dot patterns instead of solid colors. Your badge then renders these patterns smoothly without leaving residual marks.
How to apply dithering through your app. Most badge manufacturers build dithering directly into their official mobile application. When you select an image to transfer, the app automatically analyzes it. The software then applies the dithering algorithm before sending data to your badge. You don’t need to do anything manually—the app handles the conversion.
Different dithering methods available. Your app may offer several dithering options like ordered dithering or error diffusion. Ordered dithering creates regular dot patterns that look structured. Error diffusion spreads pixel errors across nearby areas for smoother results. Test both methods to see which produces better quality on your specific badge model.
Best practices when applying dithering. Always use high-quality source images before the app processes them. Avoid heavily compressed photos, as dithering works best with clear originals. Make sure your badge completes the full-screen flash cycle after dithering application. This resets all pixels and ensures the dithered image displays without artifacts or ghosting effects.
Using Full-Screen Flash Refresh to Eliminate Ghosting
A full screen flash refresh is your most powerful tool for eliminating ghosting on E-Ink smart badges. This process resets every pixel on your display to its neutral state, clearing residual images that linger from previous updates.
Ghosting happens because E-Ink pixels don’t always complete their transition from one state to another. When you update your badge repeatedly without clearing, old image data stays partially visible behind new content. A full flash cycle forces all pixels back to a blank state before displaying your new image.
How the flash refresh works in practice: Your badge app initiates a complete clearing cycle that sends a full-power pulse across the entire display. This pulse moves every pixel through its complete range of motion, from fully black to fully white and back again. The process takes only a few seconds but makes a dramatic difference in display clarity.
You’ll notice the screen flicker or flash white during this cycle. That’s exactly what you want to see. The flashing indicates pixels are resetting properly and shedding old charge patterns that cause artifacts.
When to use full flash cycles: Apply a full flash refresh whenever you notice ghosting appearing on your badge. You should also use it before transferring new images if your badge hasn’t been updated in several weeks. Regular flashing keeps your display crisp and prevents artifacts from building up over time.
The flash cycle uses slightly more battery power than a standard update, but the trade off is absolutely worth it. Clean displays perform better and look more professional. Make full screen flashing part of your regular badge maintenance routine for consistently sharp, artifact free images.
Common Mistakes That Cause Persistent Artifacting
Many people cause persistent artifacting by making simple but costly mistakes during their badge update process. Understanding these errors helps you avoid ghosting problems before they start.
The most common mistake is skipping the dithering step entirely. Your app includes dithering for a reason. When you bypass this optimization, your E-Ink display struggles to render images properly. Pixels cannot transition smoothly between states. The result is visible banding, poor contrast, and lingering artifacts that won’t disappear.
Another frequent error involves using low-quality source images. You cannot fix a blurry or compressed photo through dithering alone. Always start with clear, high-resolution images. Your app works best when given good material to process. Low-quality inputs lead to low-quality outputs, no matter what settings you choose.
People also make mistakes by not holding their phone steady during NFC transfers. Movement interrupts the wireless connection between your device and badge. Incomplete transfers leave partial data on your display. This creates strange visual glitches and incomplete image rendering.
Additionally, many users neglect to run full-screen flash cycles regularly. They wait until ghosting becomes severe before taking action. By then, artifacts have accumulated deeply in your display memory. Running flash cycles proactively prevents this buildup.
Finally, some people attempt updates without compatible devices. Your badge requires an Android phone with the official app installed. Using workarounds or incompatible systems introduces errors during transfer.
The solution is straightforward. Always apply dithering before transfer. Use quality images. Keep your phone steady during updates. Run regular full-screen flashes. Use compatible Android devices. These simple practices eliminate most artifacting problems before they develop.
Troubleshooting Stubborn Display Issues
When your E-Ink smart badge shows stubborn display issues, the problem usually stems from incomplete pixel transitions. These transitions create ghost images that won’t disappear, even after you update your badge with new content.
The first step is understanding what causes the problem. E-Ink pixels sit in specific states (black, white, or gray). When they don’t fully transition between states, residual marks remain on your screen. This happens more often with complex images or rapid successive updates.
Start by checking your update method. Make sure you’re using a compatible Android device with your badge’s official app. Hold your phone steady near the badge during NFC transfer. Movement or distance interruptions can cause incomplete pixel state changes that create artifacts.
Next, run a full screen flash refresh cycle. This powerful tool resets every pixel on your badge by sending a complete clearing pulse. Your screen will flicker white momentarily, which is normal. This action removes stubborn ghosting that regular updates can’t fix.
If artifacts persist, examine your source images. Low quality or overly complex images strain the E-Ink display’s ability to render content cleanly. Simplify your designs and use high contrast where possible.
Consider running flash cycles more frequently. While they use slightly more battery power, the trade off prevents artifact buildup over time. Many users find that monthly full flash cycles keep their displays clean and responsive.
Finally, check your app settings for any pending updates. Badge firmware improvements often include better pixel management algorithms that reduce artifacting naturally. Keep your app and badge firmware current to access these improvements.
Maintaining Your Badge Display for Long-Term Clarity
Your smart name badge display needs regular care to stay clear and sharp. Think of it like maintaining any screen you use daily. The good news is that proper maintenance prevents most artifacting problems before they start.
Battery management plays a key role in keeping your display healthy. E-Ink technology only uses power when changing images, so your badge can run for weeks or months on a single charge. However, letting the battery drain completely can cause display issues. Keep your badge charged at reasonable levels, even if you don’t use it every day.
Environmental factors matter more than you might think. Extreme heat or cold can affect how pixels respond during refresh cycles. Store your badge at room temperature when not wearing it. Direct sunlight for extended periods can also impact display performance over time.
Regular update cycles actually help your display. Sending fresh updates to your badge keeps the pixels active and responsive. Stale images that sit unchanged for months can develop more noticeable ghosting. Update your badge content every few weeks, even if just to refresh the same image.
Physical care prevents display damage. Scratches and impacts can damage the protective layer over your E-Ink panel. Use a protective case when your badge isn’t being worn. Avoid dropping it or pressing hard on the screen surface.
Monitor your display quality regularly. Watch for early signs of artifacting or fading. Catching problems early makes them easier to fix. If you notice changes in clarity or contrast, run a full screen flash cycle right away to reset your pixels.
Final Thoughts
Fixing E Ink display artifacting does not need to be complicated. Most issues come down to two simple habits: using proper dithering and running regular flash cycles.
Your badge display works hard every day. Small maintenance steps keep it looking crisp and professional for a long time.
Remember that ghosting happens when pixels do not fully transition. A full flash refresh fixes this by resetting every pixel to its correct state.
Always update your badge using a compatible Android device. This ensures the app can properly communicate with your badge through NFC.
Take time to prepare your images before transfer. Good source quality combined with dithering algorithms gives you cleaner, sharper results on screen.
Hold your phone steady during updates. This small action prevents transfer errors that can lead to display problems later.
Make flash cycles part of your routine. Think of this step as a reset button that clears away any lingering visual artifacts.
Do not ignore early warning signs. Faint ghosting or blurry edges often signal that your badge needs a flash cycle soon.
Protect your badge physically as well. A scratched screen can create display issues that no software fix will solve.
Environmental factors matter too. Try to keep your badge away from extreme temperatures whenever possible.
With these habits, your smart badge should stay reliable and clear. Consistent care really does make the biggest difference over time.
Fixing artifacting is not about complex troubleshooting. It is about building simple habits that protect your display every single day.
Frequently Asked Questions
Why does my E-Ink badge display show ghost images?
Ghost images appear when pixels don’t fully transition between states during refresh cycles. E-Ink technology requires power to change pixel positions, but incomplete transitions leave traces of old content on screen. This happens most often when you skip full screen flash cycles during updates.
The solution involves running a complete flash refresh. This resets all pixels to a neutral state before displaying new content. Think of it like clearing a whiteboard completely before writing new notes.
How do I prevent artifacting before it starts?
Start by preparing your source images properly. Apply dithering algorithms to your images before transferring them to your badge. Dithering optimizes how colors and shades display on E-Ink panels, reducing the chance of incomplete transitions.
Next, use your mobile app to initiate updates correctly. Hold your Android device steady near your badge during the NFC transfer. Finally, include full flash cycles as part of your regular update routine, not just when problems appear.
What should I do if artifacts already appear on my display?
Run a full screen flash refresh cycle immediately. This clears all pixel states and removes residual artifacts. Most badges complete this process in seconds through the companion app.
If artifacts return quickly, examine your update method. Are you using a compatible Android device? Is your image properly prepared with dithering? These factors directly affect pixel transition quality.
Can environmental conditions make artifacting worse?
Yes. Extreme temperatures affect how E-Ink pixels respond during refresh cycles. Cold conditions slow pixel movement, while heat can cause overshooting. Keep your badge at normal room temperature when possible.
Also protect your badge from physical damage. Scratches or impacts compromise the protective layer, which can trigger display issues. Regular environmental care prevents many artifacting problems before they start.

Hi, I’m Sonny Dawson, the creator and voice behind ConvertResizeGen. 👋 I’m a passionate tech enthusiast who loves exploring the latest gadgets, devices, and electronics that shape the way we live and work. Through my website, I share honest, hands-on reviews of trending Amazon products to help you make smarter buying decisions.