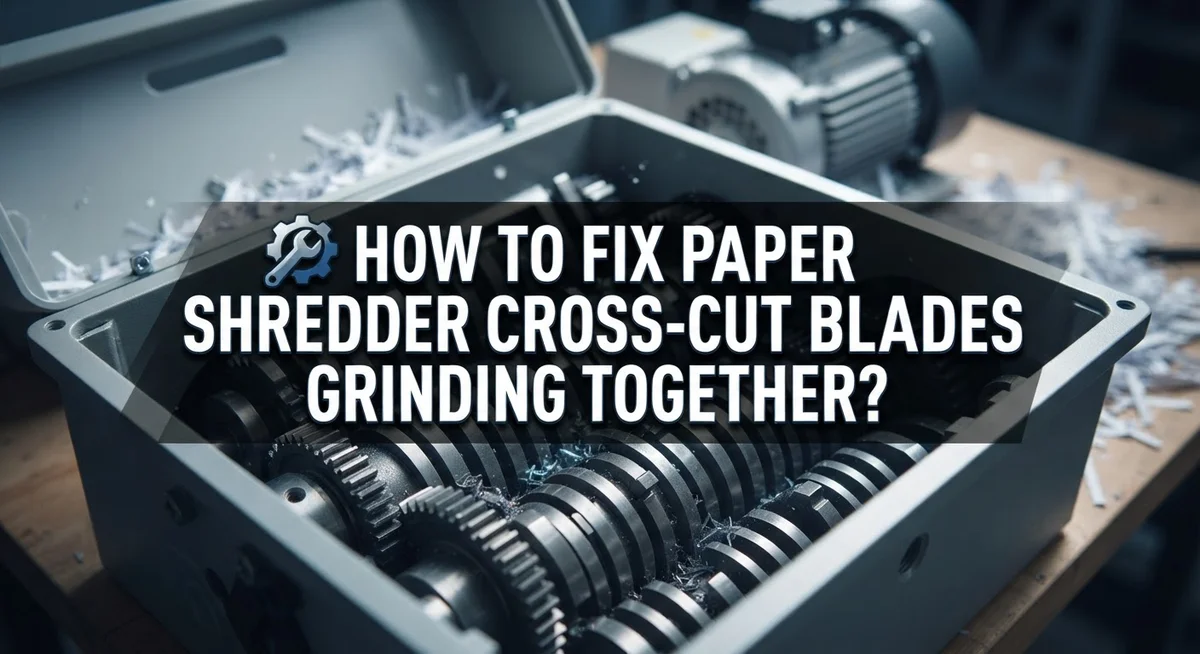
How To Fix Paper Shredder Cross-Cut Blades Grinding Together?
That grinding noise from your paper shredder can be alarming. It usually means something is stuck between the blades. Left unchecked, this problem can damage your machine over time.
Cross-cut shredders have a more complex blade system than strip-cut models. This makes them slightly more prone to jams. But don’t worry, most fixes are simple and safe.
In this guide, we will walk you through the exact steps to stop the grinding. You will learn how to use the reverse function first. This is often the easiest and safest fix.
In a Nutshell
- Try reverse first. Most shredders have a reverse button. This often releases stuck paper without any tools.
- Unplug before touching blades. Safety comes first. Never put fingers or tools near blades while the shredder is on.
- Use tweezers for blockages. Gently pull out jammed paper or debris. This clears the path for blades to move freely.
- Oil your blades often. Shredder oil reduces friction. It also keeps blades sharp for longer.
- Do not overload the shredder. Feed small batches of paper. Overloading causes jams and grinding sounds.
- Act fast on grinding noises. Do not ignore the sound. Quick action prevents bigger damage to your machine.
What Causes Cross-Cut Shredder Blades to Grind Together
Paper shredder blades grind together for several clear reasons. Understanding these causes helps you fix the problem quickly and prevent future damage.
Jammed paper is the most common culprit. When sheets get stuck between the cutting mechanisms, the blades try to process them and create that grinding sound. This happens especially when you feed too much paper at once. The shredder’s motor keeps pushing, but the blades cannot move freely.
Debris buildup inside the shredder causes grinding too. Small paper fragments, dust, and leftover scraps collect around the blade assembly. Over time, this debris packs tightly and blocks the blade movement. The blades then rub against each other instead of cutting smoothly.
Lack of lubrication makes the problem worse. When cutting blades dry out, friction increases dramatically. The blades start to stick and grind as they try to rotate. Regular oiling keeps them moving freely and reduces this friction.
Overloading the shredder strains the motor and blades. Feeding too much paper forces the blades to work harder than they should. This extra pressure causes them to jam together and grind against each other.
Worn or damaged blades can also grind. After years of use, blades lose their sharpness and alignment. Misaligned blades do not cut properly and may rub together during operation.
Foreign objects create blockages too. Staples, paper clips, or thick cardboard pieces jam the mechanism. The blades then grind as they try to process something they cannot cut.
Recognizing these causes lets you act fast. Most grinding problems start small but worsen quickly without attention. Addressing the issue immediately prevents serious blade damage and keeps your shredder working reliably.
Safety Precautions Before You Begin
Before you attempt any repairs, you must prioritize your safety. Electrical shock is a serious risk when working with powered equipment, so always unplug your shredder from the wall outlet first. This single step prevents accidental blade activation while your hands are near the cutting mechanisms.
Never stick your fingers directly into the shredder opening. Your fingers can slip into the blade area faster than you might think. Instead, keep tweezers or small forceps nearby for safe removal of blockages. These tools give you distance and control.
Wear safety glasses to protect your eyes from flying paper fragments or debris. Small pieces can scatter when you dislodge a jam, and eye protection prevents injury. Consider wearing work gloves too, though they should fit snugly so they do not get caught in any remaining mechanisms.
Make sure the shredder sits on a stable, flat surface before you start working. An unstable shredder can tip or shift unexpectedly. Clear your work area of distractions so you can focus completely on the task.
Check that the reverse button works properly before attempting manual removal. Many shredders have this feature built in, and it often clears jams without your intervention. Test it briefly to confirm the blades move backward smoothly.
Wait several minutes after unplugging before touching anything. Residual electrical charge can linger in some models. This cooling period also gives the motor time to stop completely, ensuring no surprise blade movement occurs.
Keep children and pets away from your work area. Shredder repairs require full attention and a hazard free space. Your focus stays sharp when you eliminate distractions and follow these straightforward safety steps.
Step-by-Step: Using the Reverse Function to Clear Jams
The reverse function is your first line of defense when blades grind together. Most shredders have this button on the control panel or motor housing. Press and hold it for 5 to 10 seconds to run the blades backward.
This backward motion often dislodges paper or debris stuck between the cutting mechanisms. Listen carefully as the shredder reverses. You may hear the blockage move or fall out. Let the machine run in reverse until the grinding sound stops completely.
If reverse alone doesn’t work, move to manual removal. First, unplug the shredder from the electrical outlet. Wait at least two minutes before touching anything inside. This cooling period ensures your safety and allows residual power to drain completely.
Open the paper tray or access panel according to your shredder’s design. Use tweezers or needle nose pliers to gently pull out visible jammed paper. Work slowly and carefully to avoid damaging the blades. Remove all paper scraps and debris you can see.
Close the access panel and plug the shredder back in. Press the reverse button again for a few seconds to clear any remaining fragments. Then test the machine with a small piece of paper in forward mode.
If grinding persists after these steps, the blades may be misaligned or damaged. In this case, stop using the shredder immediately. Continuing to operate it could cause further blade damage or motor strain.
Regular maintenance prevents most grinding problems. Clean your shredder weekly and apply shredder oil monthly. These simple habits keep blades moving smoothly and extend your machine’s lifespan significantly.
Step-by-Step: Manually Removing Blockages Safely
Start by unplugging your shredder from the electrical outlet. This is the most important safety step you can take. Wait at least five minutes before touching any internal parts. Your hands need to stay safe from the cutting mechanisms.
Open the paper tray or access panel on your shredder. Different models have different designs, so check your manual if you’re unsure where to look. Look inside carefully to spot the jammed paper or debris causing the grinding noise.
Grab a pair of tweezers from your bathroom or first aid kit. Tweezers give you precision and keep your fingers at a safe distance from the blades. Gently pull out any visible paper scraps or debris stuck between the cutting mechanisms.
Work slowly and deliberately. Don’t rush this process or force anything out. If paper is wrapped tightly around the blades, wiggle it gently side to side while pulling. Remove all small fragments you can see.
Pay special attention to the areas where the two cutting wheels meet. This is where blockages hide most often. Debris accumulates in these tight spaces and causes grinding sounds.
Once you’ve removed the visible blockage, take a flashlight and look deeper inside. Shine it around the blade area to catch any remaining paper bits or dust. Use your tweezers to extract anything else you find.
Close the access panel securely. Plug your shredder back in and test it briefly. Listen for grinding sounds. The noise should be completely gone if you’ve removed all blockages successfully.
If grinding continues after manual removal, your blades may need professional attention or replacement.
How to Oil and Maintain Cross-Cut Blades for Smooth Operation
Regular oiling keeps your shredder blades moving smoothly and prevents grinding sounds. This simple maintenance task takes just a few minutes but makes a huge difference in performance.
Apply oil to the cutting blades regularly to reduce friction between moving parts. Most shredders benefit from oiling every few months, though frequent users should do it more often. The oil helps blades stay sharp longer and cuts down on wear and tear.
Start by unplugging your shredder completely. Never oil a powered machine. Open the paper tray or access panel to reach the cutting mechanism. Look for the two rotating wheels where cutting happens.
Use a small brush or applicator to apply shredder oil directly onto the blade edges. Work slowly and apply a thin, even coat. Avoid using regular household oil, as it may attract dust and debris that damages the mechanism.
Let the oil sit for a few minutes. This allows it to penetrate the blade surfaces. Then run the shredder empty for about 30 seconds to distribute the oil evenly across all cutting surfaces.
Wipe away excess oil with a clean cloth to prevent buildup. Too much oil can actually cause problems by attracting paper dust and creating sticky residue.
Check your shredder’s manual for specific oiling instructions. Different models have different requirements. Some have dedicated oil ports that make application easier.
Clean out paper debris regularly between oiling sessions. Trapped paper particles reduce oil effectiveness and cause blades to grind. A quick check after each use prevents most grinding problems before they start.
Preventing Future Jams and Grinding Issues
Preventing future jams and grinding issues requires consistent habits and simple maintenance steps. Start by respecting your shredder’s capacity limits. Never force more paper into the feed slot than recommended. Most shredders have a maximum sheet count listed in the manual. Overloading is the number one cause of blade grinding and paper jams.
Check your paper before shredding. Remove staples, paper clips, and sticky notes. These items jam between blades quickly and cause grinding sounds. Wet or damp paper also causes problems, so store documents in a dry location.
Create a regular maintenance schedule. Set a reminder to clean your shredder every few weeks. Open the access panel and remove visible dust and debris. This simple step prevents buildup that leads to grinding.
Feed paper straight into the slot. Crooked or angled paper catches between blades more easily. Hold documents level and centered as you insert them slowly.
Listen to your shredder. Grinding sounds are warning signals. Stop immediately and use the reverse function. Ignoring these sounds allows small jams to become major blockages.
Keep your shredder in a clean, dry space. Humidity and dust accelerate blade wear and increase grinding risk. Avoid placing your shredder near windows or damp areas.
Store your shredder oil and cleaning supplies nearby. Quick access encourages regular maintenance. When you keep supplies visible and convenient, you’re more likely to use them.
Don’t wait for problems to appear. Preventive care takes minutes but saves hours of troubleshooting. A well maintained shredder runs quietly and reliably for years.
Common Mistakes That Worsen Blade Grinding Problems
Many people make simple mistakes that turn minor blade grinding into serious damage. Understanding these errors helps you protect your shredder.
Ignoring the grinding sound is the biggest mistake. When blades start grinding, most users hope the problem fixes itself. This never happens. The grinding only gets worse and damages the blade edges permanently. Stop using your shredder the moment you hear this noise.
Overloading the paper tray causes most grinding problems. You stuff too much paper in at once, and the blades jam together. The shredder cannot process thick stacks quickly. Feed paper in small batches instead. Your shredder works better and lasts longer.
Forcing jammed paper out while the shredder runs is extremely dangerous. Some people try to push stuck paper through or shake the machine. This risks serious injury to your hands. Always unplug the shredder first. Wait a few seconds for the blades to stop completely before touching anything.
Using the wrong type of paper causes hidden jams. Glossy paper, thick cardboard, and laminated materials get stuck easily. Stick to standard copy paper. Remove staples and paperclips before shredding. These metal objects wedge between blades and create grinding sounds.
Skipping regular maintenance is a silent killer. Dust and paper fragments build up inside the machine. These particles prevent blades from moving freely. Oil your blades on schedule. Clean out debris every few weeks. This simple habit prevents most grinding problems before they start.
Never attempt repairs while the shredder is plugged in. Always unplug first, then wait. This protects you from accidental activation. Taking these precautions keeps your shredder working smoothly and keeps you safe.
Troubleshooting: When Grinding Persists After a Fix Attempt
When grinding persists after you’ve tried the basic fixes, something deeper is happening inside your shredder. Stop using the machine immediately and take time to diagnose the real problem.
First, check if debris is still trapped between the blades. Unplug your shredder and wait five minutes for the blades to stop completely. Use a flashlight to look directly into the cutting chamber. You might see small paper pieces, dust, or plastic fragments wedged in spots you missed before. Tweezers work best for removing these stubborn pieces without touching the blades.
Sometimes grinding continues because the blades themselves are damaged. If you’ve forced jammed paper out or run the shredder with blockages for too long, the blade edges may have bent or chipped. Damaged blades cannot cut smoothly and will grind no matter how clean you keep the machine.
Oil buildup can also cause grinding. If you applied too much shredder oil during maintenance, excess lubricant attracts dust and paper particles. These stick to the blades and create friction. Clean the blades thoroughly with a dry cloth and avoid over oiling in the future.
Another cause is misaligned blades. If your shredder was dropped or bumped, the cutting mechanisms may have shifted out of position. Check if the blades sit evenly or if one side sits higher than the other.
If grinding continues after checking for debris, inspecting for damage, cleaning excess oil, and verifying blade alignment, your shredder needs professional service. Internal gears or motors may have worn out. Continuing to use a persistently grinding shredder risks complete failure and safety hazards.
Final Thoughts
Cross cut blade grinding feels scary at first. But now you know it’s usually a simple fix.
Most jams happen because paper or debris gets stuck between the blades. The reverse function clears this in seconds for most shredders.
Always unplug your shredder before touching the blades by hand. Safety comes first, every single time.
Use tweezers to remove any stubborn paper stuck deep inside. This keeps your fingers safe from sharp edges.
Regular oiling makes a huge difference. It reduces friction and helps blades glide smoothly through paper.
Never ignore that grinding sound. It’s your shredder’s way of asking for help right away.
Small habits protect your machine for years. Oil the blades often and clear debris before it builds up.
Avoid overloading the paper tray too. This single habit prevents most grinding problems from starting.
Think of your shredder like a car engine. It needs care to keep running smoothly over time.
A few minutes of maintenance saves you from bigger headaches later. Grinding blades often mean something small went wrong first.
Catch it early and fix it fast. This keeps your shredder working like new for longer.
Remember the basics every time you shred. Unplug before repairs, use the reverse function, and oil your blades regularly.
These steps sound simple because they are. Most shredder problems come from skipping easy tasks like these.
Stay calm if you hear grinding again. You now know exactly what to check and how to fix it.
Your shredder will thank you with smoother, quieter performance. Good habits truly make all the difference here.
With this knowledge, you’re ready to handle blade grinding like a pro. Keep your shredder happy, and it will keep your documents safe.
Frequently Asked Questions
Why are my cross cut shredder blades grinding together?
Blades grind together when paper or debris gets stuck between the cutting mechanisms. This happens most often when you overload the paper tray or feed in damp sheets. Small fragments can also lodge deep inside the machine and cause friction between the blades.
The grinding sound means your shredder needs immediate attention. Ignoring it can lead to permanent blade damage.
What should I do first when I hear grinding?
Stop using the shredder right away. Turn it off and unplug it from the wall outlet. This keeps you safe while you investigate the problem.
Next, activate the reverse function if your shredder has one. Many models include this feature specifically to help clear jams. Let it run for a few seconds to push debris backward.
How do I safely remove jammed paper?
Once the shredder is unplugged, use tweezers to carefully pull out any visible paper or debris stuck between the blades. Work slowly and gently to avoid damaging the cutting edges.
Never stick your fingers directly into the blade area. Tweezers give you better control and keep your hands safe. If paper is deeply lodged, try wiggling it slightly before pulling.
How often should I oil the blades?
Regular oiling reduces friction and keeps blades sharp. Follow your shredder’s maintenance schedule, which typically recommends oiling every few months or after heavy use.
Use only shredder oil, not household lubricants. Apply it sparingly to avoid buildup, which can actually cause grinding instead of preventing it.
When should I stop trying to fix it myself?
If grinding continues after you’ve removed debris, checked for damage, and cleaned excess oil, contact a repair specialist. Misaligned blades or internal damage requires professional tools and expertise.

Hi, I’m Sonny Dawson, the creator and voice behind ConvertResizeGen. 👋 I’m a passionate tech enthusiast who loves exploring the latest gadgets, devices, and electronics that shape the way we live and work. Through my website, I share honest, hands-on reviews of trending Amazon products to help you make smarter buying decisions.