How To Fix Broken Internal Antennas In Smart Wearables?
Your smartwatch used to connect fast. Now it drops Bluetooth every few minutes. Your fitness band cannot find GPS. Your phone sits right next to the watch, yet the signal keeps failing. If this sounds familiar, a broken internal antenna could be the reason.
Smart wearables pack tiny antennas inside very small shells. These antennas handle Bluetooth, WiFi, GPS, and sometimes cellular signals.
When one breaks, cracks, or comes loose, your device loses its connection strength. The good news is that many antenna problems have fixes you can try at home.
Key Takeaways
- Weak or dropping signals are the first sign of a broken antenna. Watch for Bluetooth drops, no GPS lock, and dead WiFi even when your phone sits close by.
- Software fixes come first. Restart the device, reset network settings, and update firmware before you open anything. Many “antenna” problems are just software glitches.
- A loose antenna connector is the most common physical fault. Reseating the tiny plug often restores full signal in minutes.
- Water and corrosion damage antenna contacts over time. Cleaning the metal pads with isopropyl alcohol can bring back a lost signal.
- Antenna flex cable replacement is the real fix for a cracked or torn antenna. This needs small tools, patience, and a steady hand.
- Professional repair stays the safest choice for sealed or glued wearables. You pay more, but you protect the water seal and warranty.
What An Internal Antenna Does In A Smart Wearable
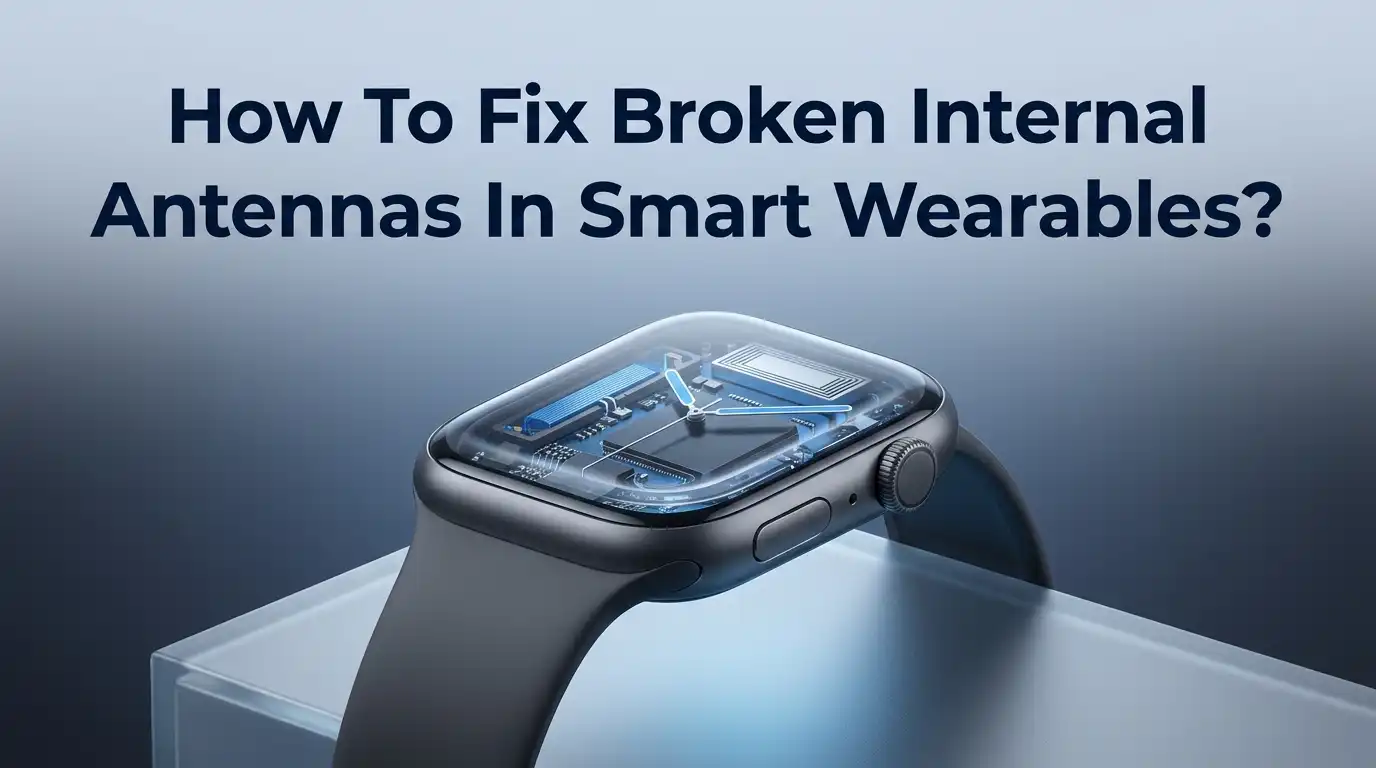
An internal antenna is a small metal part that sends and receives wireless signals. In a smartwatch or band, it handles Bluetooth, WiFi, GPS, NFC, and sometimes cellular data. Without it, your device becomes an offline gadget.
Most wearables use tiny antennas built into a flex cable, a printed circuit board trace, or a small ceramic chip. PIFA and chip antennas are common because they fit into cramped spaces. Engineers place them near the edge of the case for better reach.
The antenna connects to the mainboard through a small spring contact or a snap connector. This connection point is the weak spot. A drop, a bad screen repair, or water can break it. Knowing what the antenna does helps you understand why a fix matters so much for daily use.
Common Signs Your Wearable Antenna Is Broken
Before you open your device, confirm the antenna is the real problem. A broken antenna shows clear symptoms. Bluetooth keeps dropping even when your phone rests right next to the watch. This is the most common red flag.
You may also notice no GPS lock during runs, or a location that jumps around the map. WiFi networks may not appear at all, or the watch may show full signal one second and none the next. Some users hear static or lose calls on cellular models.
Another strong sign is timing. Problems that start right after a drop, a screen swap, or water exposure point to physical antenna damage. If the signal fails only in certain arm positions, the antenna or its connector is likely loose. These patterns separate hardware faults from simple software bugs.
Start With Software Fixes Before You Open Anything
Do not grab a screwdriver yet. Many signal problems come from software, not broken metal. Software fixes are free, fast, and safe. Always try them first.
Restart your wearable. A simple reboot clears temporary bugs that block the radio. Next, toggle Bluetooth and WiFi off and on from the settings menu. Then forget the device on your phone and pair it again fresh.
If problems remain, reset the network settings on both the watch and the phone. Update the firmware too, because makers often fix radio bugs in new versions. Check that airplane mode is off and power saving mode is not limiting the radio.
Pros: No tools, no risk, and no cost. Anyone can do it.
Cons: It cannot fix real physical damage. If the antenna is cracked, software will not help.
How To Diagnose Whether The Antenna Is The Real Problem
Diagnosis saves you from wasted effort. Start by testing the signal in an open area away from walls and metal. Interference from your surroundings can mimic antenna damage.
Use a signal test. Many phones and watches have hidden service menus that show signal strength in numbers. A weak reading that stays low even near the source points to the antenna. You can also compare your watch with another same model, if a friend owns one.
Try the arm test. Move your wrist and watch the signal bars. If the signal changes sharply with position, a loose antenna connector is likely. A signal that never returns, no matter what you do, suggests a torn antenna or broken solder joint. Write down what you find. Good notes guide your repair and stop you from guessing later.
Fixing A Loose Antenna Connector Inside The Device
A loose connector is the top cause of antenna failure, especially after a repair. The tiny snap plug that links the antenna to the mainboard can pop free from a drop or bad handling. Reseating it is often the easiest real fix.
Power off the device and open the back cover with the right tool. Find the small antenna connector, which looks like a tiny round or square snap. Press it gently until you feel a soft click. Never force it sideways, because the pins bend easily.
While inside, check that the antenna flex sits flat and touches its ground pads. A shifted flex loses contact. Line it up before you close the case.
Pros: Cheap, quick, and needs no new parts.
Cons: You must open a sealed device. This can break the water seal if you are not careful.
Cleaning Corroded Antenna Contacts For Better Signal
Water and sweat are the enemies of wearables. Moisture seeps into the case and leaves corrosion on the metal antenna pads. Corroded contacts block the signal path and cause slow, weak connections.
Open the device and look at the spring contacts and ground pads. Green or white crust means corrosion. Dust and grime also build up over time. Both create a barrier between the antenna and the board.
Dip a cotton swab or soft brush in 99 percent isopropyl alcohol. Gently rub the metal pads and contacts until they shine. Let everything dry fully before you close the case. For heavy corrosion, a fiberglass pen can lift stubborn buildup without scratching.
Pros: Low cost and often restores a lost signal completely.
Cons: It only works if the metal is still whole. Deep corrosion may have already eaten through the contact.
Reseating And Reconnecting The Antenna Flex Cable
The antenna flex cable carries the signal from the antenna to the mainboard. It can slip out of its socket or lift at the edges after a drop or repair. A flex that is even slightly loose kills the connection.
Open the wearable and locate the flex cable. It looks like a thin ribbon with a small plug at the end. Lift the black or brown latch if your model has one, then set the flex back in straight. Close the latch to lock it.
For snap style flex plugs, press down evenly until it clicks. Check both ends of the cable, since either side can come loose. Make sure the ribbon lies flat with no bends or folds.
Pros: Fixes many “sudden dead signal” cases without new parts.
Cons: Flex cables tear easily. One wrong move can turn a small fix into a full replacement.
Replacing A Damaged Antenna Flex Cable Step By Step
When the antenna flex is torn, cracked, or burnt, cleaning and reseating will not help. You need a new part. Replacement is the true repair for real damage. This job takes patience.
First, find the correct replacement flex for your exact model. Order the matching part number. Gather tools like a plastic spudger, tweezers, a small screwdriver set, and a heat source such as a hair dryer to soften glue.
Open the case gently. Warm the adhesive, then lift the old antenna flex with a spudger. Disconnect its plug carefully. Place the new flex in the same spot, connect the plug, and route the cable exactly as the old one sat. Test the signal before you seal the case.
Pros: Restores full performance and lasts long.
Cons: It is fiddly and needs the right part. Mistakes can damage nearby components.
Repairing Broken Solder Joints And Antenna Ground Points
Sometimes the antenna itself is fine, but its solder joint has cracked. A broken joint breaks the electrical path. This shows up as a signal that comes and goes with movement. Reflowing the joint can fix it.
You need a fine tip soldering iron, flux, and good light, ideally a magnifier. Find the antenna feed point and ground pad on the board. Add a touch of flux. Heat the joint gently and add a tiny bit of solder to rebuild the connection.
Work fast and keep heat low. Wearable boards are small and heat sensitive. Too much heat lifts pads and ruins the board. Let it cool, then test.
Pros: Cheap fix if you own the gear and skill.
Cons: High skill needed. One slip can permanently damage the mainboard.
Improving Antenna Performance With Proper Reassembly
How you close the device matters as much as the repair. A wearable antenna depends on correct spacing and grounding. Sloppy reassembly ruins a good repair. Metal parts pressing on the antenna detune it.
Route every cable back to its exact original path. Keep the antenna flex away from large metal shields unless it is meant to touch a ground pad. Screws that are loose or overtightened can shift the antenna. Tighten them evenly and firmly.
Replace any foam or gasket that presses the antenna against its contact. This foam holds the pressure that keeps the connection tight. Without it, the signal drops again. Do not skip small parts. Test the signal one last time before final assembly to confirm your work held.
Handling Water Sealed And Glued Wearables Safely
Many modern wearables are sealed with glue for water resistance. This makes home repair harder and riskier. Opening a sealed device breaks its waterproofing. After the fix, water can get in and cause new damage.
If your wearable uses adhesive instead of screws, warm the edges with a hair dryer to soften the glue. Use a thin pry tool and go slow. Rushing cracks the screen or bends the case.
When you finish, apply fresh waterproof adhesive strips before sealing. This restores some water protection, though rarely to factory level. If your device has a high water rating you rely on, think twice about a home repair. For these sealed models, weigh the risk against the cost of professional service.
When To Choose Professional Repair Over A DIY Fix
Not every repair belongs on your kitchen table. Some wearables are too small, too sealed, or too valuable to risk. A professional has microscopes, hot air tools, and the right parts. They also restore water seals properly.
Choose a pro if your device is under warranty, since opening it yourself voids coverage. Also choose a pro for cellular models with complex antennas, or when the mainboard needs micro soldering. A steady expert hand beats a shaky first attempt.
Get a quote first. Compare the repair cost with the price of the device. Sometimes repair makes sense, and sometimes it does not.
Pros: Safe, clean, and reliable, with seals restored.
Cons: Higher cost and wait time. You must trust the shop with your data and device.
Preventing Future Antenna Damage In Smart Wearables
The best fix is the one you never need. A few habits protect your wearable antenna for years. Avoid drops, since impact loosens connectors and cracks flex cables. Take the watch off before rough work or contact sports.
Keep water and sweat in check. Rinse the watch with clean fresh water after swimming in salt or chlorine, then dry it fully. Salt speeds up corrosion on antenna contacts. Never charge a wet device.
Handle repairs with care and use the correct band. A very tight metal band near the antenna can weaken the signal. Choose bands the maker recommends. Update firmware often, because software tuning improves radio performance. These small steps keep your signal strong and your antenna safe for a long time.
Frequently Asked Questions
Can I fix a smartwatch antenna without opening it?
Yes, but only for software related signal problems. Restart the device, reset network settings, and update the firmware first. If the antenna is physically broken or loose, you must open the case to repair it. There is no way to reseat a connector or clean corroded contacts from the outside.
How do I know if it is a software or hardware antenna problem?
Test the pattern. Software faults often fix themselves after a restart or reset. Hardware faults appear right after a drop, water exposure, or a screen repair. If the signal changes when you move your wrist, or if it never returns despite resets, the antenna hardware is likely the cause.
Is it worth replacing an antenna flex cable myself?
It depends on your skill and tools. Flex replacement saves money if you are careful and patient. You need the correct part, small tools, and a steady hand. If your wearable is glued shut or has a strong water rating, professional repair is often the smarter and safer choice.
Will opening my wearable ruin its water resistance?
Often, yes. Most sealed wearables lose some waterproofing once you break the glue or gasket. You can restore partial protection with new adhesive strips, but it rarely matches the factory seal. If you depend on the water rating, consider a professional repair that reseals the device properly.
Why does my watch signal drop only when I move my arm?
This points to a loose antenna connector or a cracked solder joint. Movement flexes the internal parts and breaks the contact for a moment. Reseating the antenna connector or reflowing the solder joint usually fixes it. If you are not comfortable soldering, take it to a repair shop.
Can corrosion really block an antenna signal?
Yes. Sweat and water leave crust on the metal antenna pads. This layer blocks the electrical path and weakens the signal. Cleaning the contacts with 99 percent isopropyl alcohol often restores the connection. Deep corrosion that eats through the metal may need a new part instead.

Hi, I’m Sonny Dawson, the creator and voice behind ConvertResizeGen. 👋 I’m a passionate tech enthusiast who loves exploring the latest gadgets, devices, and electronics that shape the way we live and work. Through my website, I share honest, hands-on reviews of trending Amazon products to help you make smarter buying decisions.