How To Fix Buffer Size Glitches In Digital Audio Workstations?
Buffer size glitches can ruin a great recording session in seconds. You hit play, and suddenly your track fills with pops, clicks, crackles, or sudden dropouts.
These sounds are frustrating, and they break your creative flow fast. The good news is that most buffer size problems have simple fixes.
You do not need expensive gear or deep technical skills to solve them. You just need the right settings and a clear plan.
Key Takeaways
- Buffer size controls how much audio your computer processes at once. A small buffer gives low latency but more glitches. A large buffer gives smooth playback but more delay.
- Increase your buffer size first. This is the fastest fix for crackles, pops, and dropouts. Set it higher while mixing, and lower while recording.
- Use ASIO drivers on Windows. ASIO gives the best performance for audio. If your interface has no native ASIO driver, ASIO4ALL works as a free backup.
- High CPU load causes most glitches. Freeze tracks, bounce instruments, and close background apps to free up power for your DAW.
- Match your sample rate across all devices. A mismatch between your DAW and interface creates instant audio errors.
- Update everything. Old drivers, firmware, and plugins are common hidden causes of buffer problems.
What Buffer Size Actually Means In Your DAW
Buffer size is the number of audio samples your computer collects before it processes them. Think of it like a bucket. Your computer fills the bucket with audio data, then empties it all at once.
A small bucket empties fast, which means low latency. A large bucket holds more, which gives your CPU more time to work.
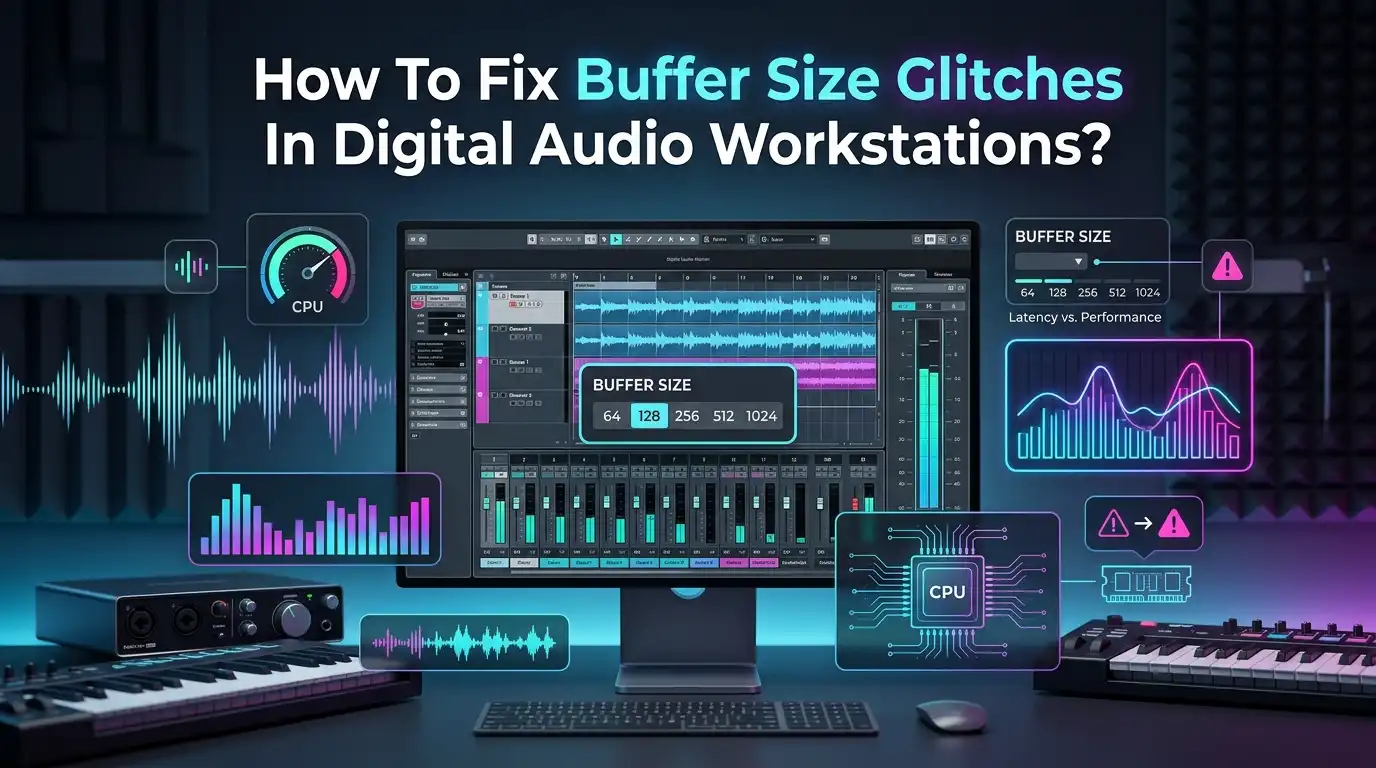
Buffer size is measured in samples, such as 64, 128, 256, 512, or 1024. The numbers always come as powers of two on Windows systems. When the buffer is too small, your CPU cannot keep up.
This creates the pops and clicks you hear. When the buffer is large, playback stays smooth but you feel a delay. Understanding this trade off is the first step to fixing every glitch.
Why Buffer Size Glitches Happen In The First Place
Glitches appear when your computer cannot process audio fast enough. The CPU misses its deadline, so the audio stream breaks. This break shows up as a pop, click, or full dropout. The most common trigger is a buffer size set too low for your project.
Heavy plugin chains also push your CPU past its limit. Each effect and virtual instrument needs processing power. Stack too many, and your system overloads. Other causes include outdated drivers, sample rate mismatches, and background apps stealing resources.
Disk overload can also break audio, especially with large sample libraries. The key idea is simple. Glitches mean your system is overwhelmed somewhere. Once you find the weak link, the fix becomes clear. The next sections show you how to find and remove each cause.
Increase Your Buffer Size To Stop Crackles Instantly
Raising your buffer size is the fastest and most reliable fix. Open your DAW preferences and find the audio settings. Look for the buffer size option, often inside your interface control panel. Move it up one step at a time, such as from 128 to 256 to 512.
Test playback after each change. Stop when the crackles disappear. Choose the lowest setting that gives you clean audio, since higher buffers add latency. On Windows, only use values like 64, 128, 256, 512, or 1024. While mixing, you can push it to 1024 or higher without worry.
Pros: This method is instant, free, and works in every DAW. It solves most glitches right away.
Cons: A high buffer adds noticeable delay. This makes live recording feel laggy and hard to play in time.
Lower Your Buffer Size For Smooth Recording Sessions
When you record live audio or play a software instrument, latency matters most. A high buffer creates a delay between your playing and the sound you hear. This delay throws off your timing. So during recording, you want a small buffer size for quick response.
Set your buffer to 64 or 128 samples while tracking. Aim for under 10 milliseconds of latency for a natural feel. Test by playing a few notes. If you hear glitches, raise the buffer slightly until they stop. The goal is the lowest stable setting your computer handles.
Pros: Low latency feels responsive and natural. Your playing and the output stay in sync.
Cons: Small buffers strain your CPU hard. They cause glitches if your project has many tracks or plugins running at once.
Use The Right Audio Driver For Your System
Your audio driver controls how your DAW talks to your interface. The wrong driver causes lag, glitches, and poor performance. On Windows, ASIO is the best choice by far. ASIO gives low latency and stable audio designed for music work.
Most audio interfaces include a native ASIO driver, so install it from the maker’s website. If your device has no ASIO driver, use ASIO4ALL as a free replacement. Avoid MME and DirectSound drivers for serious recording, since they add delay. On Mac, Core Audio works natively and needs no extra setup.
Pros: ASIO drivers cut latency and reduce glitches dramatically. They are built for professional audio.
Cons: ASIO usually allows only one app to use the interface at a time. Sharing audio with browsers or video calls becomes harder.
Match Your Sample Rate Across All Devices
A sample rate mismatch creates instant audio errors. Your DAW, your interface, and your operating system must all use the same rate. Common rates are 44100 Hz and 48000 Hz. When these numbers do not match, you get clicks, pitch errors, or full dropouts.
Check your DAW audio settings first. Then open your interface control panel and confirm the same value. On Windows, also check the sound settings in the control panel to match the rate.
Set everything to 44100 Hz for music projects unless you have a reason to go higher. Lower sample rates also reduce CPU load, which helps weak systems run cleaner and faster.
Pros: Matching rates removes a hidden and common cause of glitches. It costs nothing to fix.
Cons: Switching rates may require closing and reopening projects. Some old sessions might need re-exporting at the new rate.
Reduce CPU Load To Prevent Audio Dropouts
High CPU usage is the number one cause of buffer glitches. When your processor maxes out, audio breaks apart. Your first job is to lighten the load. Open your DAW performance meter and watch the CPU level during playback.
Close every program you do not need, such as web browsers, chat apps, and video players. Disable plugins you are not using right now. Use one reverb on a send track instead of many copies across channels.
Turn off any plugin showing high impact in your performance meter. Quitting background tasks frees up power your DAW needs to run clean and stable.
Pros: Lowering CPU load fixes glitches at the source. It lets you keep a low buffer size for better latency.
Cons: This needs ongoing attention. You must manage plugins and apps carefully during every session.
Freeze And Bounce Tracks To Free Up Power
Track freezing is a smart way to save CPU without losing your work. When you freeze a track, your DAW renders it to audio. The heavy plugins stop running in real time. This frees a large chunk of processing power for the rest of your project.
Bouncing works in a similar way. You export a track or instrument to a plain audio file, then disable the original. Both methods cut CPU load fast on busy projects. You can unfreeze a track later if you need to make changes. This keeps your session flexible while still running smooth and glitch free.
Pros: Freezing gives big CPU savings while keeping your edits reversible. It works great on virtual instruments.
Cons: Frozen tracks cannot be edited until you unfreeze them. This adds extra steps when you want to make changes.
Update Drivers, Firmware, And Plugins
Old software is a hidden cause of buffer glitches. Drivers and firmware control how your hardware behaves. When they fall behind, performance drops and audio breaks. Keeping everything current solves problems you might never trace otherwise.
Visit your audio interface maker’s website and download the newest driver and firmware. Update your DAW to the latest stable version too. Check your plugins, since outdated ones often cause crashes and noise.
Plugins in demo or trial mode can even add silence or white noise at set intervals. Update your operating system as well, but test after major updates to confirm stability.
Pros: Updates fix known bugs and improve performance for free. They often solve mystery glitches instantly.
Cons: New updates sometimes bring new problems. Always keep a note of working versions so you can roll back if needed.
Optimize Windows Settings For Better Audio
Windows runs many background tasks that steal power from your DAW. Default settings are not built for audio work. A few changes make a big difference in stability and glitch reduction.
Disable power throttling and set your power plan to high performance. This stops Windows from limiting your CPU to save battery. Plug in your laptop while you work, since battery mode reduces power.
Turn off visual effects and animations to free resources. Disable Wi-Fi and Bluetooth during sessions if you do not need them. These small tweaks add up and give your audio engine room to breathe and run clean.
Pros: These settings boost performance with no cost. They help older and weaker computers run heavy projects.
Cons: Some changes affect other tasks, like shorter battery life. You may need to switch settings back for everyday use.
Fix Disk Overload And Storage Bottlenecks
Your hard drive plays a big role in clean playback. Large sample libraries and many audio tracks need fast read speeds. When your disk cannot keep up, you get dropouts. Many DAWs show a disk overload indicator when this happens.
Use a solid state drive for your samples and projects whenever possible. SSDs read data far faster than old spinning drives. Keep at least 10 to 20 percent of your drive free for smooth operation.
Move large libraries off your system drive to a separate fast drive. Avoid running projects from cloud synced folders, since syncing can interrupt audio during recording and playback.
Pros: Fast storage removes disk based dropouts completely. It also speeds up project loading and saving.
Cons: SSDs and extra drives cost money. Reorganizing your sample libraries takes time and careful planning.
Rule Out Background Apps And Security Software
Background programs often cause glitches you cannot explain. Antivirus tools, cloud backups, and auto update services run quietly in the background. They grab CPU and disk power at random moments. This creates sudden pops and dropouts during otherwise clean sessions.
Add your DAW to your antivirus safe list so it stops scanning your audio files. Pause cloud sync and automatic backups while you work. Close messaging apps and any software that updates itself.
Browsers like Chrome are known to cause audio glitches in some DAWs, so shut them down. Removing these hidden interruptions often clears up glitches that buffer changes alone could not fix.
Pros: This finds glitch causes that settings cannot fix. It often solves random and confusing problems.
Cons: You lose protection and backups while paused. You must remember to turn these services back on after each session.
Check Cables, Ports, And Connections
Hardware faults cause glitches that look like software problems. A loose or damaged cable breaks the audio stream. Many people change settings for hours before checking the simple stuff. Always rule out your physical connections early.
Push every cable in fully and test each connection. Try a different USB or Thunderbolt port on your computer. Connect your interface directly to your machine instead of through a hub.
If you must use a hub, choose a quality powered one. Check that your ports are clean and free of dust. A faulty cable or weak port can mimic buffer glitches and waste your time.
Pros: This fix is free and quick to test. It solves problems no software change can.
Cons: You may need to buy replacement cables or adapters. Testing many ports and cables takes patience.
Test Your Interface Against The Built In Sound Card
Sometimes the audio interface itself is the problem. A failing or unsupported device causes glitches no setting can fix. The smart move is to test against your computer’s built in sound card. This tells you where the fault really lives.
Switch your DAW output to your computer speakers in the audio settings. On Windows, you may need ASIO4ALL to do this. Play your project and listen for glitches.
If the sound is now clean, your interface or its driver is the cause. If glitches remain, the problem lives in your project or computer. This simple test saves hours of guessing.
Pros: This test isolates the exact source of your glitches fast. It needs no extra gear.
Cons: The built in sound card has higher latency. It is only useful for testing, not for serious recording work.
Frequently Asked Questions
What buffer size should I use for recording?
Use a small buffer size like 64 or 128 samples while recording. This gives low latency, so your playing stays in time with the sound you hear. If you hear glitches, raise it slightly until the audio is clean.
Why do I still hear crackles after increasing buffer size?
Other issues may be at play. Check your CPU load, sample rate match, and drivers. Background apps, antivirus scans, and disk overload also cause crackles. Test your interface against your built in sound card to find the real source.
Is a higher buffer size always better?
No. A higher buffer size gives smoother playback but adds latency. This delay makes live recording feel laggy. Use a high buffer for mixing and a low buffer for recording. Pick the setting that fits your current task.
Does buffer size affect my final audio quality?
No. Buffer size only affects real time performance and latency. It does not change the quality of your recorded or exported audio. Your final mixdown sounds the same no matter what buffer size you used while working.
What is the best buffer size for mixing?
Use a large buffer size like 512 or 1024 samples for mixing. Latency does not matter much when you are not recording live. A bigger buffer lets you run many plugins without glitches or dropouts during playback.
Why does my CPU spike even on simple projects?
Background tasks often cause CPU spikes. Antivirus scans, cloud syncs, browsers, and outdated drivers all steal power. Close unneeded apps and update your drivers. Some plugins also reset on playback and cause sudden spikes you can trace in your meter.

Hi, I’m Sonny Dawson, the creator and voice behind ConvertResizeGen. 👋 I’m a passionate tech enthusiast who loves exploring the latest gadgets, devices, and electronics that shape the way we live and work. Through my website, I share honest, hands-on reviews of trending Amazon products to help you make smarter buying decisions.