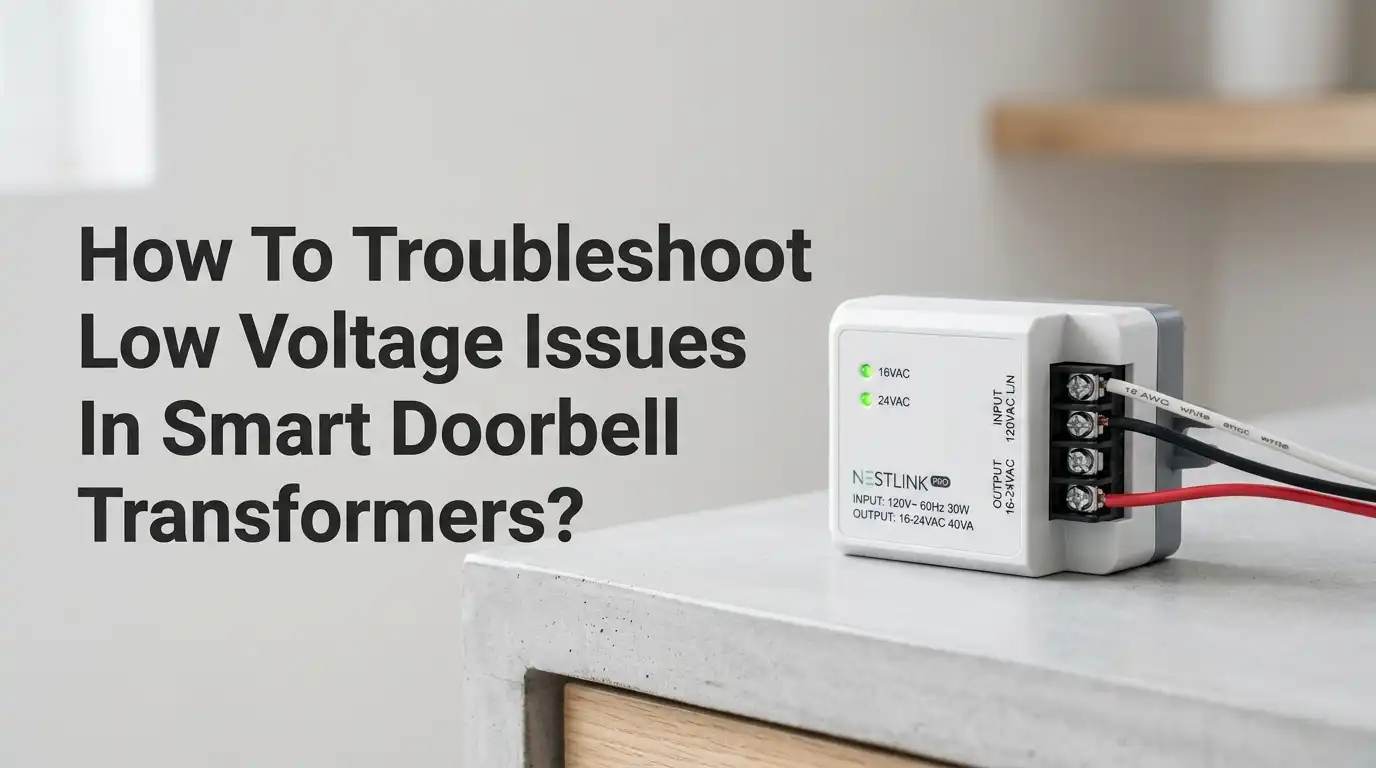
How To Troubleshoot Low Voltage Issues In Smart Doorbell Transformers?
Is your smart doorbell acting strange? Maybe it keeps rebooting, the video feed looks choppy, or the chime barely rings. The hidden culprit is often a tired transformer pushing out less voltage than your device needs.
Smart doorbells like Ring, Nest, and Arlo demand steady power, and even a small voltage dip can cause big problems. The good news is you can fix most low voltage issues yourself with a few simple tools and clear steps.
This guide walks you through every test, every fix, and every safety check you need. By the end, your doorbell will get the clean power it deserves.
In a Nutshell
- Smart doorbells need more power than old mechanical ones. Most Ring and Nest models need a transformer rated at 16 to 24 volts AC with at least 10 to 40 VA of capacity. An older 8V or 10V unit will not work properly.
- A multimeter is your best friend. Set it to AC voltage mode and test directly at the transformer terminals. Any reading below the rated voltage points to a transformer, wiring, or breaker issue.
- Wiring matters as much as the transformer. Long wire runs, thin gauge wires, loose screws, and corroded connections all cause voltage drop. Sometimes the fix is a wire repair, not a new transformer.
- The chime can steal voltage too. A mechanical chime, digital chime, or missing diode often creates voltage drops that starve your smart doorbell.
- Safety comes first. Always turn off the breaker before touching the transformer. Low voltage is safer than line voltage, but the primary side still carries 120V.
- Replace, do not repair, a burned or humming transformer. It is cheap insurance against fire and future failure.
What Causes Low Voltage In Smart Doorbell Transformers
Low voltage rarely shows up out of nowhere. It usually traces back to one of a few familiar problems. The transformer itself may be old, weak, or undersized for a modern smart doorbell. Older homes often have 8V or 10V units built for simple buzzer chimes, and these cannot feed a video doorbell.
Loose wire nuts, corroded terminals, and rodent damage also drain voltage along the wire path. A staple pinching the wire can short two conductors together and drop power before it reaches the device.
Long wire runs add resistance too, and the longer the run, the bigger the drop. Knowing these root causes helps you test smarter instead of replacing parts blindly.
Why Smart Doorbells Need More Power Than Traditional Ones
Old doorbells just rang a chime for a second or two. They used very little power. Smart doorbells record video, run Wi-Fi, detect motion, and stay awake all day. That constant work needs steady electricity flowing in the background.
Most smart doorbells list a power range on the box or in the manual. Ring wired models accept 8 to 24 VAC, while Nest Hello and Nest Doorbell wired need 16 to 24 VAC with at least 10 VA. Anything below the minimum causes random reboots, missed alerts, and poor night vision.
Knowing the spec sheet of your specific model is the first real step toward fixing a voltage problem. Always match the transformer to the doorbell, not the other way around.
Tools You Need Before You Start Troubleshooting
You do not need a professional kit to fix this. A basic toolset handles almost every doorbell voltage issue. Grab a digital multimeter that measures AC voltage, a flathead and Phillips screwdriver, a flashlight, and a non contact voltage tester for safety checks.
Wire strippers, electrical tape, and a few extra wire nuts help when you find damaged wiring. Always keep a phone or notebook handy to write down voltage readings so you can compare them at each test point.
If you plan to replace the transformer, also grab a new one that matches your doorbell spec. Having everything ready before you start prevents you from leaving the breaker off too long during the job.
Pros: Cheap tools, one time purchase, useful for many home projects.
Cons: Cheap multimeters can give slightly off readings, so trust trends not exact decimals.
How To Safely Turn Off Power Before Testing
Safety has to come first every single time. The transformer connects to your home’s 120V line on one side, and that side can shock or kill you. Head to your breaker panel and find the breaker labeled doorbell, chime, or front door.
If nothing is labeled, switch off the breakers one at a time while a helper checks the transformer with a non contact voltage tester. Once the tester stays silent near the primary wires, you know the power is off.
Tape a note over the breaker so no one flips it back on while you work. Only after this check should you open the transformer cover or touch any wire. Treat every wire as live until proven dead.
Step By Step Guide To Testing Transformer Voltage
Now for the actual test. Turn the power back on at the breaker, but keep your hands away from the primary side. Set your multimeter to AC voltage, 200V range or auto. Touch one probe to each of the two low voltage screw terminals on the transformer.
A healthy 16V transformer reads between 16 and 18 volts. A 24V transformer reads between 24 and 28 volts. Anything more than 2 volts below the rating signals a problem.
Write the number down. Next, disconnect the doorbell wires at the device and test voltage at those wire ends. Compare both readings. A big difference between the two points to wire trouble, not transformer trouble.
Checking The Wiring Between Transformer And Doorbell
Wires fail more often than people think. Open the chime cover and the doorbell mount, then inspect every visible inch of wire. Look for green corrosion, black burn marks, frayed insulation, or staples that pinch the wire.
Wiggle each wire while watching the multimeter. If the voltage jumps or drops as you move the wire, you found a loose connection. Tighten every terminal screw firmly.
If a wire looks damaged inside a wall, you may need to run a new length of 18 or 20 gauge thermostat wire from the transformer to the doorbell. Longer wire runs over 50 feet should use thicker 18 gauge wire to reduce voltage drop along the path.
Pros: Often fixes the problem without buying new parts.
Cons: In wall wiring is hard to reach and may need drywall work.
How To Identify A Failing Or Burned Out Transformer
Sometimes the transformer itself is the problem. Look at it closely. A failing unit often shows brown or black scorch marks, a bulging case, or a melted plastic smell. Touch it lightly with the back of your hand. If it feels very hot, that is a warning sign.
A loud humming or buzzing noise means the internal coils are loose or shorted. A transformer that reads zero volts with no signs of breaker trip is dead inside.
Some older transformers also drift over time and put out lower voltage than printed on the label. If yours reads 12V on a 16V unit even with no load, retire it. A new transformer costs less than dinner and lasts 20 years.
Upgrading Your Transformer For Smart Doorbells
If your transformer cannot keep up, upgrading is the cleanest fix. Most smart doorbells run best on a 24V, 30 to 40 VA transformer. This gives plenty of headroom for video streaming and chime power. Brands like Hampton Bay, Newhouse, and generic UL listed units all work fine.
Mount the new transformer on a junction box in the basement, garage, or utility closet near the breaker panel. Connect the two black primary wires to the 120V supply using wire nuts, and connect the two low voltage screws to your existing doorbell wires.
Always match the wire colors and follow local electrical code. If you feel unsure about the 120V side, hire an electrician for that part only. The low voltage side is safe to handle yourself.
Pros: Permanent fix, supports any smart doorbell, future proof.
Cons: Costs more than a repair, may need an electrician for hookup.
Dealing With Chime Issues That Cause Voltage Drops
Your chime can rob power without you noticing. Mechanical chimes use a small solenoid that creates a voltage drop across the chime terminals. Smart doorbells route power through the chime, so a bad chime hurts the doorbell too.
Test by measuring voltage at the chime terminals while pressing the button. A drop of more than 2 to 3 volts means the chime is restricting current. Many smart doorbells include a diode or power kit that bypasses the chime entirely.
Install it inside the chime box following the wiring diagram in your doorbell manual. Digital chimes need different wiring and often a Pro Power Kit. Always match the kit to your exact doorbell model.
Common Wiring Mistakes That Reduce Voltage
Wiring mistakes can sneak in during installation and bite you later. The most common one is using doorbell wire that is too thin for the run length. Another is connecting two wires under one terminal screw and only tightening one of them.
Wire nuts that were never twisted tightly slowly oxidize and lose contact. Splices buried inside walls without proper boxes are also a fire risk and a common voltage thief. Reversed polarity on a Nest install can cause repeated voltage warnings.
Always double check the wire colors on the doorbell side, the chime side, and the transformer side. A quick wiring map drawn on paper before you start saves hours of head scratching later.
When To Call A Licensed Electrician
DIY works for most doorbell repairs, but some jobs need a professional. Call an electrician if you cannot find the breaker, if the transformer is hardwired into a wall without a junction box, or if you see aluminum wiring, scorched outlets, or signs of past electrical fires.
An electrician also helps when you want to add a dedicated circuit for your doorbell or move the transformer to a new spot. Older homes built before 1970 often have wiring that does not meet today’s code, and touching it can void insurance. Spending a hundred dollars on a pro beats spending thousands on fire damage. Trust your gut and step back when something feels beyond your skill level.
Preventing Future Low Voltage Problems
Once your doorbell works again, a few habits keep it working for years. Check the voltage at the doorbell once a year with your multimeter. Clean any corrosion off the terminals with a cotton swab and a drop of contact cleaner.
Keep the transformer area dry and ventilated so heat does not build up. Avoid stacking boxes or insulation against it in basements or attics. If you upgrade your smart doorbell later, recheck the new power requirement before plugging it in.
Some newer models like 4K video doorbells need even more juice than older ones. A yearly five minute checkup catches small drifts in voltage before they turn into a dead doorbell on a rainy day.
Frequently Asked Questions
What voltage should my doorbell transformer put out?
Most smart doorbells need 16 to 24 volts AC. Ring wired doorbells accept 8 to 24 VAC, while Nest Hello requires 16 to 24 VAC at 10 VA or more. Always check your doorbell manual for the exact range. A reading more than 2 volts below the label means a problem.
Can I use a 24V transformer with a 16V doorbell?
Yes, in most cases. Smart doorbells handle a range of voltages and pick what they need. A 24V transformer gives extra headroom, especially on long wire runs. Just confirm the upper limit in your doorbell manual before swapping. Going over the listed maximum can damage the device.
Why does my doorbell work sometimes but not always?
Intermittent issues usually point to loose wires, a weak transformer, or a chime stealing power. Voltage may sit just at the edge of the doorbell’s tolerance. When Wi-Fi or motion detection kicks in, the extra current draw pushes voltage below the minimum. Upgrade the transformer or check connections.
How long do doorbell transformers last?
A good quality transformer lasts 20 to 40 years. Cheaper units may fail within 5 to 10 years, especially in hot attics or damp basements. Heat is the biggest killer of transformers. If yours has been running since the house was built, plan a replacement when you upgrade to a smart doorbell.
Is it safe to replace a doorbell transformer myself?
The low voltage side is safe to touch when the breaker is off. The 120V primary side carries lethal voltage and should only be handled if you know what you are doing. If your transformer is hardwired into a junction box, you can replace it with basic skills. If wires hang freely from a wall, call an electrician.
Do I need a special transformer for video doorbells?
Not a special one, just a stronger one. Look for 24 volt AC, 30 to 40 VA, UL listed models. These are sold at hardware stores and online. Avoid old 8V or 10V units, as they cannot power video streaming. Match the spec to your specific doorbell model for best results.

Hi, I’m Sonny Dawson, the creator and voice behind ConvertResizeGen. 👋 I’m a passionate tech enthusiast who loves exploring the latest gadgets, devices, and electronics that shape the way we live and work. Through my website, I share honest, hands-on reviews of trending Amazon products to help you make smarter buying decisions.