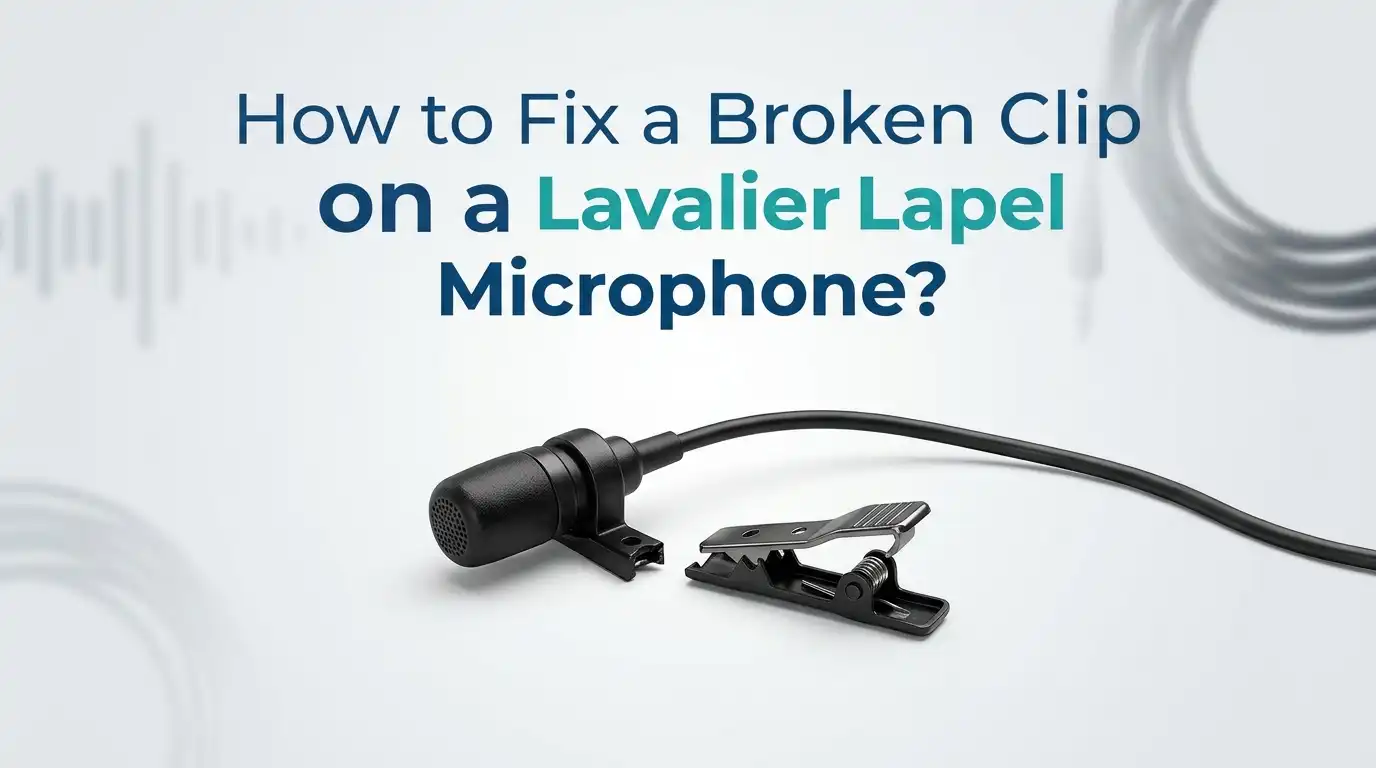
How to Fix a Broken Clip on a Lavalier Lapel Microphone?
Your lavalier microphone works fine, but the tiny plastic clip just snapped. That small piece of plastic is what holds the mic to your shirt, tie, or collar. Without it, recording becomes frustrating and unreliable.
The good news is you do not need to throw away the mic or buy a new one. A broken lav clip is one of the easiest audio problems to fix at home. Most repairs take less than ten minutes and use items you already own.
This guide walks you through every working method. You will learn how to glue, replace, or swap the clip for a smarter attachment. Read on, pick the option that fits your situation, and get back to recording clear audio.
In a Nutshell:
- Identify the break first. Check if the hinge, the jaw, or the mic holder snapped. Each break needs a slightly different fix, so a quick inspection saves you from wasting glue or tape.
- Super glue and baking soda form a strong bond for small plastic clips. This combo creates a hard filler that works better than glue alone for hinge cracks and snapped arms.
- Generic replacement clips are cheap and fit most lav mics. They come in 4mm, 5mm, and 6.5mm sizes, so measure your mic capsule before ordering one.
- Vampire clips, toupee tape, and moleskin are pro alternatives. Sound engineers on film sets use these to mount lavs without a traditional clip, and they often sound cleaner.
- Plastic welding with a soldering iron gives the strongest repair for a fully snapped clip. It melts the two pieces back together and creates a single solid part again.
- Prevent future breaks by storing the mic in a pouch and never clipping it to thick fabric. Most lav clips break from stress, not age, so handling matters more than anything else.
Inspect the Damage Before You Start
The first step is figuring out exactly what broke. Lavalier clips have three weak points: the spring hinge, the gripping jaws, and the small holder that grips the mic body. Look closely at your clip under good light.
If the hinge snapped, the two halves will fall apart completely. If the jaw cracked, the clip will still close but slip off fabric. If the mic holder broke, the capsule will fall out even though the clip works.
Knowing the exact break point tells you which repair method to use. A snapped hinge needs a strong adhesive or full replacement. A loose jaw can be fixed with a rubber insert. Always inspect first, because a wrong fix can damage the mic cable inside.
Method 1: Use Super Glue and Baking Soda
This trick is popular for a reason. Super glue alone often fails on small plastic parts because the bond is thin and brittle. Adding baking soda turns the glue into a hard filler that bonds and reinforces at the same time.
Hold the broken pieces together and apply a small drop of super glue on the crack. Sprinkle a tiny pinch of baking soda over the wet glue. The mix hardens in seconds into a tough plastic-like material.
Pros: It is fast, cheap, and very strong. You can build up extra layers for added strength. Most people already have both items at home.
Cons: The repair looks messy and white. It does not flex, so a hinge fixed this way may snap again. Skip this method if the clip needs to bend.
Method 2: Plastic Welding With a Soldering Iron
Plastic welding sounds technical, but the process is simple. You melt the broken plastic edges so they fuse back together. The result is one solid piece, just like the original clip.
Heat a soldering iron to a medium setting. Press the tip gently along the crack so both sides melt slightly. Push the pieces together and hold for a few seconds while the plastic cools and hardens.
For extra strength, melt a small piece of a plastic zip tie into the joint as filler. This creates a reinforced weld that often outlasts the original clip.
Pros: It produces the strongest repair possible. The clip keeps its flexibility and looks almost normal.
Cons: You need a soldering iron and steady hands. Melted plastic gives off fumes, so work near an open window. Beginners may damage the clip further if they apply too much heat.
Method 3: Replace the Clip With a Generic One
Generic lav clips are sold widely online for very little money. They come in ABS plastic or metal versions and fit nearly every popular brand. Most pack includes two or three clips so you have spares.
Measure the diameter of your microphone capsule first. Common sizes are 4mm, 4.5mm, 5mm, and 6.5mm. Pick a clip that matches, otherwise the mic will slide out or sit too loosely.
To swap the clip, gently pull the mic capsule out of the old broken holder and push it into the new one. No tools or wiring needed.
Pros: It is the cleanest and easiest fix. Replacement clips look professional and last a long time.
Cons: You must wait for shipping. Cheap clips sometimes have weak springs, so read reviews before buying.
Method 4: Order an Official Brand Replacement
Many brands sell official replacement clips directly through their support pages. Rode, Sennheiser, Sony, and Audio Technica all offer spare parts. Just submit a support ticket and ask for the clip part number.
Official clips fit perfectly because they match the exact mic diameter and shape. They also use the same plastic grade as the original, so the feel stays consistent. Some brands even ship the clip for free under warranty.
This is the best route for premium mics where fit matters for sound isolation.
Pros: A perfect fit and matching color. Long lifespan and proper grip.
Cons: Slower delivery and higher cost than generic clips. Some older mic models may no longer have official spares available, so check first.
Method 5: Use a Vampire Clip Instead
Vampire clips are used by professional sound engineers on film sets. They have two small metal pins that pierce the fabric and hold the mic firmly without slipping. The mic sits inside a soft rubber housing that blocks clothing noise.
To use one, push the pins through your shirt or tie from the inside out. Slide the lav capsule into the rubber holder. The mic stays locked in place even during heavy movement.
Vampire clips often sound better than standard clips because they reduce fabric rustle.
Pros: They give studio quality mounting. Strong grip, low noise, and reusable hundreds of times.
Cons: The pins leave tiny holes in fabric. Some people dislike piercing delicate clothing. Not ideal for silk or thin shirts.
Method 6: Try Toupee Tape or Moleskin Mounts
Tape mounting skips the clip altogether. Toupee tape is a double sided sticky strip used in wig and costume work. It holds a lav mic flat against skin or the inside of clothing without any hardware.
Cut a small piece of tape, stick it to the back of the mic capsule, then press the mic onto the chosen spot. For extra noise control, wrap a piece of moleskin around the capsule first to soften any rubbing.
This method is invisible on camera and works great for interviews and weddings.
Pros: Completely hidden mounting. Cheap, gentle on clothing, and easy to apply.
Cons: Sweat and oil weaken the adhesive. Tape needs to be replaced every few hours of heavy use.
Method 7: Build a DIY Clip From a Tie Clip
If you cannot wait for shipping, raid your closet. A regular metal tie clip can replace a broken lav clip in minutes. Find a small clip with a flat surface and a strong spring.
Glue or tape the mic capsule to the front of the tie clip. Make sure the mic head faces upward toward the speaker’s mouth. The metal jaws will grip almost any fabric securely.
You can also use small alligator clips from a craft store. Cover the metal teeth with a piece of fabric or rubber to prevent damage to delicate shirts.
Pros: Uses items you already own. Surprisingly strong grip and a clean look.
Cons: Adds extra weight to the mic. Glue can damage the capsule if applied wrong. Not the most professional appearance for video work.
Method 8: 3D Print a Replacement Clip
If you own a 3D printer or know someone who does, this is a great option. Free clip designs are available on sites like Thingiverse and Printables. Search for your mic model and download the file.
Print the clip in PLA or PETG plastic for the best balance of strength and flexibility. Print time is usually under thirty minutes for a single clip. You can even adjust the size in slicer software for a snug fit.
This option lets you print multiple spares at once so you never run out.
Pros: Endless supply of custom clips. Cheap per unit and fully recyclable.
Cons: Requires printer access and basic 3D skills. PLA can warp in hot cars or under stage lights.
How to Remove the Mic From a Broken Clip Safely
Pulling the capsule out of a broken clip is the trickiest part. The cable inside is thin and fragile. A sharp tug can snap the internal wires, which costs far more to fix than a clip.
Hold the clip in one hand and the mic capsule in the other. Twist the mic slowly while pulling outward with gentle pressure. If a rubber grommet holds the mic in place, push it from the back first to release tension.
Never use pliers directly on the mic body. The metal jaws will dent the casing and damage the internal element. Patience matters more than force at this stage.
How to Prevent the Clip From Breaking Again
Most lav clips break from stress, not age. Clipping to thick collars, denim, or leather puts too much spring pressure on the plastic. Over time, the hinge weakens and snaps.
Store your lav mic in a small pouch or hard case between uses. Never wind the cable tightly around the clip, as this twists the hinge and creates hidden cracks. Always unclip the mic by squeezing the back, not by pulling on the cable.
Keep a spare clip in your gear bag at all times. Clips are tiny and weigh nothing, but having one ready saves an entire shoot. Good habits add years of life to your lavalier microphone.
When to Call a Professional Repair Service
Some breaks go beyond the clip. If the cable feels loose where it enters the mic body, or if you hear crackling when you move it, the wiring inside may also be damaged. In that case, a repair shop is the better choice.
Services like LavalierMicRepair handle internal rewiring, connector replacement, and capsule cleaning. They charge a flat fee for most jobs and return the mic in a week or two.
Choose this route for expensive mics like Sanken, DPA, or Sennheiser MKE models. Saving the original mic is cheaper than buying a new one.
Pros: Restores the mic fully and includes other fixes.
Cons: Costs more and takes longer than a DIY fix.
Final Thoughts on Fixing Your Lav Clip
A broken clip is a small problem with many simple solutions. Whether you glue, weld, swap, or tape, your mic can keep working for years. Pick the method that matches your skill level and the tools you own.
Start with the easiest fix first. If super glue or a generic replacement solves the problem, you save time and money. Move to advanced methods like plastic welding only if the simple ones fail.
Keep spare clips and toupee tape in your kit. A working lav mic is a small piece of gear that captures big moments. Treat it well and it will reward you with clean audio every time.
Frequently Asked Questions
Can I use regular glue instead of super glue to fix a lav clip?
Regular school glue or wood glue will not bond plastic clips. Use cyanoacrylate super glue or two part epoxy for the best results. Epoxy gives the strongest hold but takes longer to set.
Will a broken clip affect the sound quality of my lav mic?
No, the clip is purely a mounting tool. Sound quality depends on the capsule and the cable inside. A broken clip only affects how the mic stays attached to your clothing.
Are generic replacement clips as good as official brand clips?
Generic clips work well for casual use and home recording. Official clips offer a tighter fit and longer life. For professional shoots, stick with brand specific replacements.
How do I know what size clip my microphone needs?
Measure the diameter of the mic capsule with a ruler or caliper. Most lav mics are between 4mm and 7mm wide. Match the clip size to that measurement for a snug grip.
Can I record without using a clip at all?
Yes, many sound engineers tape the mic directly to skin or clothing. Toupee tape, moleskin, and vampire clips are common alternatives. These methods often produce cleaner audio than standard clips.
Why does my lav clip keep breaking?
Thick fabric, rough handling, and tight cable wrapping cause most breaks. Switch to softer mounting fabrics and store the mic in a padded pouch to extend clip life.

Hi, I’m Sonny Dawson, the creator and voice behind ConvertResizeGen. 👋 I’m a passionate tech enthusiast who loves exploring the latest gadgets, devices, and electronics that shape the way we live and work. Through my website, I share honest, hands-on reviews of trending Amazon products to help you make smarter buying decisions.