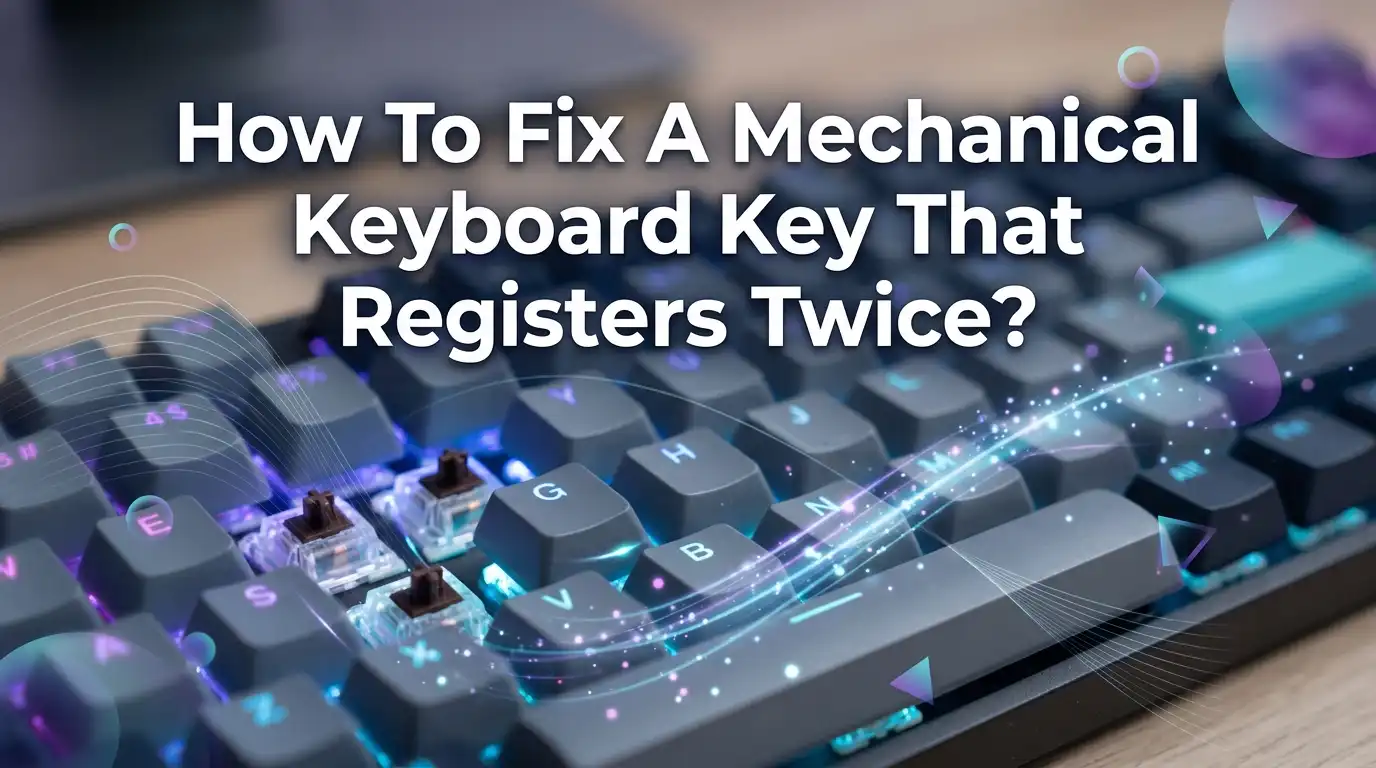
How To Fix A Mechanical Keyboard Key That Registers Twice?
You press one key, but two letters show up on the screen. You type “the,” and you get “thee.” This problem is called key chatter or double typing, and it can turn smooth typing into a frustrating mess.
The good news is simple: you can fix it yourself in most cases. You do not always need a new keyboard, and you do not always need expensive tools.
This guide gives you clear, step by step fixes. We start with the easiest methods and move toward advanced repairs. By the end, you will know exactly what causes the issue and how to stop it for good.
In a Nutshell
- Key chatter happens when one keypress sends two signals. The metal contacts inside the switch bounce against each other, and the keyboard reads that bounce as two separate presses.
- Start with the cheapest fix first. Compressed air and a quick dust blast solve many cases. You spend almost nothing and risk no damage.
- Software debounce settings can fix the problem without opening anything. Raising the debounce time tells your keyboard to ignore the tiny bounce signals.
- Cleaning with contact cleaner helps oxidized switches. Use only electrical contact cleaner, never regular WD-40, because oil residue ruins switches.
- Replacing the switch is the permanent fix for a dead switch. Hot swap boards make this a snap, while soldered boards need more skill and tools.
- Prevention keeps chatter away. Keep food, dust, and liquid far from your keyboard, and the contacts stay clean longer.
What Does It Mean When A Key Registers Twice
When a key registers twice, your keyboard sends two inputs from one physical press. You tap “a” once, and the screen shows “aa.” This is the core symptom of key chatter. Inside every mechanical switch, two metal leaves touch to complete a circuit.
That single touch should create one clean signal. But the metal leaves are springy, and they can vibrate for a tiny moment before settling. Your keyboard controller may read each tiny vibration as a new press.
This is not always a sign that your keyboard is dead. Often it is dust, oxidation, or a software setting. Understanding the symptom helps you pick the right fix. Knowing the cause saves you time and money before you try anything.
Why Mechanical Keyboard Keys Start Double Typing
Several things cause a key to fire twice, and each one points to a different fix. Dust and debris are the most common reasons. A tiny speck lands between the metal contacts and disturbs the signal. Oxidation is another big cause.
Over months, the metal leaves develop a thin layer of corrosion that breaks clean contact. Switch age and wear also matter. The metal loses its spring after millions of presses, and the bounce gets worse. Firmware and debounce settings play a role too.
If the debounce time is too short, your keyboard reads natural bounce as real input. Finally, liquid spills leave sticky residue that messes with the contacts. Once you know which cause fits your case, the right solution becomes clear.
Confirm The Problem Before You Fix Anything
Do not start repairs until you confirm the key is really chattering. Open a plain text editor like Notepad. Press the problem key slowly, one tap at a time. Watch the screen closely. If one tap makes two letters, you have confirmed key chatter.
Next, test the key in a different program. This rules out a software glitch in one app. Try a different USB port or cable too. A loose cable can mimic chatter. If you use wireless mode, switch to a wired connection and test again.
You can also use a free online key tester website. These tools show every keypress in real time. Confirming the problem first saves you from fixing a key that was never broken. It also tells you if the issue affects one key or many.
Method 1: Blow Out Dust With Compressed Air
This is the easiest and cheapest fix, so always try it first. Dust between the contacts causes most chatter cases. You only need a can of compressed air. First, unplug your keyboard to stay safe.
Pull off the keycap from the problem key with a keycap puller or your fingers. Press down the switch stem and hold it. Now aim the compressed air nozzle straight into the open switch housing.
Give it two or three short bursts. The air pushes out the dust that blocks clean contact. Release the stem, put the keycap back, and test the key.
Pros: It costs almost nothing and takes two minutes. It carries zero risk of damage. Cons: It only works for dust, not oxidation or worn switches. The fix may not last if dust returns.
Method 2: Use The Isopropyl Alcohol Trick
If air does not work, try isopropyl alcohol. This method cleans light grime and oxidation from the contacts. Use alcohol that is 90 percent strength or higher.
Lower strength holds too much water and dries slowly. First, unplug the keyboard. Remove the keycap from the chattering key. Press and hold the switch stem to open the contacts.
Drop a few drops of alcohol directly into the switch housing. Now press the key fast, many times, for about 30 seconds. This scrubs the metal leaves clean. Let the switch dry fully for 15 minutes before you plug in again.
Pros: It is cheap and clears light oxidation that air cannot. Many people fix chatter this way in minutes. Cons: The fix is often temporary and may return in weeks. It does not repair a switch that is truly worn out.
Method 3: Adjust The Debounce Time In Software
Sometimes the hardware is fine, but the keyboard reads bounce as real input. The fix lives in your keyboard software. Debounce time is a short buffer that tells your keyboard to ignore signals right after a press.
Open your keyboard driver app, like the brand software for Corsair, Razer, or Keychron. Look for a setting called debounce time or debounce delay. Raise it slightly, for example from 5ms to 10ms. Save the change and test the key. The higher buffer filters out the natural bounce.
Pros: You fix the problem without opening the keyboard at all. It works great for older switches that bounce a little more. Cons: Too much debounce time adds a small delay to your typing. Not every keyboard offers this setting in its software.
Method 4: Use QMK Or VIA For Custom Debounce
If your keyboard supports QMK or VIA firmware, you get powerful control. QMK lets you set the exact debounce value and method. The default debounce time in QMK is 5 milliseconds.
You can raise it by editing one line in the config.h file, like #define DEBOUNCE 10. QMK also offers smart algorithms. The sym_defer_g method waits for all bounce to settle before sending input, and it resists noise well.
Advanced users can even apply per key debounce so only the bad switch gets the higher buffer. This keeps the rest of your keyboard fast.
Pros: You get a precise, lasting fix without new hardware. Per key control means no extra delay on healthy keys. Cons: It requires flashing firmware, which feels technical for beginners. A mistake during flashing can need a reset, so follow guides carefully.
Method 5: Clean The Switch With Electrical Contact Cleaner
When alcohol is not enough, electrical contact cleaner goes deeper. This spray dissolves stubborn oxidation and dries with zero residue. Never use regular blue or yellow can WD-40.
That oil leaves a film that ruins your switches. Instead, use a product made for electronics, like a specialist contact cleaner spray. First, unplug the keyboard, this step is critical.
Remove the keycap and press down the switch stem. Spray one short burst straight into the switch housing. Press the key fast for 30 seconds to scrub the contacts. Let it dry for 15 minutes before plugging in.
Pros: It clears heavy oxidation that alcohol cannot reach. The fast drying spray leaves no residue behind. Cons: The spray can be very cold and may crack small plastic parts. It also costs more than alcohol and only suits out of warranty boards.
Method 6: Replace The Switch On A Hot Swap Keyboard
If cleaning fails, the switch itself is likely dead and needs replacing. Hot swap keyboards make this the easiest repair of all. These boards let you pull out switches with no soldering. First, unplug the keyboard. Pull off the keycap with a keycap puller.
Then use a switch puller tool to grip the switch by its top and bottom clips. Pull straight up with gentle, even force. The old switch pops out. Line up the pins on a new switch and press it firmly into the socket until it clicks. Put the keycap back and test.
Pros: No soldering and no special skill needed. You swap a switch in under a minute. Cons: Only hot swap boards support this, not soldered ones. You also need a matching replacement switch on hand.
Method 7: Replace The Switch On A Soldered Keyboard
Soldered keyboards take more work, but the repair is still doable. You need a soldering iron, solder, and a desoldering tool or wick. First, unplug the keyboard and open the case to reach the circuit board. Flip the board over to find the two solder points for the bad switch.
Heat each joint and remove the old solder with a pump or wick. Once the pins are free, lift the old switch out from the top. Push the new switch into place, then solder its two pins from the back. Reassemble the case and test the key.
Pros: It gives a permanent fix and works on any soldered board. You can choose any switch you like. Cons: It needs soldering skill and tools, so beginners may struggle. A bad solder joint can cause new problems.
How To Prevent Key Chatter From Coming Back
Prevention saves you from repeating these fixes over and over. Keep food and drinks away from your keyboard. Crumbs and liquid are the top sources of dust and sticky residue.
Wash your hands before long typing sessions to cut down oil transfer. Cover your keyboard when you are not using it. A simple dust cover blocks the particles that cause chatter. Clean your keyboard every few weeks with a soft brush and compressed air.
This stops dust from building up inside the switches. If you live in a humid area, keep the room dry to slow oxidation. Buying quality switches from the start also reduces early wear. Small habits keep your contacts clean and your typing accurate for years.
When To Stop Fixing And Replace The Keyboard
Sometimes a keyboard is not worth more repair time. If many keys chatter at once, the problem may sit deeper than the switches. A failing controller or water damaged circuit board is hard to fix at home.
Weigh the cost of repair against the price of a new board. If your keyboard is cheap and out of warranty, replacing it may save you money and stress. But if it is still under warranty, contact the maker first. Many brands replace chattering keyboards for free during the warranty period.
Do not open the case if that voids your coverage. For a beloved high end board, repair almost always makes sense. For an old budget board with many dead keys, a fresh start is often the smarter move.
Quick Comparison Of All The Fixes
Here is a simple way to choose the right method for your situation. Start cheap and easy, then move up only if needed. Compressed air is your first stop because it is free of risk and fast. Isopropyl alcohol comes next for light oxidation.
If the hardware seems clean, jump to software debounce settings instead. QMK and VIA suit users who want a precise, lasting software fix. Contact cleaner handles heavy grime that alcohol cannot beat. When all cleaning fails, switch replacement is the true permanent answer.
Hot swap owners get the easiest swap, while soldered boards need real skill. Match the method to your cause: dust needs air, oxidation needs cleaning, and a dead switch needs a new one. This order saves you time and protects your keyboard.
Frequently Asked Questions
Why does my keyboard type double letters all of a sudden?
Sudden double typing usually means dust or oxidation reached the switch contacts. A tiny particle or a thin layer of corrosion breaks the clean signal. Start with compressed air, then try alcohol if needed. In some cases, a recent firmware or software update changed your debounce setting, so check that too.
Can I fix key chatter without opening my keyboard?
Yes, you often can. Adjusting the debounce time in your keyboard software fixes many cases. Raise the value slightly and test the key. Compressed air through the keycap gap can also help without full disassembly. Only open the board if these simple steps do not work.
Is it safe to use isopropyl alcohol on my switches?
Yes, when you use the right strength. Choose isopropyl alcohol that is 90 percent or higher so it dries fast and leaves little water. Always unplug the keyboard first and let the switch dry fully before you plug it back in. Never use water based cleaners.
What debounce time should I set to stop double typing?
The common default is around 5 milliseconds. Raising it to 10 milliseconds usually stops chatter without a noticeable typing delay. Increase it in small steps and test each time. Go just high enough to fix the issue, because too much delay makes typing feel slow.
Will replacing one switch fix the problem for good?
If only one switch is worn or dead, then yes, a new switch is a permanent fix. Hot swap boards make this quick and tool free. But if several keys chatter, the cause may be deeper, like the circuit board. In that case, replacing one switch will not solve everything.
Does key chatter mean my keyboard is broken?
Not usually. Most chatter comes from dust, oxidation, or a software setting, not a broken keyboard. These causes are easy and cheap to fix at home. Only when many keys fail at once, or the board has water damage, should you worry about a deeper hardware fault.

Hi, I’m Sonny Dawson, the creator and voice behind ConvertResizeGen. 👋 I’m a passionate tech enthusiast who loves exploring the latest gadgets, devices, and electronics that shape the way we live and work. Through my website, I share honest, hands-on reviews of trending Amazon products to help you make smarter buying decisions.