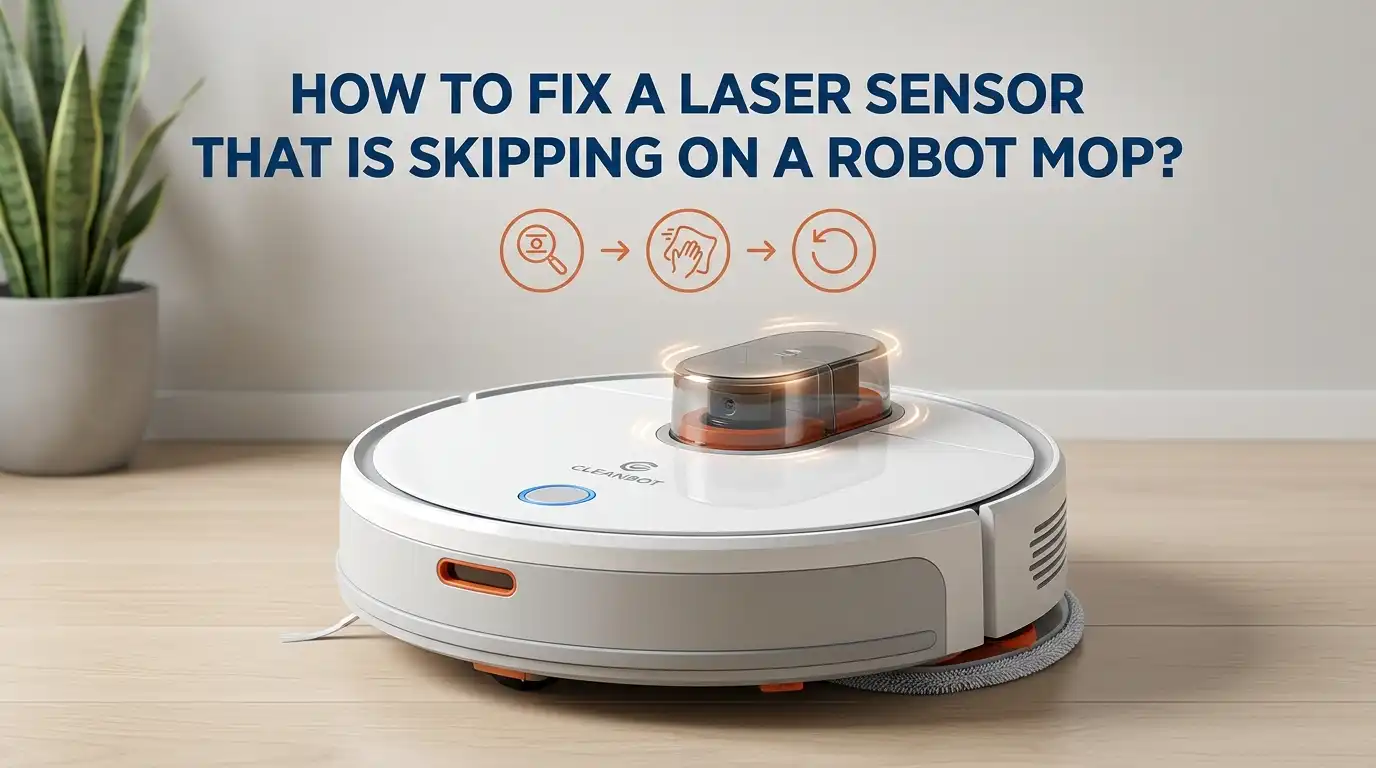
How to Fix a Laser Sensor That Is Skipping on a Robot Mop?
Your robot mop spins in circles. It misses spots. It bumps into walls it used to glide past. The culprit often hides in plain sight, your laser sensor.
When this small spinning tower on top starts skipping, your robot loses its sense of direction. The good news is that most laser sensor issues have simple fixes you can do at home.
This guide walks you through every step. You will learn what causes the skipping, how to clean the sensor safely, and when to call for help. By the end, your robot mop should glide through your floors with smooth, accurate movements again. Let me show you exactly what to do.
Key Takeaways
- Dust and hair buildup on the LiDAR sensor is the top reason a robot mop skips. A soft microfiber wipe usually clears it in under two minutes.
- A stuck or jammed laser turret stops the sensor from spinning freely. Gently rotate it with your finger to check for resistance.
- Firmware bugs cause many skipping issues after updates. A quick reboot or factory reset often solves these software glitches fast.
- Reflective surfaces, mirrors, and direct sunlight confuse the laser. Move the robot to a different room or change lighting to test this.
- Loose or worn internal motors inside the sensor module may need part replacement. This is the only step that may need a technician.
- Routine cleaning every two weeks prevents most laser sensor problems from coming back. Set a reminder so you do not forget.
What Does a Laser Sensor Do on a Robot Mop?
The laser sensor on your robot mop is the brain behind its navigation. It sits on top as a small spinning dome, also called a LiDAR module or Laser Distance Sensor (LDS). It shoots out invisible laser beams and measures the time they take to bounce back.
This data builds a real time map of your room. Your robot uses this map to plan paths, avoid walls, and skip over rugs. When the sensor skips, the map breaks. The robot then guesses where to go and often picks the wrong path.
Understanding this role helps you fix it faster. A clean, spinning, well powered laser sensor equals smooth cleaning. A dirty or stuck one equals a confused robot. Knowing this, you can target the right fix without guessing.
Common Signs Your Laser Sensor Is Skipping
You should first confirm the problem before you start fixing it. A skipping laser sensor shows clear warning signs. Your robot may spin in tight circles without moving forward. It may stop suddenly and beep with an error like “clean the LiDAR” or “error 1.”
The map in your app may look broken, with rooms drawn in odd shapes or missing entirely. Your mop may also bump into furniture it used to avoid. Some users report a soft clicking or grinding sound from the top dome.
Watch for these signs together: missed spots on the floor, repeated path lines, and slow or jerky motion. If two or more of these appear, your laser sensor needs attention. A quick visual check of the spinning top often confirms the issue right away.
Why Does the Laser Sensor Start Skipping?
Several things cause a laser sensor to skip. The most common reason is dust and pet hair wrapped around the spinning base. This drag slows the rotation and creates gaps in the laser readings.
Another cause is direct sunlight or shiny floors that scatter the laser beam. Mirrors, glass tables, and dark glossy tiles confuse the sensor too. A third reason is firmware bugs, especially after an update.
Sometimes the small motor inside the sensor wears out. This happens more often on robots older than two years. Loose wiring inside the unit also causes random skips. Knowing the root cause saves time. Start with the easy fixes first, like cleaning, before you move to harder steps like resets or part swaps.
Step 1: Power Down the Robot Mop Safely
Always turn off your robot mop before you touch the laser sensor. Working on a live device risks shock, sensor damage, and voided warranty. Most robot mops have a power switch under the body or on the side.
Hold the power button for five to ten seconds until you hear a beep or see the lights fade. Place the robot on a flat, dry table with good light. Have a soft microfiber cloth, a can of compressed air, and a small soft brush ready.
Do not use water, alcohol wipes, or rough paper towels directly on the laser dome. These can scratch the lens or seep into the motor. A dry, gentle approach works best. This simple prep step protects both you and your robot during the rest of the fix.
Pros of powering down first: full safety, no shock risk, no software confusion. Cons: you lose a few seconds of cleaning time, but this is worth the protection.
Step 2: Clean the Laser Distance Sensor Dome
The spinning dome on top is the laser distance sensor. Hair, dust, and lint stick to the gap between the dome and the body. Use a soft microfiber cloth to wipe the outside of the dome. Move in slow, circular motions.
Next, use compressed air to blow into the small gap around the base. Hold the can upright and use short bursts. This pushes out trapped hair without breaking the motor. A soft brush, like a clean makeup brush, works well for stubborn fluff.
Spin the dome with your finger gently after cleaning. It should turn smoothly with light resistance. If it feels rough or stuck, you may need to open the cover for deeper cleaning.
Pros of this method: fast, free, and safe. Cons: it only works for surface dust, not deeper jams. Do this clean every two weeks for the best results.
Step 3: Check for Hair Wrapped Around the Sensor Base
Long hair is the silent enemy of robot mops. It wraps around the laser sensor base where the dome meets the body. This drag slows the spin and causes skipping. You can spot wrapped hair by tilting the robot under a light.
Use a seam ripper or small pair of tweezers to lift the hair out. Pull slowly so you do not jerk the sensor. If the hair is tight, snip it with small scissors first. Be careful not to cut any wires or the rubber seal.
Clear every strand you can see. Even one hair can slow the spin enough to cause skips. Pros of this fix: it solves the most common cause of skipping. Cons: it takes patience, especially in homes with pets or long haired family members. Still, it is one of the best fixes you can do.
Step 4: Inspect for Cracks or Damage on the Sensor
Sometimes the laser sensor skips because of physical damage. Look at the dome under bright light. Check for cracks, chips, or cloudy spots on the clear window. Even a small crack can scatter the laser beam.
Run your finger lightly across the surface. Feel for rough patches or sticky residue. Spilled liquids, like juice or cleaning spray, can leave a film. Wipe this off with a slightly damp microfiber cloth, then dry it well.
If you see a deep crack or a broken dome, the sensor needs replacement. No amount of cleaning will fix a damaged lens. Pros of inspection: you catch hidden damage fast. Cons: a damaged sensor often means a paid repair or part swap. Still, knowing the truth helps you decide your next move with confidence.
Step 5: Restart and Reset the Robot Mop
Many laser sensor skips come from software glitches, not hardware. A simple restart clears these in seconds. Hold the power button for ten to fifteen seconds until the robot beeps and turns off. Wait one minute, then turn it back on.
If the skip continues, try a factory reset through the app. This wipes the saved map and settings but keeps the firmware. Look in the settings menu for “reset robot” or “restore factory settings.” Follow the on screen steps.
A factory reset solves most stubborn skipping issues after firmware updates. Pros: free, fast, and fixes hidden bugs. Cons: you lose your saved maps and zones. You will need to remap your home, which takes one cleaning cycle. For most users, this small effort is worth a fully working sensor.
Step 6: Update the Firmware Through the App
Robot mop makers push out firmware updates to fix bugs. If your laser sensor started skipping after a recent update, check the app for a newer one. Open the app, tap your robot, then go to settings. Look for a “firmware” or “software update” option.
If an update is available, run it while the robot sits on its dock. Do not move it during the update. The process usually takes five to ten minutes. After it finishes, restart the robot and run a test clean.
Updated firmware often fixes laser calibration bugs. Pros: simple, free, and improves other features too. Cons: a bad update can cause new issues. If your robot worked fine before an update, you may need to wait for the next patch or contact support. Most makers release fixes within a few weeks.
Step 7: Check the Cleaning Environment
Your home setup affects how well the laser sensor works. Direct sunlight shining on the floor confuses the laser. So do mirrors, glass tables, and shiny black tiles. These surfaces reflect the laser back in odd angles.
Move your robot to a different room and run a short clean. If the skipping stops, the environment is the issue. Close blinds during cleaning hours. Cover mirrors near the floor with a cloth. Place small rugs over very shiny spots.
Soft, even lighting works best for laser sensors. Pros of this fix: no tools needed, no cost. Cons: you may need to change your cleaning schedule or move furniture. For most homes, a few small tweaks fix the issue. This is often the missed step that solves what looks like a hardware problem.
Step 8: Test the Sensor Motor Manually
If cleaning and resets do not work, the small motor inside the sensor may be the issue. With the robot off, gently spin the laser dome with your finger. It should rotate smoothly and freely. Resistance, clicking, or wobble points to a motor problem.
Some robots let you open the top cover with a small screwdriver. Check your manual before you try this. Inside, you will see a tiny belt or gear that drives the dome. Look for worn rubber, broken teeth, or loose wires.
A worn motor needs a replacement part. You can order one from the maker or a parts store. Pros of testing: you learn the exact problem. Cons: opening the robot may void your warranty. If your robot is still under warranty, contact support first before you open anything.
Step 9: When to Contact Customer Support
Some laser sensor problems need expert help. If you cleaned the sensor, reset the robot, updated the firmware, and it still skips, it is time to call support. Most makers offer free help by phone, chat, or email.
Have your robot model number, serial number, and purchase date ready. Take a short video of the skipping problem if you can. This helps the support team see the issue clearly. Many companies offer free repair or replacement within the warranty period.
Do not wait too long to ask for help. Pros of contacting support: free expert advice and possible free repair. Cons: it can take days or weeks to get a response or part. Still, this is the safest path for deeper hardware issues. It also keeps your warranty intact for future fixes.
Step 10: Prevent Laser Sensor Skipping in the Future
Prevention is easier than repair. Clean the laser sensor every two weeks with a soft cloth and compressed air. Check the base for wrapped hair monthly. Keep your robot mop in a clean, dry spot when not in use.
Avoid running your robot in rooms with direct strong sunlight. Close blinds during cleaning if needed. Update the firmware as soon as new versions release. Empty the dustbin and rinse the mop pad after every clean to keep dust away from the sensor.
A small routine saves big repair bills. Pros of prevention: longer robot life, fewer errors, cleaner floors. Cons: it takes a few minutes of your time each week. Set a phone reminder so you do not forget. Most users find that simple care doubles the life of their laser sensor.
FAQs
Why does my robot mop laser sensor keep skipping even after cleaning?
If the skipping continues after a full clean, the issue is likely software or hardware based. Try a factory reset first, then update the firmware. If the problem stays, the internal motor or wiring may be worn and need part replacement.
Can I use water or alcohol to clean my laser sensor?
No, do not use water, alcohol, or any liquid directly on the laser dome. These can damage the lens coating or seep into the motor. Use a dry microfiber cloth and compressed air only. A slightly damp cloth is fine for the outer cover.
How often should I clean my robot mop laser sensor?
Clean the laser sensor every two weeks for the best results. Homes with pets, long hair, or heavy dust may need weekly cleaning. A quick wipe and air blast takes less than two minutes and prevents most skipping problems.
Does sunlight really affect a robot mop laser sensor?
Yes, strong direct sunlight can confuse the laser sensor. The bright light scatters the beam and creates false readings. Close blinds during cleaning or schedule your robot for early morning or evening runs to avoid this issue.
Is it worth repairing a laser sensor or buying a new robot mop?
If your robot is under two years old, repair is usually the better choice. New laser modules cost less than a full robot. If your robot is older or out of warranty, compare repair costs to a new model before you decide.

Hi, I’m Sonny Dawson, the creator and voice behind ConvertResizeGen. 👋 I’m a passionate tech enthusiast who loves exploring the latest gadgets, devices, and electronics that shape the way we live and work. Through my website, I share honest, hands-on reviews of trending Amazon products to help you make smarter buying decisions.