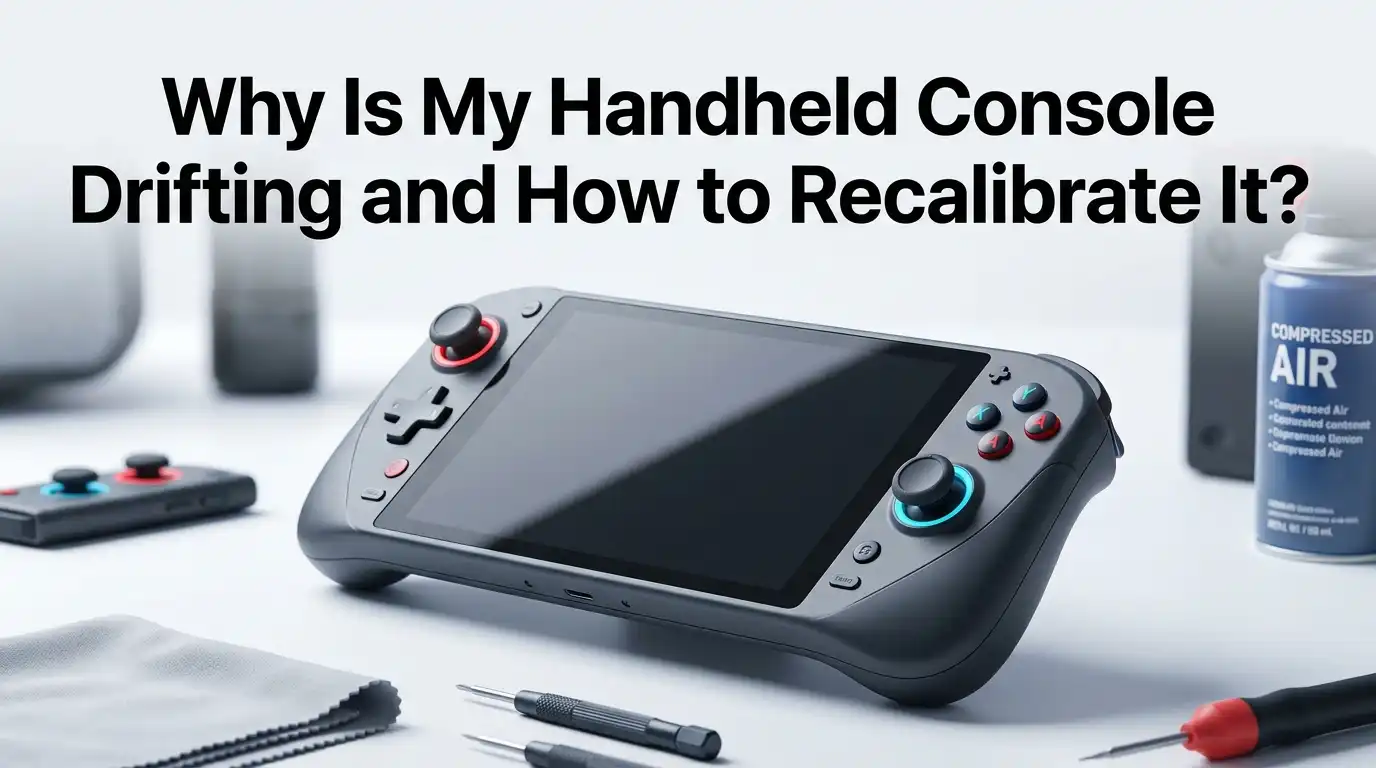
Why Is My Handheld Console Drifting and How to Recalibrate It?
You sit down for a quick gaming session, and your character starts walking on its own. Your camera spins without warning. Your crosshair slides away from the target. You are not touching the joystick, yet something is clearly wrong.
This is called stick drift, and it is one of the most frustrating problems any handheld gamer will face. Whether you own a Nintendo Switch, Steam Deck, ROG Ally, or any other portable gaming device, drift can ruin your experience fast.
The good news? You do not have to throw your console away or spend a fortune on repairs. Most cases of joystick drift can be fixed at home with the right steps.
Key Takeaways
- Stick drift occurs when your joystick sends movement signals without any input from you. This is a hardware or calibration issue, not a software bug in your game. Your character moves, menus scroll, or the camera rotates because the joystick sensor is reading a false position.
- Dust, debris, and normal wear are the most common causes. The internal components of analog sticks physically rub together over time. Tiny particles build up inside the mechanism and shift the neutral reading of the joystick.
- Recalibration through your console’s settings is the fastest free fix. Devices like the Nintendo Switch, Steam Deck, and many Windows handhelds have built in calibration tools. Running these can reset the center point and remove minor drift instantly.
- Cleaning with isopropyl alcohol and compressed air solves many early drift problems. A cotton swab dipped in 70% or higher isopropyl alcohol, applied around the base of the joystick, can dissolve grime and restore proper function.
- Adjusting the deadzone in your game or system settings provides a quick temporary workaround. Increasing the deadzone means the system ignores small unintended movements near the center, but you lose some sensitivity.
- Hall effect joystick replacements offer a long term solution to prevent drift from returning. Unlike standard potentiometer sticks, hall effect sticks use magnets instead of physical contact, so they resist wear and stay accurate far longer.
What Is Stick Drift on a Handheld Console?
Stick drift is a condition where your analog joystick registers movement even when you are not touching it. You might see your game character walk slowly in one direction or watch the in game camera rotate on its own. The problem comes from the internal sensor reading a position that is slightly off center.
Most handheld consoles use potentiometer based analog sticks. These have a small wiper that slides along a resistive track to detect the joystick position. Over time, that physical contact creates wear. The system then misreads the resting point of the stick.
Stick drift is not unique to any single brand. It affects the Nintendo Switch Joy Cons, Steam Deck thumbsticks, PlayStation Vita, and newer Windows handhelds alike. The underlying mechanism is nearly identical across all these devices.
What Causes Joystick Drift in Handheld Devices?
The primary cause is mechanical wear from repeated use. Every time you push the joystick, a wiper scrapes against a resistive track inside the module. After thousands of hours, this track wears down and the readings become unreliable.
Dust and debris are the second biggest factor. Tiny particles from your hands, food crumbs, pocket lint, and general environmental dust can slip under the joystick cap and into the sensor housing. These particles interfere with the electrical contact and produce ghost inputs.
A third cause is spring fatigue. The spring that returns the joystick to its center position can weaken over time. Once the stick no longer snaps back to true center, the console reads a slight offset and translates that as intentional movement. Heavy gaming sessions with aggressive stick movements accelerate all three of these issues.
How to Spot the Early Signs of Drift
Catching drift early can save you from bigger problems later. The first sign is usually subtle. Your character may slowly walk in one direction when you set the controller down. You might dismiss it as a game glitch at first.
Another early indicator is menu behavior. If your console’s home screen or in game menus start scrolling on their own, that is almost certainly drift. Pay attention to moments when you are not touching the joystick at all.
Camera movement in games is another reliable test. Load a game with a free camera and let go of both sticks completely. If the camera drifts in any direction, you have confirmed the problem. Some consoles also have built in stick test screens that show the raw joystick position as a dot on a graph. Check if that dot stays perfectly centered when the stick is at rest. Any movement away from center means drift is present.
How to Recalibrate Your Nintendo Switch Joy Cons
Nintendo provides a built in tool for this problem. Go to System Settings from the HOME Menu. Scroll down and select Controllers and Sensors. Then choose Calibrate Control Sticks.
The system will ask you to press the stick on the controller you want to calibrate. Follow the on screen instructions to tilt the stick in all directions. The Switch records the full range of motion and resets the center point based on your input.
If the calibration screen shows the stick resting off center, this confirms drift. You can try the calibration process multiple times. Nintendo also recommends updating your console to the latest firmware before calibrating, as some updates include controller fixes.
Pros: Completely free, takes under two minutes, requires no tools or technical skill, and is the official recommended first step.
Cons: Only fixes software level drift caused by a shifted center reading. It will not repair physical wear or remove debris inside the joystick module.
How to Recalibrate Thumbsticks on a Steam Deck
The Steam Deck uses a different approach. You will need to access Desktop Mode and open the Konsole terminal application. From there, you can run the built in thumbstick calibration utility.
The calibration process asks you to move each stick to its full range. You rotate the stick in complete circles and push it to every extreme position. The system then saves the maximum and minimum values along with the new center point.
Valve has also added calibration options through the Steam Input settings in Gaming Mode. You can access controller settings, select your device, and adjust the joystick calibration directly. Check that your Steam Deck is updated to the latest stable firmware before starting.
Pros: Resets both center position and maximum range values. Free and built into the system.
Cons: The Konsole method can feel intimidating if you are not comfortable with a terminal. Does not fix hardware damage.
How to Recalibrate on Windows Based Handhelds
Devices like the ROG Ally, Lenovo Legion Go, and similar Windows handhelds use standard Windows controller calibration. Open the Start Menu and search for “Set up USB game controllers.” Select your device and click Properties, then go to the Settings tab and choose Calibrate.
The Windows calibration wizard will guide you through centering the stick, moving it to all four corners, and testing the triggers. Follow each step carefully and make sure you let the stick return fully to center when asked.
Some manufacturers also include their own calibration software. ASUS Armoury Crate, for example, has joystick settings specific to the ROG Ally. Always check for a dedicated app from your device manufacturer before relying solely on the generic Windows tool.
Pros: Works on any Windows handheld. Built into the operating system at no cost.
Cons: The generic Windows tool is outdated and basic. It may not capture the full precision of modern hall effect or advanced sensor sticks.
Cleaning the Joystick to Fix Drift
Cleaning is one of the most effective home fixes for early stage drift. You will need isopropyl alcohol at 70% concentration or higher and a cotton swab. You can also use a can of compressed air.
Start by powering off your handheld completely. Gently push the joystick to one side and apply a small amount of isopropyl alcohol around the base using the cotton swab. Rotate the stick in full circles several times to work the alcohol into the mechanism. The alcohol dissolves dirt, skin oils, and grime that have built up inside.
Next, use compressed air to blow out any loose debris from around the stick base. Let the joystick dry completely before powering the device back on. Repeat this process two or three times if the first attempt does not fully resolve the drift.
Pros: Very inexpensive and quick. Often resolves drift caused by dust and grime without opening the device.
Cons: Only works for debris related drift. Will not fix worn potentiometers or damaged springs. Results may be temporary if the underlying cause is mechanical wear.
Adjusting the Deadzone as a Quick Fix
The deadzone is the area around the center of the joystick where small movements are ignored by the system. Increasing the deadzone means the console requires a larger stick movement before it registers any input. This can effectively mask minor drift.
Many games have deadzone sliders in their settings menus. Some handheld consoles also offer system level deadzone adjustments. On the Steam Deck, you can customize deadzones through Steam Input by selecting your controller profile and adjusting the inner deadzone value.
This fix works well as a temporary solution. It lets you keep playing while you plan a more permanent repair. However, a larger deadzone reduces your overall stick sensitivity. Fine aiming in shooters and precise movement in platformers will feel less responsive.
Pros: Instant results with no physical work. Easily reversible by resetting the value.
Cons: Reduces stick precision and sensitivity. Does not address the root cause of drift. May need repeated increases as the hardware continues to wear.
Replacing the Analog Stick Module
If cleaning and recalibration do not fix the problem, the joystick module itself may need replacement. This is a DIY repair that requires opening your handheld console. You will need a small Phillips or tri wing screwdriver, a plastic spudger, and a replacement joystick module compatible with your device.
Power off the device and remove any game cards or accessories. Carefully remove the back panel screws and pry the case open with the spudger. Locate the joystick module and disconnect its ribbon cable from the motherboard. Remove the old module, install the new one, reconnect the cable, and reassemble the device.
Replacement joystick modules are widely available for popular handhelds like the Nintendo Switch and Steam Deck. Many repair guides with photos and video walkthroughs exist online for each specific model.
Pros: Fully resolves hardware drift. Replacement modules are affordable. Gives your console a fresh, accurate joystick.
Cons: Requires opening the device, which may void your warranty. Risk of damage if done carelessly. You need basic repair tools and some confidence with small electronics.
Why Hall Effect Joysticks Prevent Drift
Hall effect joysticks represent a fundamentally different approach to measuring stick position. Instead of a wiper scraping along a resistive track, a hall effect stick uses a small magnet and a magnetic sensor. The sensor detects changes in the magnetic field as you move the stick.
Because there is no physical contact between the sensing components, the main cause of potentiometer drift is eliminated entirely. There is no track to wear down, no conductive dust to accumulate, and no wiper to degrade.
Some newer handhelds now ship with hall effect sticks from the factory. For older devices, aftermarket hall effect replacement modules are available. Upgrading to hall effect sticks is widely considered the best long term investment for anyone who plays frequently and is tired of dealing with recurring drift.
Pros: Eliminates the primary mechanical cause of drift. Extremely long lifespan. Consistent accuracy over thousands of hours.
Cons: Higher upfront cost compared to standard replacement modules. Not available for every handheld model. Still possible to experience drift from calibration errors or rare defects, though this is uncommon.
When to Use Warranty or Professional Repair
Sometimes the best decision is to let someone else handle the fix. If your handheld is still under warranty, contact the manufacturer before opening it yourself. Opening the case can void your warranty protection in many cases.
Nintendo offers free Joy Con drift repairs in many regions, even outside the standard warranty period, due to widespread acknowledgment of the issue. Sony, Valve, and other manufacturers have their own repair submission processes through their support websites.
Professional repair shops are another option if your warranty has expired. A skilled technician can replace the joystick module, clean internal components, and test the device before returning it to you. This is especially useful if you are not comfortable doing the repair yourself.
Consider professional repair when the drift is severe, when the device has other issues, or when you simply want the peace of mind that comes with expert service.
How to Prevent Stick Drift in the Future
Prevention is always better than repair. Store your handheld in a case when you are not using it. This keeps dust, lint, and debris away from the joystick openings.
Wash your hands before gaming sessions. Oils, sweat, and food residue from your fingers work their way into the stick mechanism over time. This simple habit can significantly extend the life of your joysticks.
Avoid pressing the sticks with excessive force. Clicking L3 or R3 aggressively and slamming the stick to its edges puts extra stress on the internal components. Use thumb grip caps to reduce direct contact with the stick surface and provide a smoother range of motion.
Finally, run the calibration tool on your console every few months as routine maintenance. Catching a small offset early keeps it from becoming a noticeable problem during gameplay.
Frequently Asked Questions
Can stick drift fix itself over time?
No, stick drift does not fix itself. The problem is caused by physical wear or debris inside the joystick module. Without cleaning, recalibration, or replacement, the drift will typically stay the same or get worse over time.
Is stick drift covered under warranty?
It depends on the manufacturer and your region. Nintendo has offered free Joy Con repairs for drift in many countries. Other manufacturers like Valve and Sony handle it through their standard warranty process. Check your device’s warranty terms and contact support before attempting any self repair.
How long does a recalibrated joystick last before drifting again?
Recalibration resets the software reading of the joystick center. If the cause is minor, the fix can last months. If the internal hardware is heavily worn, drift may return within days or weeks. Cleaning alongside recalibration improves the chances of a longer lasting result.
Will opening my handheld console void the warranty?
In many cases, yes. Most manufacturers state that unauthorized disassembly voids the warranty. Always check your warranty documentation before opening the device. If the warranty is still active, use the official repair service instead.
Are hall effect joysticks worth the upgrade?
For frequent gamers who have dealt with drift on multiple devices, hall effect joysticks are one of the best upgrades available. They remove the mechanical wear problem that causes most drift. Casual players who rarely experience drift may not need to upgrade right away, but the technology is a smart investment for long term reliability.
Can I use contact cleaner instead of isopropyl alcohol?
Yes, electronic contact cleaner works well for this purpose. It evaporates quickly and leaves no residue. Make sure the product is safe for plastics and electronics. Apply it the same way you would isopropyl alcohol, around the base of the joystick with the device powered off.

Hi, I’m Sonny Dawson, the creator and voice behind ConvertResizeGen. 👋 I’m a passionate tech enthusiast who loves exploring the latest gadgets, devices, and electronics that shape the way we live and work. Through my website, I share honest, hands-on reviews of trending Amazon products to help you make smarter buying decisions.