How To Fix Heating Pad Controller Wire Exposing Copper?
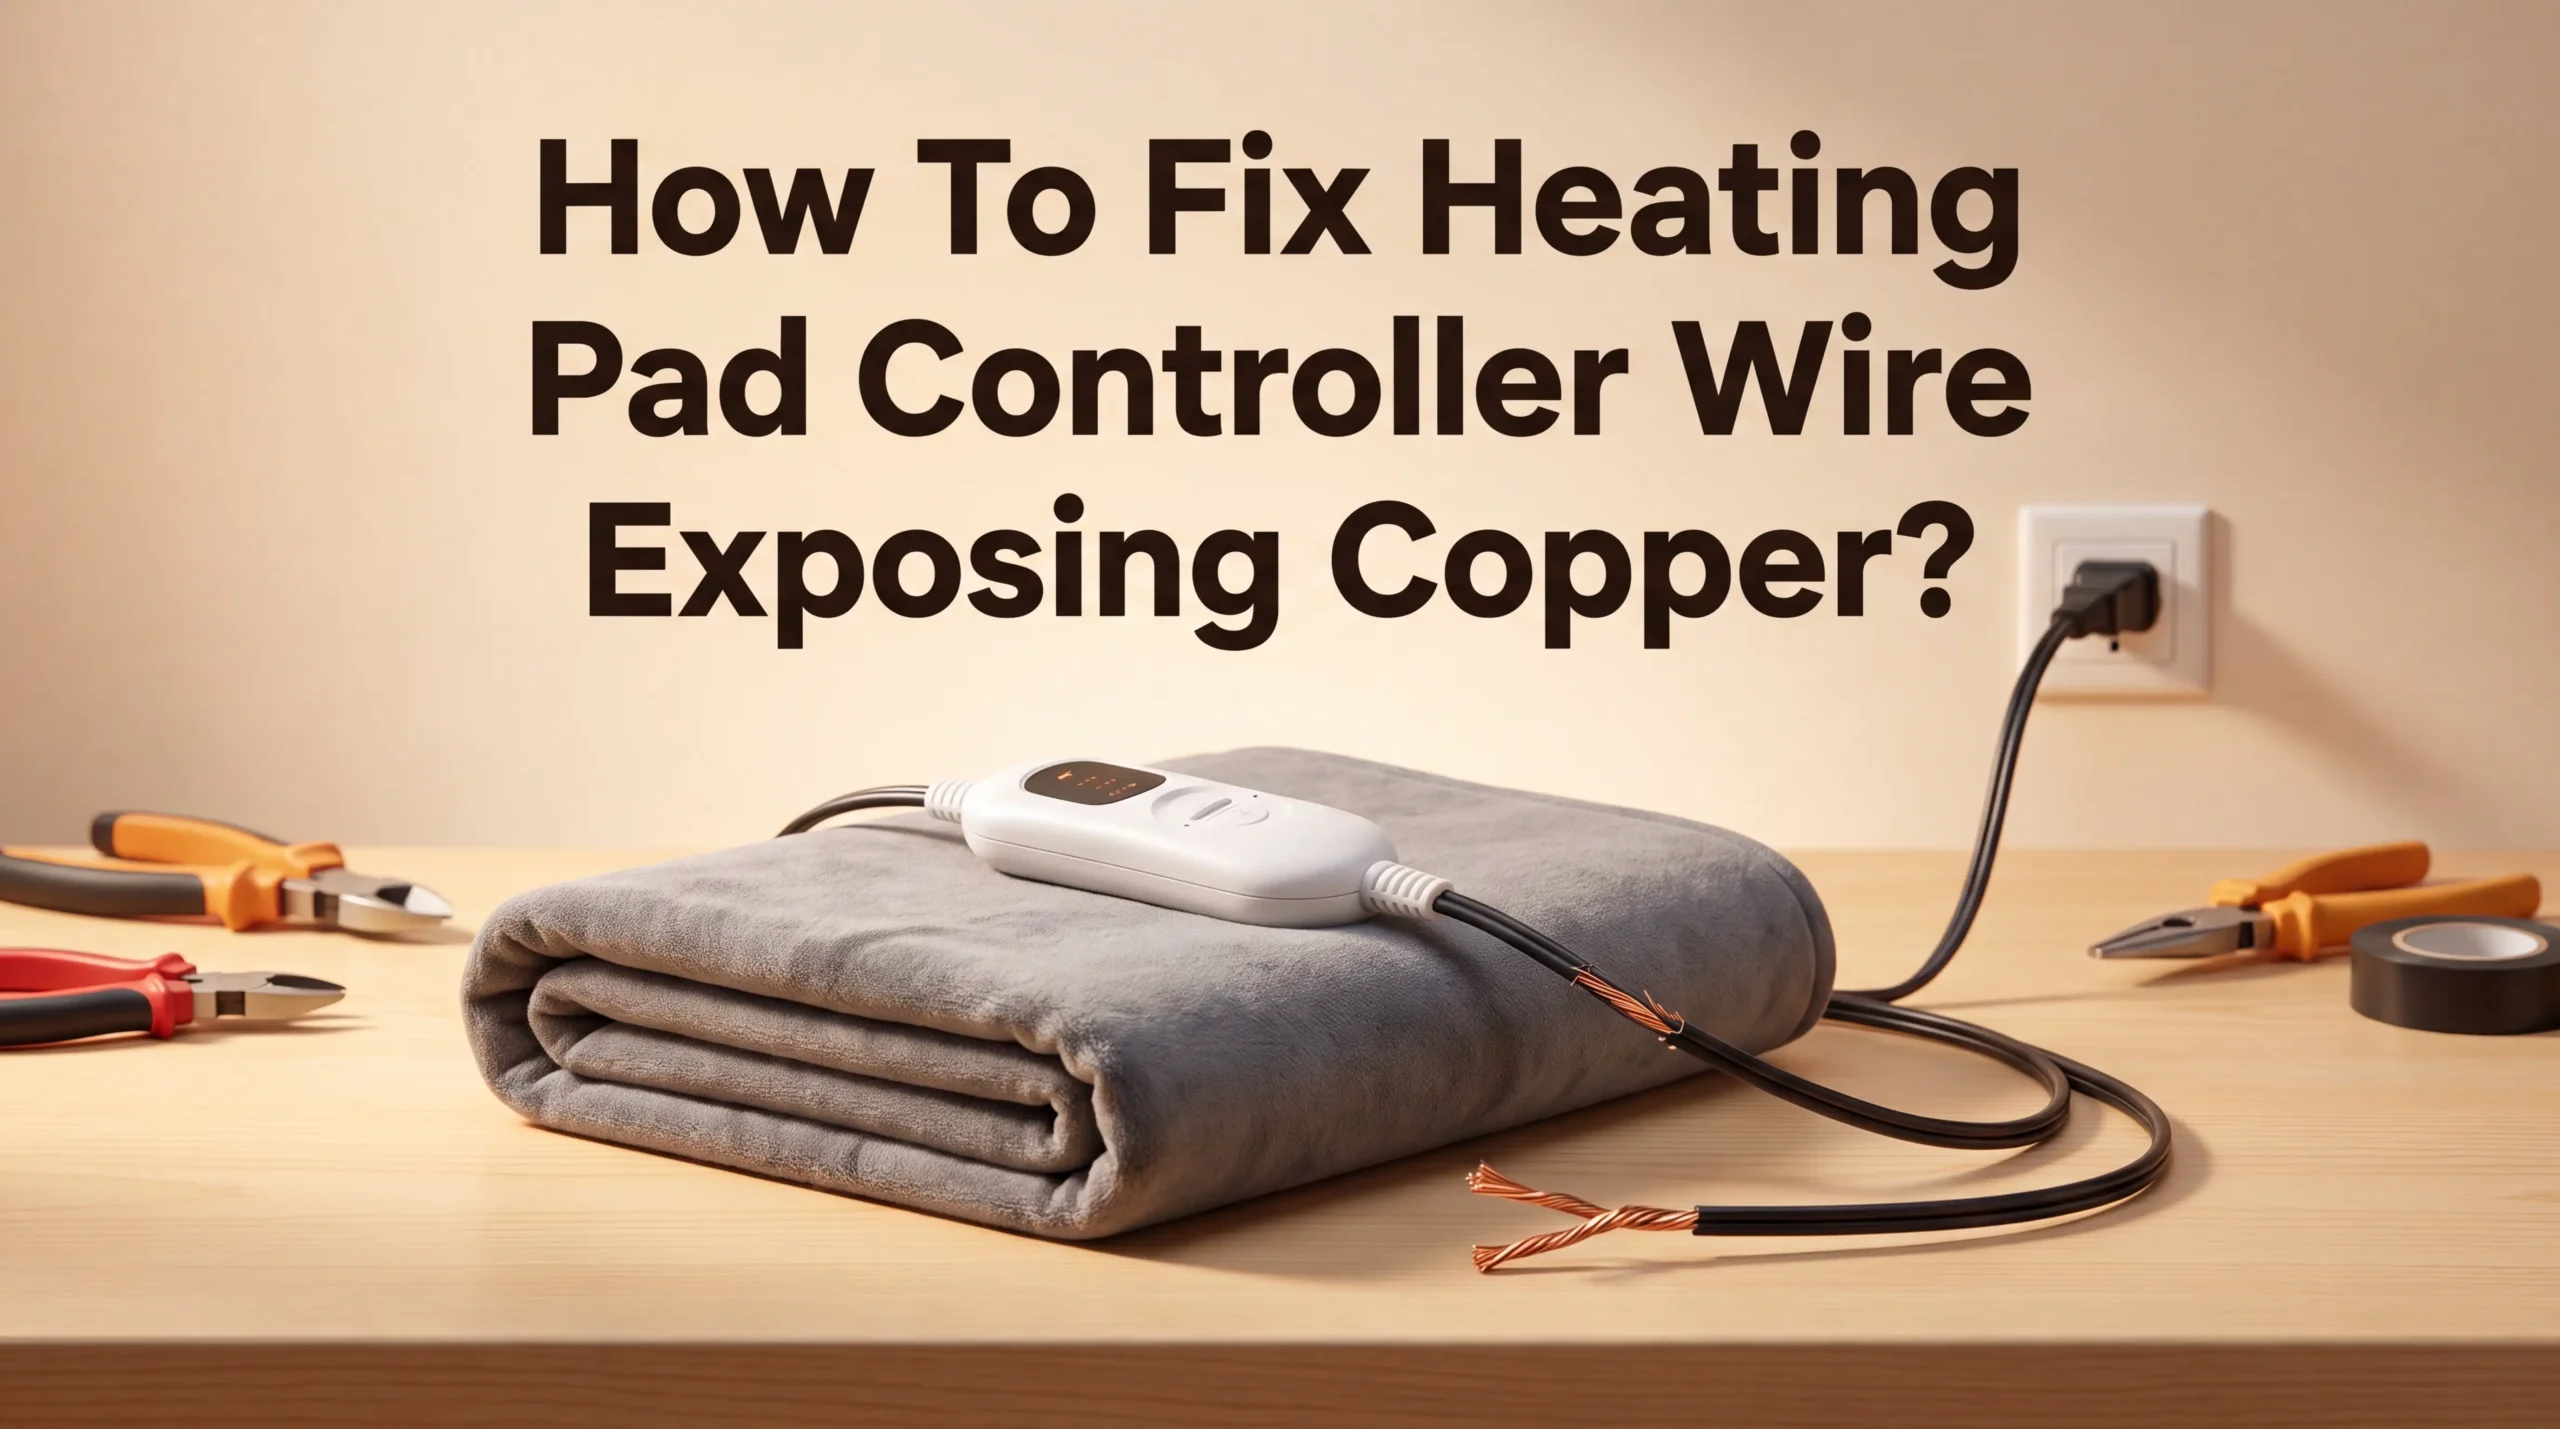
A frayed heating pad wire can turn a cozy night into a safety risk. If you spot copper peeking through the fabric or plastic coating, you need to act fast.
Exposed wires are not something to ignore. They can cause shocks, sparks, or even fires if left unchecked.
The good news? You do not always need to toss out your heating pad. In many cases, you can fix the wire yourself with a few simple steps.
In a Nutshell
- Unplug the pad right away if you spot exposed copper wire. Power off first, then check the damage closely.
- Small nicks in the wire coating are often easier to fix than deep tears near the plug or controller.
- Look at where the exposed spot sits. Damage close to the controller box is trickier to patch safely.
- Electrical tape is a temporary patch, not a permanent solution. It buys you time, not lifetime safety.
- If the copper wire looks frayed, melted, or burnt, replacement beats repair every time.
- Test your pad after any fix. Feel for warm spots, watch for smoke, and listen for odd sounds.
- Know your limits. A quick wire wrap is doable at home, but rewiring a controller often needs a pro.
- Keep this simple rule in mind: when in doubt, replace the pad. Your safety matters more than saving one heating pad.
Why Heating Pad Wires Expose Copper Over Time
Heating pad wires expose copper for several clear reasons. The most common cause is regular wear and tear. Your pad flexes, bends, and gets rolled up countless times. This constant movement stresses the outer insulation layer until it cracks or splits.
Heat itself plays a big role too. The wire coating degrades faster when exposed to repeated temperature cycles. Over months or years, the plastic or rubber exterior becomes brittle and loses its protective grip on the copper underneath.
Moisture also damages wire insulation. If your heating pad sits in a damp bathroom or gets wet accidentally, water seeps into tiny cracks. This moisture accelerates breakdown of the coating material.
Physical damage happens quickly. A sharp fold, a pinch from a drawer, or pressure from your body weight can puncture the insulation instantly. Even stepping on the wire accidentally can cause immediate exposure.
Age is another factor. Older heating pads have insulation that simply dries out and becomes fragile. The materials lose flexibility and start to flake away on their own.
Manufacturing defects occasionally occur too. A thin spot in the coating during production might wear through faster than normal areas.
The key point? Copper exposure usually does not happen overnight. It builds up gradually through use, or it strikes suddenly from physical damage. Understanding why it happens helps you spot problems early and decide whether repair or replacement makes sense for your situation.
Is It Safe to Use a Heating Pad With Exposed Copper Wire?
Using a heating pad with exposed copper wire carries real electrical hazards. You face three main risks: electric shock, fire, and burns.
Electric shock is the first concern. Copper conducts electricity well. If you touch exposed copper while the pad is plugged in, current can flow through your body. Even a small shock can cause injury. Wet skin or damp conditions increase this risk significantly.
Fire is the second major danger. Exposed copper wire can arc or short circuit. This creates intense heat that ignites nearby materials like blankets, clothing, or furniture. Fires from electrical devices spread quickly and are hard to control.
Burns represent the third risk. Exposed wires get extremely hot during normal operation. Direct contact with hot copper can cause painful burns in seconds. This danger is especially serious for children and pets who might touch the pad without thinking.
The location of the exposure matters too. Wire damage near the controller or plug is more dangerous than damage in the middle of the pad. Damage close to the power source means higher voltage at that point.
Age and moisture make things worse. Older pads have weaker insulation. Moisture from sweat or humidity speeds up copper exposure. Damp environments create additional shock risks.
You should not assume any exposed copper is safe. Even small exposed spots can cause problems. The safest choice is to stop using the pad immediately and replace it. Temporary fixes like electrical tape might seem like solutions, but they do not address the underlying electrical danger. Your health matters more than saving money on a heating pad.
Tools and Materials Needed for a Safe Repair
Before you attempt any repair, gather the right supplies. This keeps you safe and makes the job simpler.
Electrical tape is your first essential item. This tape insulates exposed copper wire temporarily. Buy tape rated for electrical use, not regular duct tape. The electrical version resists heat better and sticks longer.
You will also need wire strippers. These tools remove damaged insulation cleanly. They come in various sizes, so pick one that fits your wire gauge. Manual strippers work fine for home repairs.
Heat shrink tubing offers better protection than tape alone. This plastic tube slides over the exposed area. When you apply gentle heat, it shrinks tight around the wire. This creates a more durable seal than tape provides.
A small knife or utility blade helps carefully scrape away loose insulation. Use light pressure to avoid cutting into the copper underneath. Steady hands matter here.
Rubbing alcohol and a clean cloth prepare the wire surface. Dirt and moisture prevent tape from sticking properly. Wipe the area thoroughly before applying any patch.
A multimeter tests whether your repair worked. This device checks for electrical continuity. It tells you if current flows safely through the wire.
Work gloves protect your hands during the process. Even though the pad is unplugged, sharp wire edges can cut skin.
Finally, keep a fire extinguisher nearby. This is basic safety practice for any electrical work. Know where it sits before you start.
Having these items ready prevents frustration. You will not stop mid repair searching for supplies. More importantly, proper tools mean safer, cleaner results that actually last.
Step-by-Step Guide to Fixing the Exposed Wire
Start by unplugging your heating pad completely. Never work on an electrical device while it has power. Wait a few minutes to let any residual heat dissipate from the controller wire.
Locate the exact spot where copper shows through the insulation. Mark this area with a small piece of tape so you don’t lose track of it. Examine how much wire is exposed. If the exposed section is longer than half an inch, replacement becomes your safer choice.
Clean the exposed copper wire carefully with rubbing alcohol and a cloth. Remove any dirt, dust, or debris from the damaged area. Let it dry completely before proceeding. Dry wires are safer to work with and help repair materials stick better.
Use your wire strippers to remove about a quarter inch of damaged insulation on both sides of the exposed copper. This gives you clean wire to work with. Strip away only what looks damaged. Avoid removing more insulation than necessary.
Wrap the exposed section tightly with electrical tape. Start below the damaged area and wrap upward, overlapping each layer by half. Cover the exposed copper completely. Make at least three full layers of tape around the wire.
For stronger protection, slide heat shrink tubing over the taped section. Heat this tubing gently with a heat gun or hair dryer set to low. The tubing shrinks down and creates a seal that’s more durable than tape alone.
Test your multimeter on the repaired wire to confirm electricity flows properly. Check that the controller still heats your pad. Feel the repaired section after five minutes of use. It should feel warm but not hot to the touch.
How to Properly Insulate and Seal the Repaired Wire
Proper insulation seals your repair and keeps electricity contained where it belongs. After you wrap the exposed copper with electrical tape, the next step matters just as much as the wrapping itself.
Heat shrink tubing slides over your taped section and creates a seal that tape alone cannot achieve. When you apply gentle heat, the tubing shrinks tightly around the wire. This compression blocks moisture and air from reaching the copper underneath. The seal lasts much longer than tape because it bonds to itself rather than relying on adhesive.
Apply the heat carefully. Use a heat source that provides steady, low warmth. Move it back and forth along the tubing rather than holding it in one spot. Overheating can damage the wire’s inner insulation or melt the outer layer. You want the tubing to shrink smoothly without bubbling or cracking.
After the tubing cools completely, run your fingers along the repair. The seal should feel smooth and tight with no gaps or loose edges. If you see any wrinkles or areas where the tubing didn’t shrink fully, apply more gentle heat.
Test the seal’s effectiveness. Flex the wire gently near the repair. A proper seal stays intact without cracking or peeling. The repaired section should feel as sturdy as the undamaged wire around it.
Let the entire repair cool for several minutes before plugging in your heating pad. This cooling period allows all materials to set properly. Your newly sealed wire can now safely handle electrical current without exposing anyone to shock or fire hazards.
Testing the Controller Wire After Repair
Testing your repair is the most important safety step you can take. Before you plug anything back in, you need to verify that electricity flows safely through your fixed wire.
Start by setting your multimeter to the continuity mode. This setting checks whether electricity can travel through the wire without interruption. Touch one probe to the wire on one side of your repair. Place the other probe on the opposite side of the repaired section. A beeping sound means your wire conducts electricity properly.
Next, switch your multimeter to resistance mode. This measures how much the wire resists electrical flow. A normal reading means your insulation job worked correctly. An unusual reading suggests your repair needs more attention.
Check for any gaps in your insulation coverage. Run your fingers slowly along the entire repaired section. Feel for any rough spots, thin areas, or places where tape might have shifted. The insulation should feel smooth and complete.
Flex the wire gently near the repair point. Do this several times to simulate real use. Watch for any cracking in your heat shrink tubing or tape peeling away. These signs mean you need to add another layer of protection.
Let the repaired wire sit undisturbed for at least 30 minutes. This allows all materials to fully set and cool. Then plug your heating pad into an outlet in a safe location. Let it run for five minutes while you monitor it closely.
Watch for any burning smells, unusual sounds, or visible heat. These warning signs mean you should unplug immediately and redo your repair. If everything seems normal, your fix is successful and safe to use regularly.
Common Mistakes to Avoid When Repairing Heating Pad Wires
Many people make critical errors when fixing heating pad wires. Understanding these mistakes helps you avoid dangerous situations and failed repairs.
Rushing the repair process is the biggest mistake. People often skip the cooling time between steps. Your heat shrink tubing needs time to set properly. Skipping this creates weak seals that fail quickly. Patience actually saves you money and keeps you safe.
Using the wrong tape causes another common problem. Regular tape won’t handle the heat from your pad. Only electrical tape works for this job. Other tapes melt or peel away when the pad warms up. This leaves your copper wire exposed again within days.
Applying too much heat damages the wire insulation further. Some people use a hair dryer on high heat or hold a lighter too close. This burns the surrounding insulation and creates new problems. Low, steady heat works best for shrinking tubing properly.
Covering only part of the damage leaves you vulnerable. You must extend your tape and tubing past the exposed copper on both sides. The repair needs to overlap completely onto undamaged insulation. Partial coverage fails when the wire flexes during use.
Skipping the testing phase means you won’t catch problems early. Your multimeter tells you if electricity flows safely through your repair. Without testing, you might plug in a dangerous wire.
Not letting the pad cool completely before using it again creates safety risks. The repair materials need time to set and bond. Rushing to use your heating pad too soon weakens the entire fix. Give yourself at least 30 minutes of cooling time before plugging anything back in.
When to Stop Using the Heating Pad and Seek Replacement
Your heating pad needs to stop being used if the copper wire damage is severe or widespread. Safety comes first when dealing with electrical devices. If the exposed copper covers more than a small section of the wire, replacement is your best option.
Stop using your pad immediately if you see multiple damage spots along the cord. Repairs work best for single, isolated areas. Multiple damaged sections mean the entire wire is wearing out and could fail unexpectedly.
Discard the pad if the wire insulation is cracked in several places. These cracks will continue spreading as you use the device. Heat and electricity stress the damaged areas even more over time.
Check if the exposed copper shows signs of corrosion or discoloration. Green or white buildup on copper indicates moisture has reached the wire. This corrosion weakens the metal and creates serious shock hazards that no repair can safely fix.
Replace your heating pad if the controller wire is bent sharply near the plug. Sharp bends damage the internal wire structure beyond repair. Even if insulation covers the bend, the copper inside may already be fractured.
Stop using the pad if you smell burning plastic or see scorch marks on the insulation. These signs mean heat is already building up inside the wire. Continuing to use it risks electrical fires.
Never attempt repairs on pads older than ten years. Old insulation becomes brittle and fails easily. The entire electrical system inside may be degraded beyond safe repair.
If you feel any tingling when touching the pad or cord, replacement is essential. This sensation means electricity is leaking through damaged insulation. Your body should never complete an electrical circuit with your heating device.
Final Thoughts
Fixing a heating pad controller wire is doable, but safety must guide every step you take. A small repair can restore function, but it never makes the wire as strong as before. Keep this in mind before you rely on a patched cord daily.
Your safety matters more than saving a heating pad. If you ever feel unsure about a repair, it’s better to stop and get a replacement. No heating pad is worth a burn or an electrical fire.
Always inspect your work before each use. A quick check takes seconds, but it can prevent serious harm. Make this a habit every single time you plug in the pad.
Remember that copper wire exposure often signals a bigger problem underneath. The insulation around it may already be weak in other spots too. Treat every repair as temporary, not a permanent fix.
Store your heating pad properly after each use. Avoid folding it tightly or wrapping the cord around the controller. This simple step reduces the chance of new damage forming near your repair.
Teach other household members about the risks of damaged cords. Kids and pets should stay away from any pad with a repaired wire. Clear communication keeps everyone in your home safe.
If your heating pad is still under warranty, contact the manufacturer first. A replacement might cost you nothing and saves you the hassle of a repair.
In the end, a wire repair buys you time, not a lifetime fix. Watch the pad closely after every repair, and never ignore new warning signs. Your safety and comfort should always come first when using heating pads at home.
Frequently Asked Questions
Can I use my heating pad while the copper wire is still exposed?
No. Stop using it immediately. Exposed copper wire creates a serious shock hazard. Moisture, sweat, or accidental contact can cause electrical injury. Never operate the pad until the wire is fully covered and tested.
What’s the safest temporary fix if I can’t repair it right away?
Unplug the pad and store it in a dry place. Do not use it. If you must keep it, wrap the exposed area with electrical tape as a temporary measure only. This buys you time to get a proper repair done. This is not a permanent solution.
How do I know if my repair actually worked?
Test the pad on a low setting for 5 minutes before full use. Check that heat distributes evenly. Look for any burning smells or visible damage. Feel the cord carefully (when unplugged) to ensure the tape is secure and smooth. If anything seems wrong, stop using it.
Is it better to repair or replace my heating pad?
That depends on the damage severity. Small, single damage spots can be repaired safely. Multiple cracks, widespread corrosion, or bent wires near the plug mean replacement is smarter. Age matters too. Pads over ten years old have brittle insulation that fails easily, even after repair.
Should I tell my family about the damaged wire?
Yes. Inform everyone in your household about the exposed copper and the risks. Keep the pad unplugged and stored away from children and pets. This prevents accidental use and injury.

Hi, I’m Sonny Dawson, the creator and voice behind ConvertResizeGen. 👋 I’m a passionate tech enthusiast who loves exploring the latest gadgets, devices, and electronics that shape the way we live and work. Through my website, I share honest, hands-on reviews of trending Amazon products to help you make smarter buying decisions.