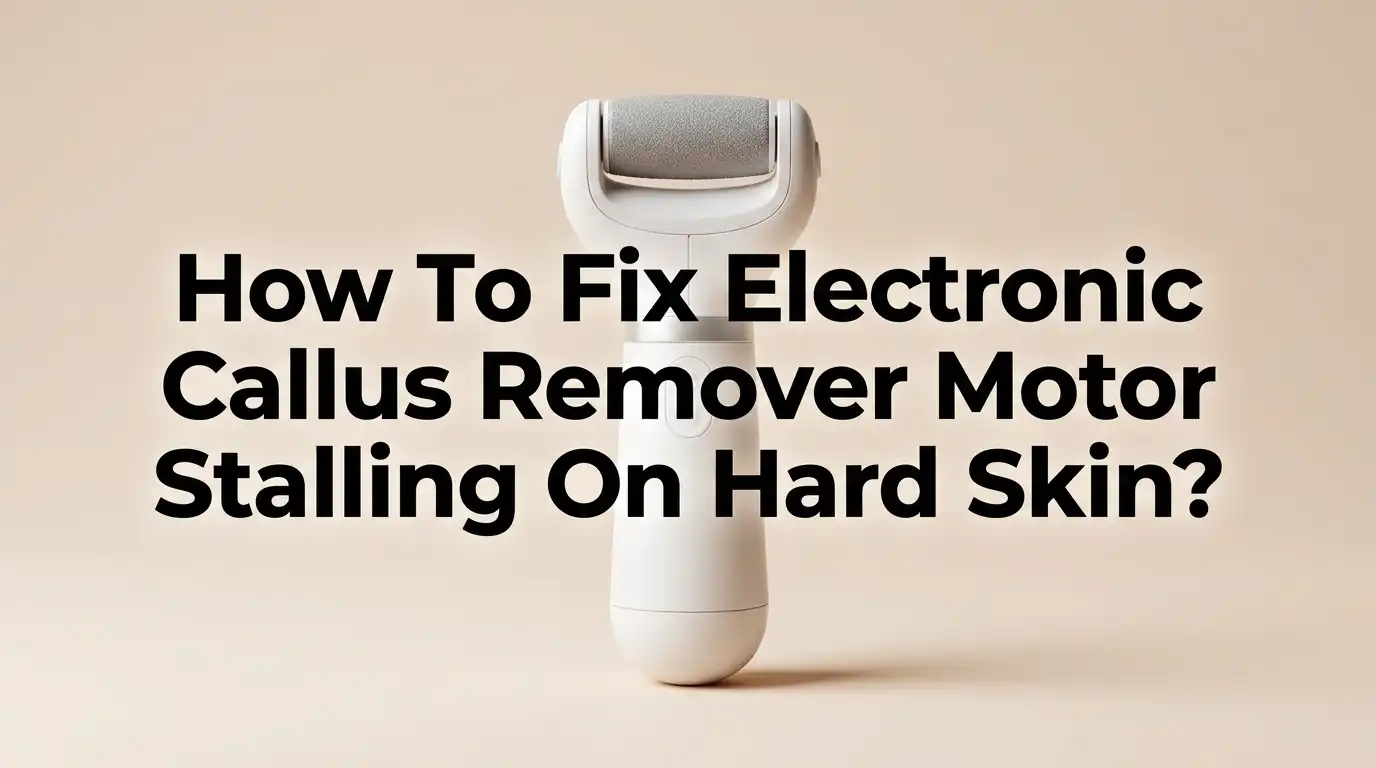
How To Fix Electronic Callus Remover Motor Stalling On Hard Skin?
You press the button and nothing happens. Your electronic callus remover just stalls the moment it touches hard, thick skin. It feels frustrating, especially when you are ready for smooth feet fast.
This problem happens to many people. Hard skin puts extra pressure on the motor. If the device is weak, dirty, or used the wrong way, it slows down or stops completely.
The good news is this issue is often easy to fix. You do not need to throw away your device or buy a new one right away.
In a Nutshell
- Weak battery power often causes the motor to stall. Charge your device fully before each use for best results.
- Pressing too hard can jam the roller. Use light, steady pressure instead of forcing it into skin.
- Dry, thick calluses resist the roller easily. Soak your feet first to soften skin and reduce strain on the motor.
- Trapped debris inside the roller head blocks smooth spinning. Clean the head regularly with a small brush.
- Overheating protection built into many devices stops the motor automatically. Let it cool down for a few minutes before restarting.
- Worn out rollers lose grip over time. Check them often and replace when they feel smooth or damaged.
Why Electronic Callus Removers Stall On Hard Skin
Your electronic callus remover motor stalls because hard skin creates too much resistance. The roller spins against thick, dead skin cells and cannot move forward. This friction forces the motor to work harder than it was designed to handle.
Hard skin is denser than normal skin. The callus buildup creates a thick barrier that the roller struggles to penetrate. When the motor tries to push through this resistance, it draws too much power. The device then shuts down to protect itself from damage.
Moisture levels matter significantly for motor performance. Dry calluses grip the roller much tighter than moist ones. When your skin lacks hydration, the roller cannot glide smoothly across the surface. This increased friction causes the motor to stall quickly.
The device has safety features built in. Many electronic callus removers include automatic shutoff systems. These features kick in when the motor detects too much strain. The motor stops spinning to prevent overheating or mechanical damage. This is actually a protective measure, not a defect.
Worn rollers also contribute to stalling problems. Over time, the roller surface becomes smooth and loses its grip. A smooth roller cannot grab the callus effectively, creating more friction instead. The motor works harder to compensate, leading to stalling.
Debris buildup affects motor function too. Dead skin cells and dirt accumulate inside the roller chamber. This buildup creates extra resistance as the roller tries to spin. Trapped material forces the motor to work against additional obstacles.
Understanding these causes helps you fix the problem effectively. Each issue has a specific solution you can apply at home. Your callus remover will work better once you address the root cause.
Checking Battery Power and Charging Issues
Your battery is the power source that keeps your callus remover spinning. A weak or depleted battery cannot provide enough force to push the roller through thick, hard skin. The motor stalls because it runs out of electrical energy mid use.
Check your battery level first. Most electronic callus removers have a battery indicator light or display. Green means good power. Yellow or red means low power. If the light shows low battery, your device cannot handle tough calluses effectively.
Charge your device fully before each use. Connect it to the charger and wait until the indicator shows complete. A fully charged battery gives you maximum motor strength. This extra power helps the roller cut through dense skin without stalling.
Charging time matters too. Do not interrupt the charging cycle early. Let your device charge for the full recommended time. Incomplete charging leaves your battery weak and unable to perform properly.
Check the charging port for damage. Look for bent pins, corrosion, or loose connections. Dirt and debris can block power flow between the charger and device. Clean the port gently with a dry cloth if you see buildup.
Test the charger itself. Sometimes the charger fails, not the battery. Try charging for twice the normal time. If your device still shows low power, the charger may be faulty.
Replace batteries if your device uses replaceable ones. Old batteries lose their ability to hold a charge over time. Fresh batteries restore full power to your motor.
Use your callus remover only when fully charged. This simple step prevents most stalling problems on hard skin. A strong battery means strong motor performance every single time.
Inspecting the Roller Head and Motor for Debris
Debris trapped inside your callus remover is a common culprit behind motor stalling. The roller head spins rapidly, and small particles collect over time. Dead skin cells, dirt, and lint build up inside the chamber and block smooth rotation.
Start by unplugging your device completely. Safety comes first when inspecting any electronic tool. Wait a few minutes before opening the roller head to let any residual charge dissipate.
Look at the roller head closely. You may see visible debris stuck to the spinning roller or inside the chamber walls. Use a soft brush or old toothbrush to gently remove loose particles. Brush in circular motions around the roller surface.
Check the roller head connection point next. This area collects dust easily. Wipe it clean with a dry cloth. Make sure the roller spins freely by hand when the device is unplugged.
Inspect the motor housing opening too. Shine a flashlight inside to spot any accumulated material. Use a small cloth or cotton swab to reach tight spaces. Never use water or liquid cleaners on the motor area.
Look for bent or damaged parts on the roller itself. A dented roller cannot spin smoothly and causes the motor to work harder. If the roller looks damaged, it may need replacement.
Check if the roller head attaches securely to the motor. A loose connection creates friction and resistance. Tighten any fasteners gently but firmly. Do not overtighten, as this can crack plastic parts.
After cleaning, reattach the roller head properly. Plug in your device and test it on a small area of skin. The motor should run smoothly without stalling. Regular cleaning prevents future debris buildup and keeps your callus remover working reliably.
Step-by-Step Guide to Cleaning and Resetting the Device
Start by turning off your device and unplugging it from the power source. Safety comes first when working with any electronic tool. Wait a few minutes to let the motor cool down completely.
Next, locate the power button and hold it down for 10 to 15 seconds. This simple action resets the device’s internal system. Many electronic callus removers have a built in reset function that clears temporary errors. Release the button and wait another 30 seconds before plugging it back in.
Check your device manual for a dedicated reset button. Some models have a small button hidden near the battery compartment or charging port. Press and hold this button if your device has one. This performs a deeper reset than the power button alone.
Plug your device back in and charge it fully. A complete charge cycle helps restore normal motor function. Do not use the device while charging.
After charging, turn on your callus remover without the roller head attached. Let the motor run for 30 seconds. This helps clear any remaining debris from the motor shaft. Listen for smooth, consistent motor sounds.
Reattach the roller head securely. Make sure it clicks into place properly. Loose connections can trigger safety features that stop the motor.
Test your device on soft skin first. Apply gentle pressure and gradually increase contact with harder areas. This gradual approach helps the motor adjust to resistance levels.
If the motor still stalls after resetting, the problem likely lies deeper. Motor bearings may be worn, or internal components could need replacement. Contact the manufacturer or visit a service center for professional inspection.
Proper Technique for Softened Skin to Reduce Motor Strain
When your callus remover motor stalls on hard skin, the issue often stems from excessive friction and pressure. Using the right technique on softened skin first prevents motor strain and extends device life.
Start by softening your calluses before using your remover. Soak your feet in warm water for 10 to 15 minutes. This simple step makes dead skin much easier to remove. Warm water opens your pores and hydrates the outer skin layer. Your motor works less hard when skin is properly prepared.
After soaking, pat your feet dry completely. Moisture left on skin can cause the roller to slip, forcing your motor to work overtime. A dry surface lets the roller grip skin properly without excessive strain.
Apply light pressure when using your device on softened skin. Many people press too hard, thinking this removes more calluses faster. The opposite is true. Gentle, consistent pressure works better than aggressive force. Let the device do the work for you.
Move the remover slowly across the callused area. Quick, jerky motions increase friction and tire your motor. Slow, smooth strokes are more effective and safer.
Use your callus remover for short sessions. Treat your feet for just 5 to 10 minutes per session. Multiple short sessions are better than one long session. This approach prevents motor overheating and stalling.
Focus on one small area at a time. Don’t cover your entire foot in one pass. Break your treatment into manageable sections.
Never use your remover on completely dry, hard skin. This creates maximum friction and causes immediate motor strain. Always prepare your skin first. This technique protects your device and gives you better results with less effort.
Common Mistakes That Cause Repeated Stalling
Many people make simple mistakes that cause their callus remover motor to stall repeatedly. Understanding these errors helps you prevent frustration and equipment damage.
Pressing too hard is the biggest culprit. Your motor works harder when you apply heavy pressure on thick calluses. The friction increases, and the motor cannot keep up with the demand. Light, gentle pressure works better than aggressive scrubbing. Let the device do the work for you.
Using your remover on completely dry skin creates another common problem. Dry, hard calluses create maximum resistance against the roller head. This resistance forces your motor to work overtime. Your motor stalls when it cannot overcome this friction. Always soften your skin first with warm water or a foot soak.
Ignoring battery maintenance leads to stalling too. A weak battery cannot provide enough power to the motor. You might think the device is broken when the real issue is low power. Charge your remover fully before each use. Replace batteries if your model uses replaceable ones.
Skipping cleaning sessions causes debris buildup inside the motor housing. Dead skin cells and dust accumulate on the roller head and internal parts. This buildup restricts movement and causes stalling. Clean your device after every use.
Using your remover for too long in one session strains the motor. Extended use generates heat and exhausts the battery faster. Short sessions of five to ten minutes work much better. Take breaks between uses to let your device cool down.
Reattaching the roller head incorrectly creates misalignment. A loose or crooked roller head increases friction dramatically. This forces the motor to work harder and stall. Always secure the roller head firmly before use.
Troubleshooting Persistent Motor Failures
When your callus remover motor keeps stalling despite cleaning and resetting, you’re facing a deeper mechanical issue. This section helps you identify and fix these stubborn problems.
Check the motor shaft for debris first. Even after cleaning, small particles hide inside the motor housing. Turn off your device and use a flashlight to look into the roller head opening. You may see dust, skin flakes, or lint wrapped around the shaft. A small brush or compressed air can remove these trapped particles. Never insert metal objects into the motor housing as you risk causing permanent damage.
Inspect the motor brushes next. These small components wear down over time and cause power loss. If your device uses replaceable brushes, check your manual for access instructions. Worn brushes cannot transfer electricity properly to the motor, resulting in stalling on any resistance.
Test the power connection between the battery and motor. Corrosion builds up on battery contacts and prevents current flow. Clean the metal contacts with a dry cloth or cotton swab. Look for white or green buildup that indicates corrosion. This simple fix restores power delivery to your motor.
Listen for grinding sounds during operation. These noises mean internal gears are damaged or misaligned. Grinding indicates mechanical failure that requires professional repair or device replacement.
Try the device on very soft skin. If your motor runs smoothly on pre soaked, extremely soft calluses but stalls on moderate hardness, your motor is weakening. This signals the device is reaching the end of its lifespan.
Document when stalling occurs. Note whether it happens immediately, after several minutes, or only on specific skin hardness levels. This information helps determine if the issue is mechanical wear, overheating, or power delivery problems.
Maintenance Tips to Prevent Future Stalling
Regular maintenance stops your callus remover from stalling before problems start. Clean your device after every use to prevent motor damage.
Remove the roller head and wipe away all dead skin buildup. Debris accumulates quickly and blocks the motor’s moving parts. Use a soft, damp cloth to clean the device exterior. Never submerge electronic components in water.
Check your battery contacts monthly for corrosion or dirt. Wipe battery terminals with a dry cloth to maintain good power flow. A clean connection ensures your motor gets consistent electrical power. Weak connections cause unexpected stalling during use.
Store your callus remover in a dry place away from moisture. Humidity damages internal circuits and causes motor failure. Keep the device in its original case if possible. This protects sensitive components from dust and water exposure.
Replace the roller head when it becomes worn or dull. A dull roller forces your motor to work harder than necessary. Worn rollers create extra friction that drains battery power quickly. Fresh roller heads spin smoothly and reduce motor strain significantly.
Charge your battery fully before each use. Never let your device run on low battery power. Weak batteries cannot deliver enough electricity to spin the motor effectively. This causes stalling on thick calluses.
Use your remover for short sessions, around 5 to 10 minutes per foot. Extended use heats up the motor and causes it to shut down. Allow your device to cool between sessions. This protects internal components from heat damage.
Inspect the power button regularly to ensure it clicks properly. A loose or stuck button can interrupt power delivery to the motor. Test the on and off function before each use. These simple habits keep your device working smoothly for years.
Final Thoughts
A stalling motor does not mean your callus remover is broken. Most stalling problems come from simple, fixable causes. Small habits make a big difference in how well your device performs.
Take a moment to think about how you use your remover. Are you pressing too hard? Skipping cleaning steps? These small changes matter more than you think.
Regular care keeps your motor running smoothly. Clean your device after every use. Check the battery often. Store it properly when you finish.
If your motor still stalls after trying these fixes, it might need professional attention. Some issues need expert hands. Do not force a stalling motor to keep working.
Patience pays off when dealing with a stubborn callus remover. Rushing through foot care often causes more harm than good. Give your device time to work through tough skin.
Soft, damp skin always works better than dry, hard skin. Soak your feet before each session. This one step alone can prevent many stalling issues.
Your callus remover is a helpful tool, not a magic wand. It works best when you treat it with care. Simple maintenance goes a long way.
Think of your device like any other tool in your home. Regular checks and gentle use extend its life. A little effort now saves frustration later.
Follow the tips shared in this guide. Clean often, charge fully, and use gentle pressure. Your motor will thank you with smooth, reliable performance every time you need it for smooth, healthy feet.
Frequently Asked Questions
Why does my motor stall only on thick, hard calluses?
Hard, dry skin creates more friction against the roller head. This friction makes your motor work harder and drain power faster. Soft, damp skin always works better than dry, hard skin. Before using your remover, soak your feet in warm water for 5 to 10 minutes. This softens the calluses and reduces the strain on your motor.
Can I use my callus remover every day without problems?
Daily use puts constant stress on your motor and battery. The motor needs rest between sessions to cool down and recover. Use your remover for short sessions, around 5 to 10 minutes per foot. Space out your treatments to every other day or a few times per week instead.
What’s the difference between a weak motor and a stalling motor?
A weak motor runs slowly but keeps spinning. A stalling motor stops completely during use. Stalling usually means something blocks the roller or the motor loses power suddenly. A weak motor often points to battery issues or worn brushes inside the device.
How do I know if my battery is the real culprit?
Test your power connection first. Corrosion builds up on battery contacts and prevents current from flowing. Check your battery contacts monthly for corrosion or dirt. Clean them gently with a dry cloth. If the motor still stalls after cleaning the contacts, your battery might need replacement.
Should I keep trying to fix it myself or get professional help?
If your motor still stalls after trying these fixes, it might need professional attention. You’ve done the right thing by cleaning, checking connections, and testing components. Sometimes internal gears need realignment or the motor itself needs service from someone trained to repair these devices.

Hi, I’m Sonny Dawson, the creator and voice behind ConvertResizeGen. 👋 I’m a passionate tech enthusiast who loves exploring the latest gadgets, devices, and electronics that shape the way we live and work. Through my website, I share honest, hands-on reviews of trending Amazon products to help you make smarter buying decisions.